Bat Cookies (Chocolate Sugar Cookies)
This page contains affiliate links. For more information please read my Disclosure Policy.
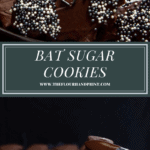
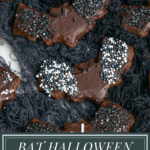
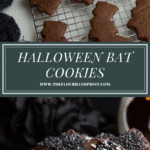
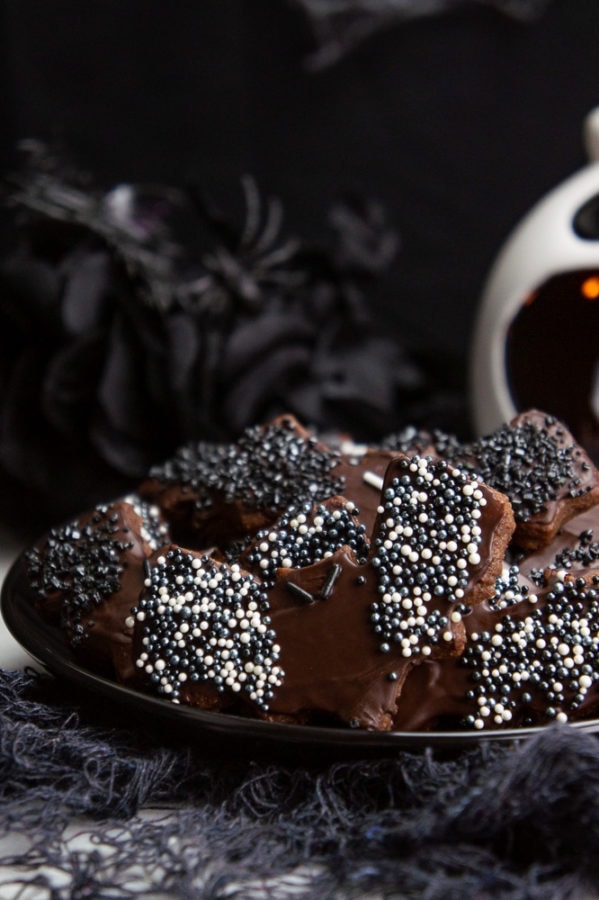
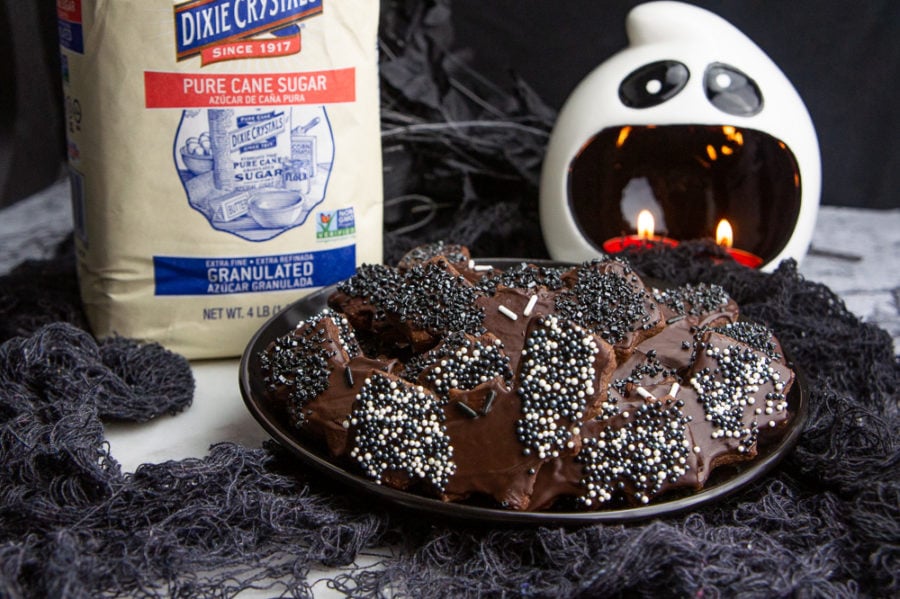
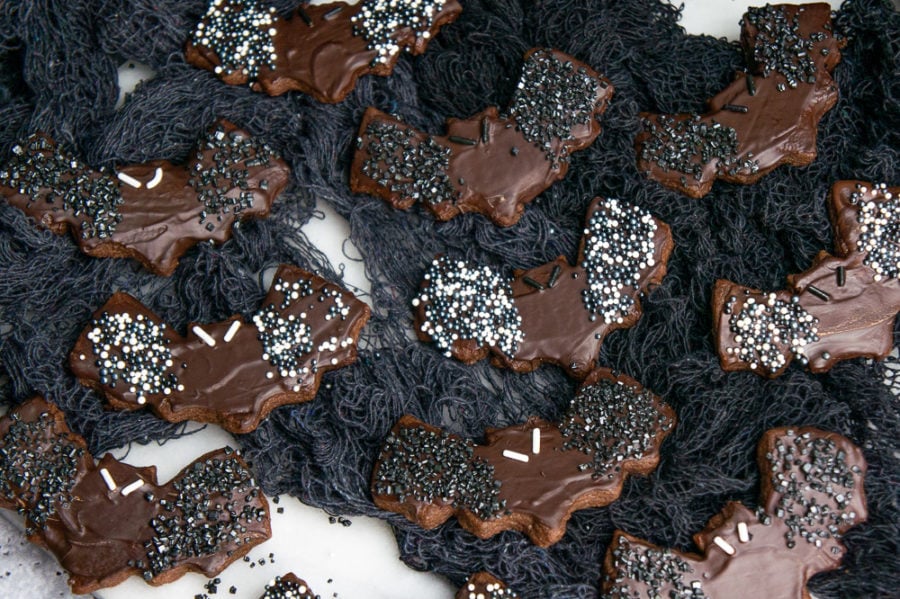
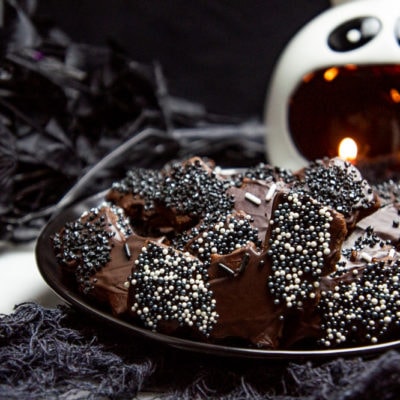
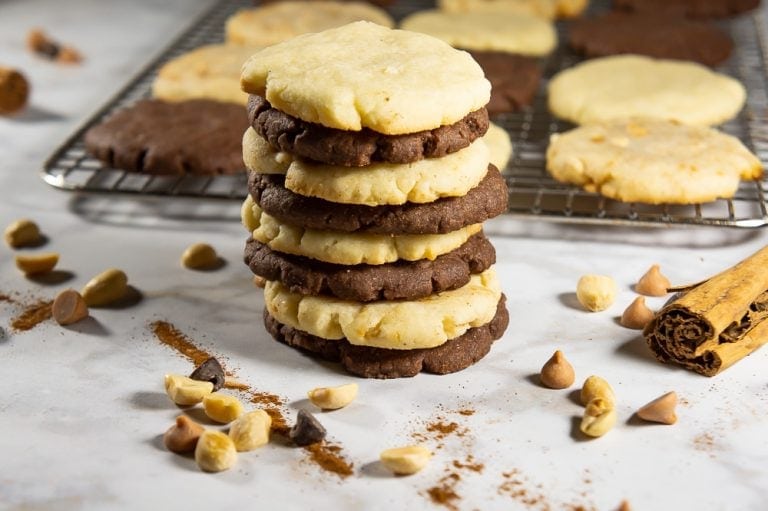
These Halloween Bat Cookies are a delicious chocolate sugar cookie topped with pure melted chocolate and sprinkles for an easy fright inspired treat. Perfectly tender chocolate dough is the perfect look for sugar cookie bats, and the sprinkles make them fun for kids to decorate and enjoy.
Freshly baked cookies are a treat I’m super grateful to be able to eat, and more grateful to know how to bake. But…I have an admission. I don’t love decorating them. I’m not skilled with the fine tipped pastry bags, nor are my hands steady enough to pipe intricate lacy designs on my sugar cookies.
BUT I have a kiddo, and I like fun cookies! So I developed this simple but adorable Halloween bat cookie. I flavored the base of my Crisco Sugar Cookie dough with chocolate to give the bats the right color, then spread on melted dark chocolate (which is way easier than icing) and topped them with sprinkles. It was easy enough for anyone to do, no piping bag required.
Take a look more spooky Halloween recipes from our #HalloweenTreatsWeek Bloggers today: Halloween Cookies & Bars:- Bat Sugar Cookies from The Flour Handprint
- Voodoo Doll Cookies from Sweet ReciPEAS
- Halloween Confetti Cookies from Fake Ginger
- Marshmallow SpiderWeb Cupcakes from Big Bear’s Wife
- Candy Corn Poke Cake from Devour Dinner
- Halloween Brownie Cupcakes from Hezzi-D’s Books and Cooks
- Pumpkin Chocolate Chip Cupcakes from It’s Shanaka
- Spider Brownie Bites from Tastes of Homemade
- Evil Dead Necronomicon Brownies from Savory Moments
- Mini Candy Corn Cheesecakes from Cheese Curd in Paradise
- Halloween Themed Layered Drinks from 4 Sons R Us
- Easy Chocolate Pudding from Pastry Chef Online
- Halloween Bark from West Via Midwest
- Halloween Snack Mix from Savory Experiments
- Healthy Halloween Snacks from House of Nash Eats
- Sweet & Savory Halloween Snack Board from An Affair from the Heart
- Spooky Candy Bark from Sweet Beginnings
- Poisoned Candy Apples from Fresh Coast Eats
- Donut Hole Mummies from Family Around the Table
- Halloween Caramel Popcorn Munch Recipe from Back To My Southern Roots
- Spiderweb Baked Donuts from Lemon Blossoms
- Mini Monster Meatball Sliders from A Kitchen Hoor’s Adventures
- Mummy Brie from The Spiffy Cookie
- Halloween Deviled Eggs from I am a Honey Bee
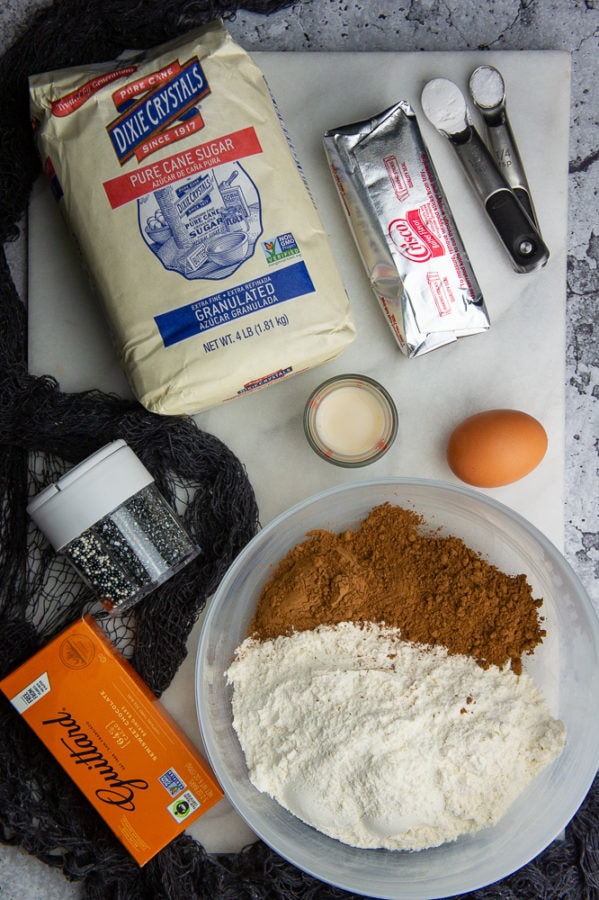
Ingredients
I have a deep love for sugar cookies. My heritage recipe has never failed me (they were even the first cookie I made for my now husband!), and the dough, thanks largely to the shortening, is easy to deal with and perfectly tender.
In the end, this dough works just as well as the original, but with a few key changes. To get started you’ll need some basic ingredients.
- All purpose flour – going with an alternative flour may make the dough to sticky or dry.
- Cocoa powder – either natural or dutch processed cocoa will work! Read more about which you’d prefer in my Cooking with Chocolate guide!
- Baking powder – not soda!
- Kosher salt – salt actually enhances chocolate.
- Shortening – I’ve used both butter flavored and plain with equal success.
- Sugar – white sugar, like from my sponsor Dixie Crystals is ideal for this.
- Egg – 1 room temperature egg
- Vanilla – Make your own, it does taste better!
- Milk – I use whole, but your preferred milk will be fine.
- Chocolate – I used a semi sweet 65% cacao chocolate bar. You can use your preferred chocolate, milk chocolate included.
- Sprinkles – Go with black, white, or silver for a perfect bat cookie.
Tips for Making Perfect Bat Cookies
Here are some tips for making sure your cookie making process goes perfectly every time.
- Sift the cocoa powder, flour, salt, and baking powder together after you weigh/measure it to stop cocoa powder from being lumpy in your dough.
- Don’t over mix it. Work with it as little as possible at each stage to prevent tough cookies.
- Chill the dough for 30 minutes minimum before rolling it out, so it can hydrate, meaning moist, evenly baked cookies.
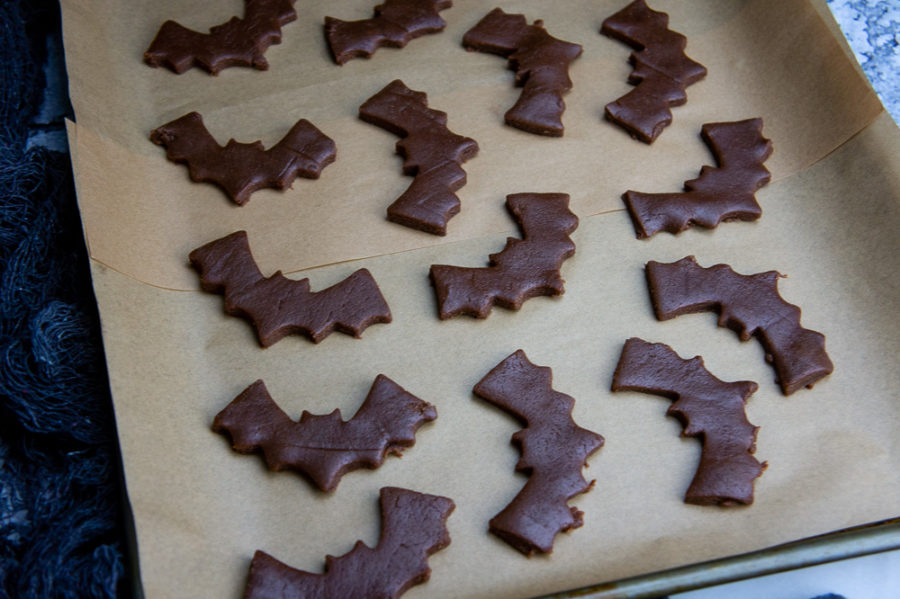
- Roll it out between two pieces of parchment paper rather than a floured surface. Flour will color chocolate dough!
- Roll cookies 1/4” thick. Roll them thinner for crisper cookies and thicker for softer. Be careful, to thin or too thick can make decorating more challenging.
- Let them cool completely before decorating.
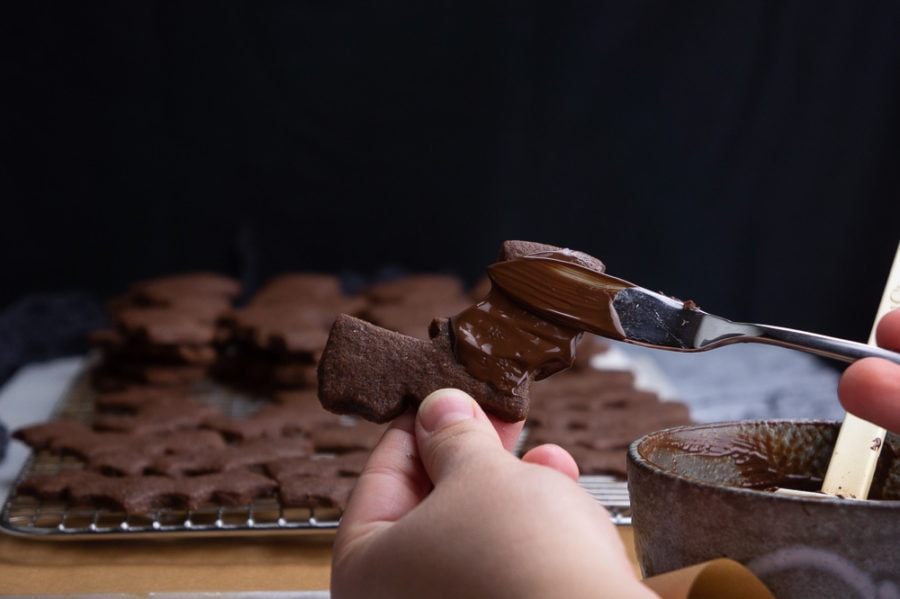
- Choose a dark chocolate bar, not baking chocolate, and heat carefully for a shiny finish.
- Decorate in batches of 4-5 cookies to avoid the chocolate hardening and the sprinkles falling off.
Prep & Storage
Sugar cookie dough is perfect to make the day or even two ahead of when you’re ready to bake. For refrigeration longer than an hour, you’ll need to let the dough sit at room temp about 20 to 30 minutes before you can roll it out.
Once baked and the chocolate set, store your bat cookies in an airtight container at room temperature for 3 to 4 days.
Freeze the cut out cookies before baking. Once baked they don’t freeze as well, and chocolate will take on a strange color once frozen and thawed.
Eat & Enjoy
I really hope you have as much fun making these bat cookies as I did. They’re a fun Halloween twist on a traditional sugar cookie and just perfect as a cute treat this time of year. These are the cookies for the simple decorators that still look adorable at the end of the day. Happy Halloween and Happy Baking!
If you like these, don’t forget to check out these other Halloween Desserts!
- Pumpkin Cupcakes with Maple Frosting
- Pumpkin Slice and Bake Cookies
- Witch Finger Cookies
- Pumpkin layer cake
Bat Sugar Cookies
Equipment
- Bat Cookie Cutter
Ingredients
- 4.5 ounces shortening 2/3 cup, regular, or butter flavor
- 7.3 ounces white sugar 3/4 cup + 2 Tablespoons
- 1 teaspoon vanilla
- 1 large egg room temperature
- 1 tablespoon milk
- 8 ounces flour 1 1/2 cup + 2 tablespoon
- 1 ounce cocoa powder 1/4 cup + 1 1/2 tablespoons
- 1/4 teaspoon kosher salt
- 6 ounces chocolate dark or milk
- sugar sprinkles
Instructions
- Sift together the flour, baking powder, cocoa powder, and salt into a small bowl and set aside.
- Cream shortening and sugar together until light and fluffy, 3 to 4 minutes.
- Add in milk and vanilla and beat until combined. Add in egg and beat again to combine.
- Add in the dry ingredients and fold to combine until a smooth dough forms without any streaks of flour. Wrap in plastic wrap and chill for 30 minutes, up to 2 days.
- Preheat oven to 350°F and lay out a large sheet of parchment paper or a silicone baking mat. Also line 2 baking sheets with parchment paper.
- Lay dough on paper and cover with another sheet off parchment and use rolling pin to roll dough out to 1/4" thick.
- Cut out cookies and place on baking sheets, 1 inch apart. Bake in preheated oven for 8 – 9 minutes or until the dough looks dry and set along the edges.*
- Let cool on baking sheet for 2 to 3 minutes, then remove to a cooling rack to cool completely.
Decoration
- Melt chocolate gently in the microwave, 30 second bursts at half power, until mostly melted. Stir to finish melting.
- Spread a thin layer of chocolate on each cookie and sprinkle with Halloween sprinkles on the wings, using two long sprinkles to make eyes.*
- Let set completely, then store in an airtight container layered between wax paper for 3 to 4 days.
Notes
Nutrition
I’d love to hear what you think, feel free to tag me on Instagram @theflourhandprint so I can see how it went! Until next time, Happy Eating!
Nutrition information and cooking times are provided as a best estimate. Values may vary based upon ingredients and equipment.

Came back to find this recipe again because these bat cookies were such a hit last year. Thanks for this fun recipe!
Colleen a repeat blog visitor is always wonderful. I’m so glad you enjoyed them.
These cookies were so fun to make. Every September my sons and I start looking for Halloween recipes to make them and prepare for Halloween Day, these made the list to make again, so fun and so delicious. Plus we love chocolate. A win-win
Wonderful to hear Silvia, I love that you plan ahead and taste test early. I’m thrilled my bat cookies made the cut to make again!
Lovely cookies! My nieces are visiting us for a couple of weeks and we did some baking. They loved these!
This is so good to hear, I’m glad you and your nieces enjoyed the time together!
These are so cute for Halloween! I can’t get enough chocolate, so I’m all about that dipping. Thanks for such a delicious and creative recipe!
You’re right, never can get enough chocolate. I’m glad you found them delicious and fun!
Oh my gosh! These are ghoulishly spooktacular! So festive and perfect for the season! These are on the menu today!
Thanks so much! I hope you enjoy them and have a happy Halloween!
These Bat Cookies were so fun to make and turned out adorable! My kids had a blast with their friends making them. Have a great day!
Always glad to hear the recipe was fun to make, I hope your kids and their friends enjoy eating them too!
I made these over the weekend, and they came out so cute! Love that the dough was easy to handle, and they had the perfect chocolatey flavor.
I’m so glad you enjoyed them Amanda! It’s my favorite dough for cut outs, glad it worked for you too!