Pear Butter Recipe
This page contains affiliate links. For more information please read my Disclosure Policy.
Lightly sweetened cooked pears with citrus and warm spices transform into a delicious thick pear butter that makes a fantastic spread or cheese topping. This no pectin pear butter recipe is easy to make, and canning pear butter makes it shelf stable and enjoyable all year long. Read on for the easy walk through on how to make it!
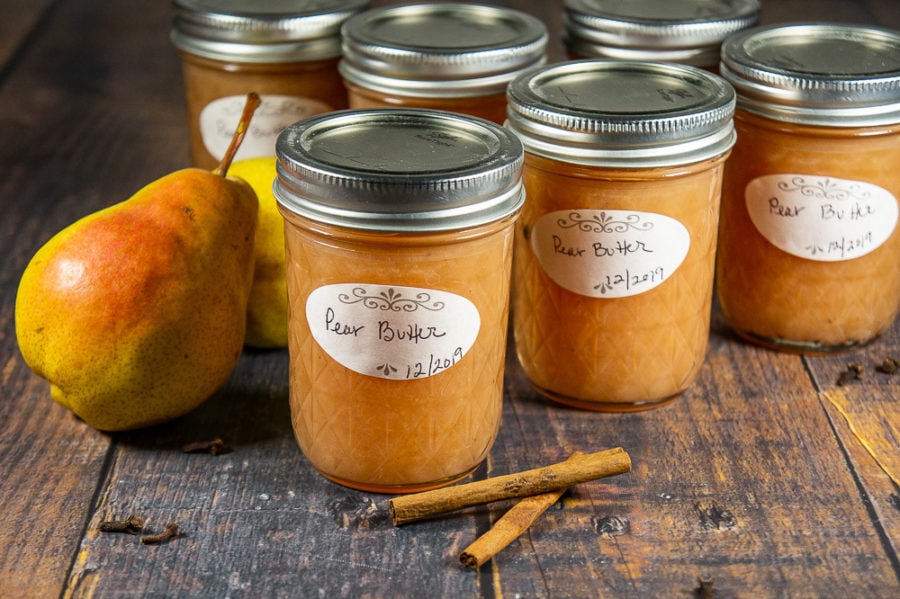
Have you ever had a fruit butter? If you’re scratching your head at what the heck pear butter is, prepare to have your world blown. If you’re familiar with it, you know how incredibly delicious a sweet, thick fruit butter can be. It’s a lovely topping for cheese, a delicious spread on your pb&j’s, and a wonderful mix in for yogurt or granola. Or you know, just eat it off a spoon!
This pear butter recipe is a truly beautiful way to preserve the flavor of pears at their peak. Mixed with a touch of orange and lemon, warm winter spices, and just enough sugar to thicken and sweeten the butter, it’s a delicious canning recipe to make for loved ones as food gifts, or just to stock your cupboard.
Choosing your Pears
Just like apples, there are many different varieties of pears out there, and each have their own distinctive taste, texture, and level of sweetness.
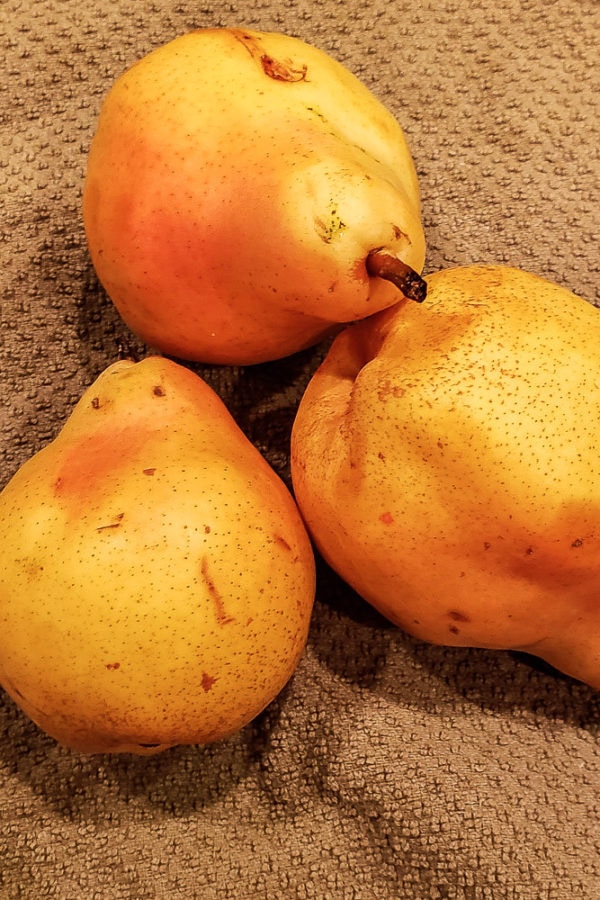
We used a very common, easy to find pear called the Bartlett pear. It’s sweet, and gets soft and juicy when ripe. Since the pears are being cooked down, you can use a pear with a firmer texture, but be sure to use one with comparable sweetness. Here’s a handy pear variety list you can check out, but these are the pears I recommend:
- Bartlett Pears – both the green and red varieties
- Red & Green Anjou
- Starkrimson
Ingredients for Pear Butter
There are tons of different ways to make a pear butter, but for this particular pear butter recipe, it’s a combination of citrus and spice that enhance the natural flavors of pear for a decadent spread.
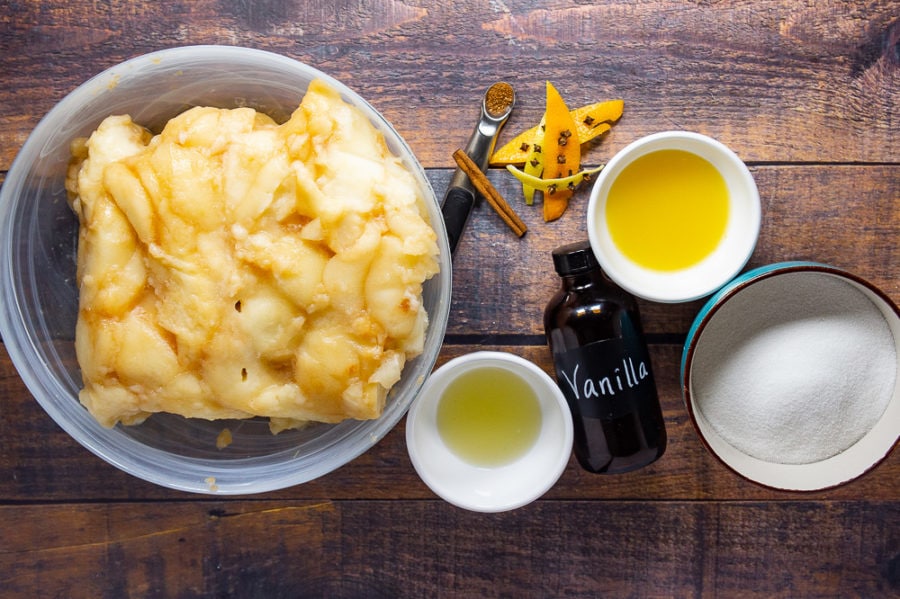
- Pears – You need 4 lbs, which should be around 8 to 10 pears. You can use frozen peeled pears, or fresh peeled pears. In the photograph above is 4 lbs of pears we previously processed and froze for later use.
- Sugar – Unlike jams and jellies, this doesn’t require a ton of sugar to set. Simple white sugar works, granulated, cane, or coconut.
- Orange Juice & Peel – You’ll need about 1 orange juiced, don’t discard the peel! You’ll need to slice two strips, about 1/2 inch wide from the peel. scrape off as much white as you can.
- Lemon Juice & Peel – 2 Tablespoons of juice and same process for the peel as above.
- Whole Cloves – You’ll need about 14 whole cloves.
- Cinnamon Stick – 1 good cinnamon stick will do.
- Vanilla – Learn how to make your own vanilla here!
- Nutmeg – Just enough to finish off the spices.
Equipment for Canning PEar Butter
If you’re interested in making this recipe shelf stable (a great idea for long term enjoyment and as an easy gift during the holiday season!) you’ll need the follow equipment.
- Six 8 ounce mason jars with lids, plus 1 4 ounce jar or container, and new seals. OR any combination of jars that add up to 52 ounces.
- A large canning pot with a rack.
- Basic canning equipment : tongs, funnel, lid tightner
- Protective hand wear
- A ladle
Your pear butter can also be frozen if you prefer, which requires only freezer safe containers of choice.
How to Make Pear Butter
The process of making this pear butter recipe is as simple as dump, stir occasionally, and then store. This makes a total of about 52 ounces of pear butter, so six 8 ounce jars plus a little extra to use right away (we stuck it in a little 4 ounce jar in the fridge), or whatever combination of jar sizes you prefer. It can go as fast as an hour, to several hours, depending on your stove and how closely you’re willing to pay attention.
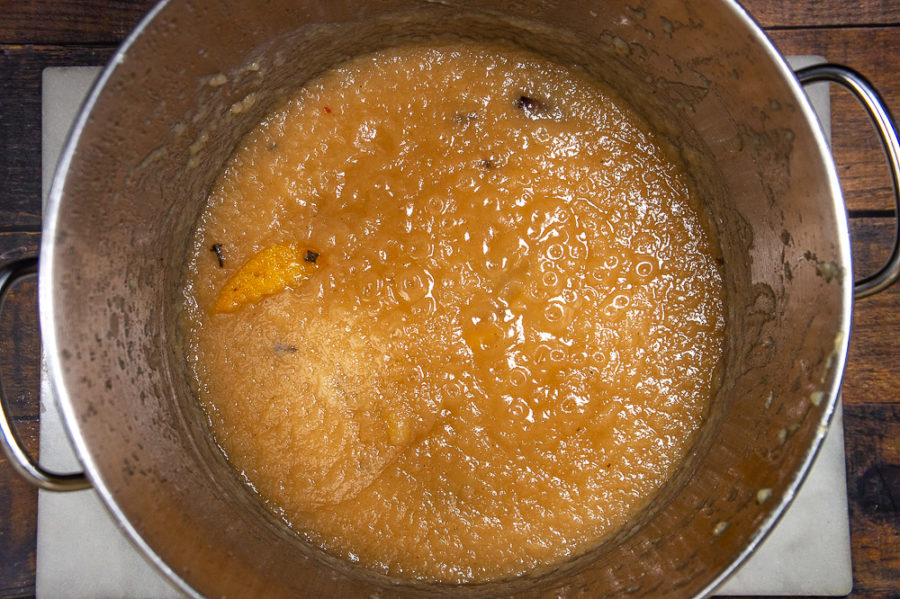
- First prepare your ingredients as needed.
- Peel and chop pears if using fresh. We prefer an applesauce texture to our fruit butter so you can either pulse lightly in a blender now, use an immersion blender during cooking, or cook and mash with a potato masher by hand.
- Juice and prepare your citrus rinds. For each strip of citrus rind (2 orange, 2 lemon) be sure to scrape as much white as you can from the back to prevent bitterness.
- Pierce both orange rind strips with 4 cloves each, and both lemon rind strips with 3 cloves.
- Combine the pears, sugar, citrus juices, rinds with cloves, vanilla, nutmeg, and a broken cinnamon stick into a large pot.
- Place over medium high heat and bring to a boil.
- Now you have choices….
- Cook low and slow, stirring occasionally to prevent sticking and scorching on the bottom of the pan.
- Cook over higher heat and be more attentive to the pan, stirring more frequently to ensure the bottom of the pan doesn’t scorch.
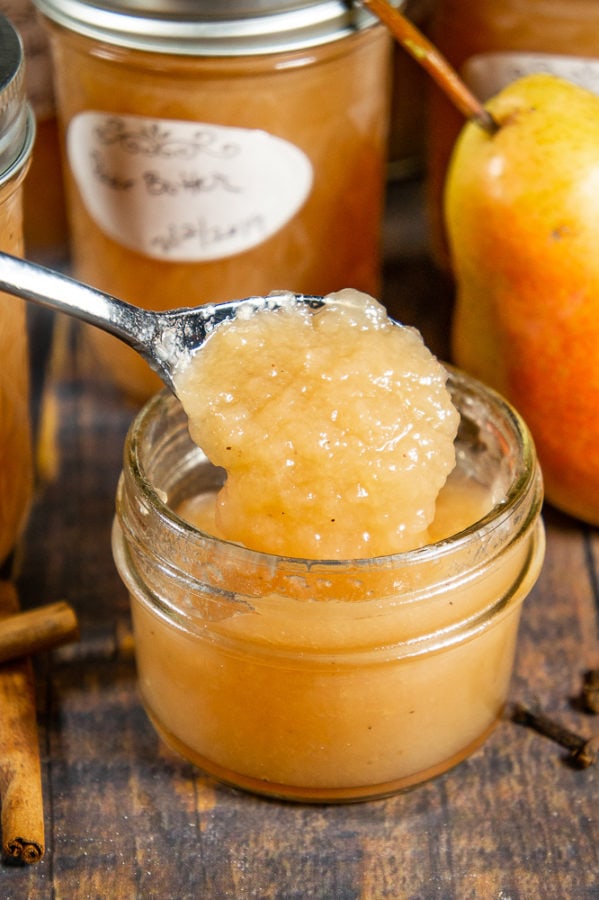
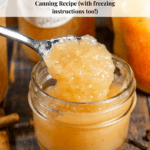
- Continue cooking until pears have thickened. They should mound on the spoon and run off slowly. It will also be a deeper, richer yellow color.
- Remove the citrus rinds and cinnamon stick pieces. If cloves have fallen off into the butter, you can fish them out, or leave them in, it won’t hurt anything, simply remove when eating.
- For freezing, ladle into freezer safe containers, leaving about an inch of space for expansion at the top, and let cool to room temperature. Then freeze!
How to can your Pear Butter
If canning, there are a few extra easy steps.
- While pears are cooking down, go ahead and prepare your canning pot. Place in your canning rack and fill it with enough water to cover your chosen jars by 1 inch. Bring to a boil.
- When pears are almost done, heat your jars. This can be done by briefly submerging in the boiling water or by running them through a rinse and dry cycle on your dishwasher (without anything else in it).
- When pear butter is done cooking remove jars and flip to dry if needed. Then ladle in pear butter using your funnel to keep the rims clean. Leave between 1/4″ and 1/2″ of head space between the butter and the seal of the jar.
- If there are any drips on the top of the jars, wipe clean with a damp paper towel then dry.
- Using hand protection place seals and lids on your filled jars and screw them down as tight as you can by hand.
- Submerge your jars into the boiling water and let them process for 10 minutes. Make sure the water is at a full boil the whole time.
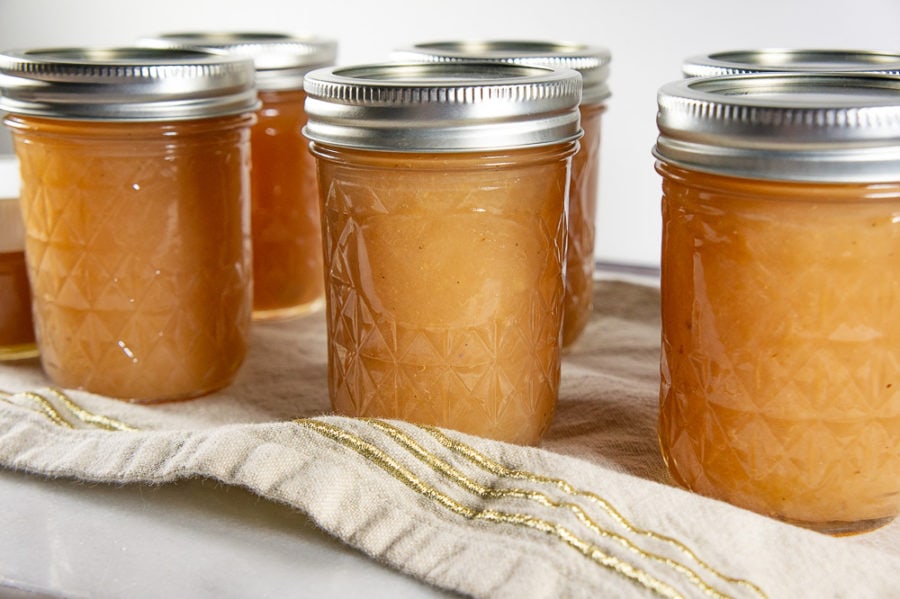
- Remove and set on a towel until the lids pop. You’ll hear this, or you can check by pressing down on the center of the lid, if it moves and make a clicking sound it hasn’t sealed yet. This can take a few minutes to a few hours. Once they’ve sealed and are cool to the touch, store in the cupboard for up to 18 months!
FAQ’s
Yes. If you don’t have whole cloves substitute the whole cloves for about 1 teaspoon of cloves. For 1 cinnamon stick, substitute 1/2 teaspoon of ground cinnamon.
Yes, you can split this recipe in half and it will work. You can also double it.
No, this won’t ‘set’ like a jam or a jelly, its a thickened cooked fruit spread.
About 1 year.
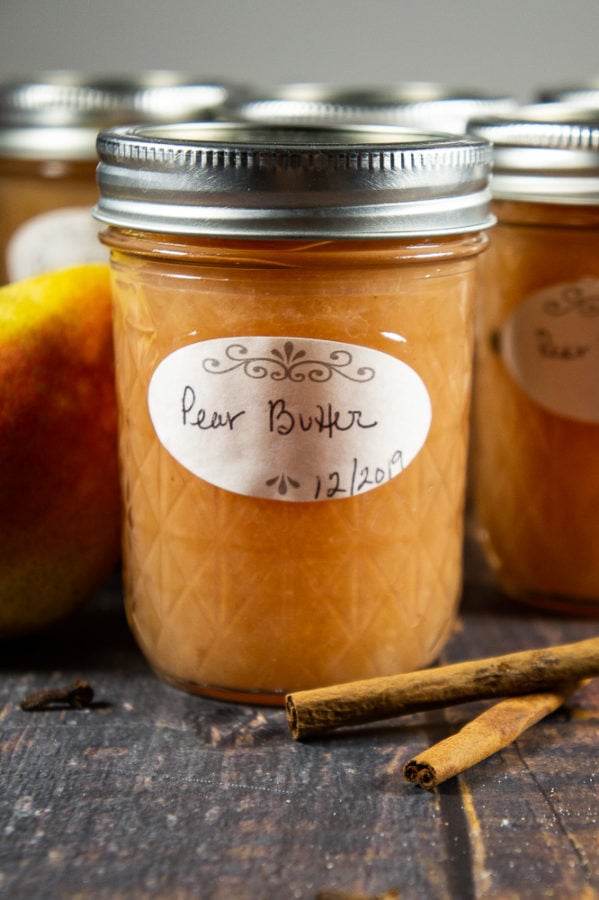
I hope you enjoy spooning this over everything like we do. It’s just sweet enough with a nice hint of citrus and spices. Plus its much lower in sugar than your average fruit preserve so I feel okay spreading a layer on my son’s peanut butter sandwiches. Boy does he love it! Enjoy, and until next time, Happy Eating!
Other Preserve Recipes you May Enjoy
- Pomegranate Jelly
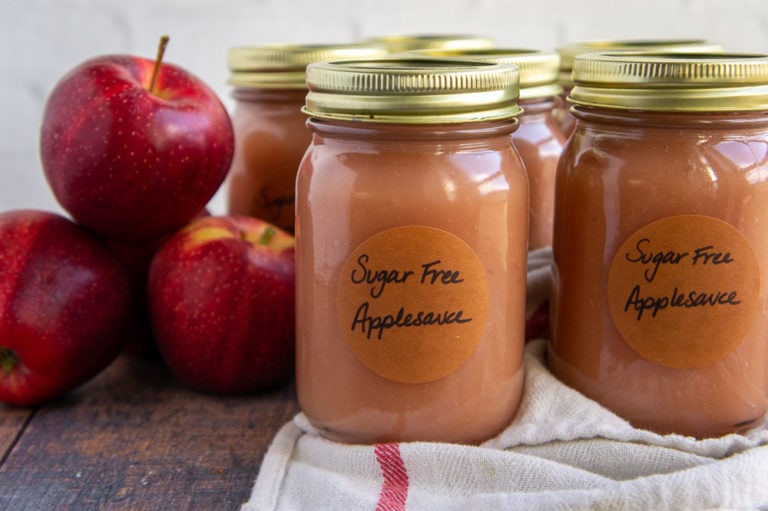
- Sugar Free Applesauce
- Strawberry Jam
- Pomegranate Cranberry Jam
- Small Batch Loquat Jam
- Slow Cooker Apple Butter
- Strawberry Watermelon Jam
- Cherry Vanilla Jam
Enjoy your Pear butter on…
- Scottish Oatcakes
- Norwegian Crisp Bread
- 5 Ingredient Drop Biscuits
- Classic Flaky Southern Biscuits
- 90 Minute Dinner Rolls
- Crusty Dutch Oven Bread
- Peanut Butter Banana Muffins
- Cinnamon Oatmeal Muffins
Pear Butter
Equipment
- Canning pot with rack
- Funnel
- Seven 8 ounce mason jars
Ingredients
- 4 lbs pears fresh or frozen
- 1 1/2 cups white sugar
- 1 large orange
- 1 lemon
- 14 whole cloves or 1 tsp ground
- 1 whole cinnamon stick or 1/2 tsp ground
- 1/8 tsp ground nutmeg
- 1/2 tsp vanilla extract
Instructions
- If using fresh pears begin my coring, peeling, and dicing your pears. You can also pop them into a blender or food processor and pulse lightly to finely chop (not puree). Or place them in your cooking pot and use an immersion blender.*
- Juice your lemon and orange, reserving the peel. Cut two 1/2 inch wide strips from each the lemon and the orange peel and using a small sharp knife, scrape off as much of the white pith underneath as possible.
- Pierce each peel strip with the knife and stick a clove through it (unless using ground then skip this step).
- Add pears, sugar, citrus juice, spices, and citrus peel to a large pot. Turn heat to medium and bring to a boil.
- Once boiling, reduce heat to medium low and simmer the pears until they've thickened and reduced, stirring every few minutes. About 1 hour.
- The pear butter is done when it mounds on the spoon (holds it's shape when scooped up) and slides very slowly off the spoon. It will look deeper in color and thicker.
- If freezing, ladle into freezer safe containers, leaving 1 inch of space at the top for and allow to cool before sealing and freezing for up to 1 year. For canning, move to next step.
Canning Instructions
- While pear butter is cooking, bring a large canning pot full of water to a boil. You need a canning rack and enough water to cover the jars you use by 1 inch when submerged.
- When pear butter is very close to done heat clean jars by submerging in boiling water then removing and turning upside down on a towel to dry a minute or so. Set new seals and clean lids close at hand.
- When pear butter is done place a funnel in the mouth of warm jars and fill each jar, leaving only 1/4" to 1/2" of space between the butter and the rim of jar.
- If any butter is on the rims carefully wipe off and place seals and lids on jars. Using hand protection tightly seal the lids as much as you can by hand.
- Place the jars in the boiling water and let process for 10 minutes. When done, remove to towel and let sit until the lids pop (no longer move or click when pressed on). Store in cupboard for up to 18 months.
Notes
Nutrition
Nutrition information and cooking times are provided as a best estimate. Values may vary based upon ingredients and equipment.

“Using hand protection tightly seal the lids as much as you can by hand.” WHAT ??? I’ve been canning for 50 years and never, ever have I been instructed to tighten my rings as much as I could before canning them. Is this possibly a mistake in your recipe?
Hello Marilyn, No, it is not a mistake, but it could be rephrased more clearly for beginner canners. Rings should be tightened on so they no longer move freely, which is usually a good hand tightness. I’m certainly not suggesting you use a tool to make them so tight they warp the lids, but most people do not have the hand strength to achieve that anyway – especially while holding a jar of hot pear butter.
I see that you rated it one star. Did you actually try the recipe, or is this in response to unclear phrasing for that step? I hope you can reconsider the rating if so, it does actually impact my business.
I always welcome experienced canners to constructively share how they safely can their foods. I learned canning from my mom, who learned it from her grandmother, and while I appreciate the tradition, there are certainly things done even just 15 years ago that I wouldn’t do today. I hope you have a good day and this has answered your question. I’ll add a note to my schedule to make sure I clear up any potential misunderstandings about this in the future.
I look forward to making this pear butter recipe every year! It is the pefect blend of pears, citrus and warm spices. I found some delicious Harrow Delight pears at our local orchard that have a sweet, slightly tart, flavor, are very juicy, and have a smooth and buttery texture. I am used to the pear butter being thinner and have always joked that it’s so good I could drink it. I tried thickening it more this year and cooked my pear butter a long time too (at least 2 hours) to reduce it down. I used a ceramic coated Durch oven instead of a stock pot. The pear butter is darker in color this year but it did not scorch. I did add a dash of ground cinnamon in addition to the cinnamon sticks which could explain the darker color. As much as I love cinnamon, I will leave the ground cinnamon out of the next batch as I think it overpowers the pear flavor. Waiting for the jars to ping. Can’t wait to have some on my English Muffin toast for breakfast tomorrow!
Hi Lori, thank you very much for your comment! I am so glad to hear that you’re pear butter has been turning out so well. Just this morning I saw the first pear vendors of the season at my farmers market, I’ll definitely be asking about Harrow Delight.
I have found that ground cinnamon darkens my apple butter and applesauce, so I agree it probably did affect the color, but reducing it also caramelizes the sugars a little more. I hope it’s the perfect thickness for you this year and spreads wonderfully over your English Muffins. Happy pear season!
Mine also is very runny. Have been letting it simmer for HOURS now. Going to give it a new name. Instead of “butter”, needs to reflect the syrupy saucy nature. Great flavor though/
Hi Melissa, I wanted to reply asap since I saw this as it came in. Pear butter does thicken as it cools, especially once in the fridge. If it’s very runny, syrupy as you say turn the heat up. The only reason it should be runny is that it hasn’t reduced enough.
Different pears have different acid and water content, it’s impossible for me to know what you have. You can add a splash of lemon juice and more sugar if you like to help it tighten up, but reducing it on a higher temperature with the lid off is what I would do.
Keep an eye on it and make sure you stir occasionally to prevent it from scorching on the higher heat.
If you want to check how it will be once cooled, stick a small dinner plate in the freezer for 15 minutes, then dollop a bit on there. Once cooled that’s the consistency the final butter will have.
I’m sorry you’re having trouble, I make this every year for the holidays. I hope I’ve helped and glad it at least tastes good!
I made this yesterday and processed the jars in a water bath. All jars sealed (yay), however, when I checked the jars this morning, the pear butter seems rather runny. Will it set or do I need to reprocess and cook the pear butter down more?
I’m glad you got them all sealed! Pear butter is definitely a looser set spread than a jam or jelly often is, it should be the consistency of a slightly thick applesauce, spreadable but not watery. It often thickens once cooled and if you refrigerate a jar it will tighten up a little.
You can open and recook the butter if it feels to thin to you, since your cans properly sealed they’re safe however. So you can also just open one jar at a time, cook it down, and store that in the fridge to use. That way you can avoid the recanning process if you wish! I hope this helps, and let me know if you have any more questions.
I’ve never tried pear butter, only apple butter, but I’m sure it’s incredibly delicious! I can see using it in pork dishes, too! And yes, great on Scottish oatcakes–thanks for including my recipe!
Ooh I’m so trying this on pork chops, I have no idea why that didn’t cross my mind! Thanks! Your oatcakes are on my baking menu this week too, so excited to try them together!