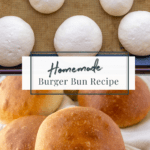
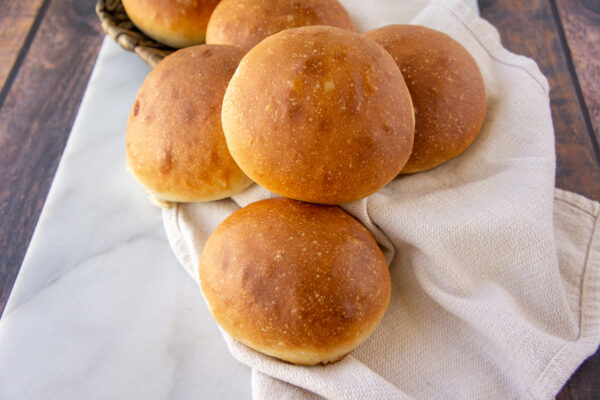
Homemade Burger Buns
This page contains affiliate links. For more information please read my Disclosure Policy.
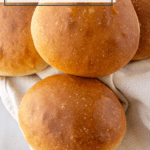
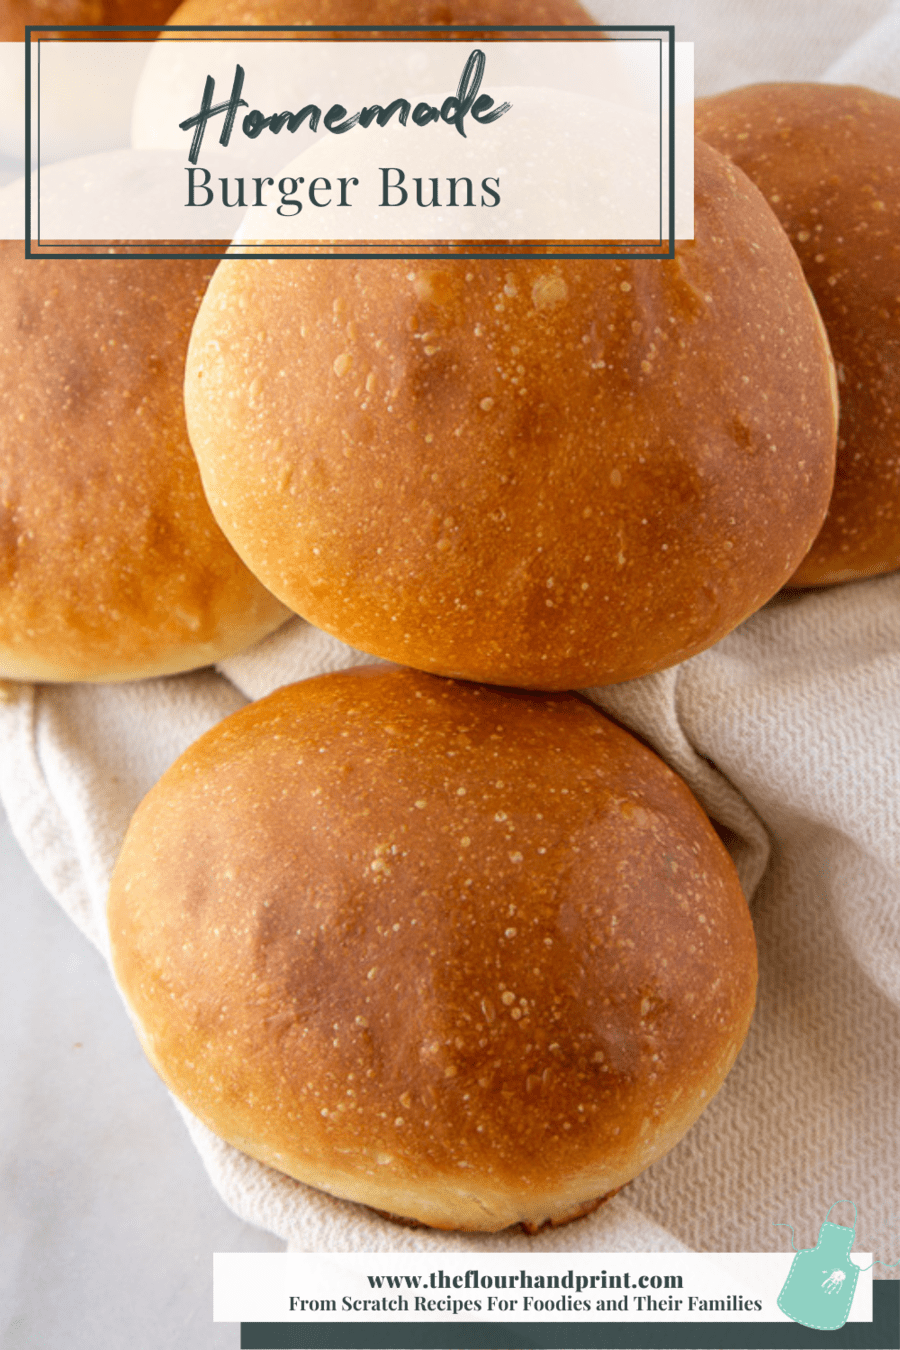
This easy to follow recipe will walk you through how to make the perfect fluffy, chewy, sturdy homemade burger buns. With rising and shaping tips included, you’ll never buy store bought again.
I’ve always had a bit of a gripe with burger buns. The common supermarket ones turn into a soggy mess whenever a juicy burger (as they should all be) hits them.
Enter my homemade burger buns. This recipe has taken me YEARS to get right because I would settle for nothing less than perfect texture, perfect chew, and the PERFECT ability to stand up to whatever and however I decide to load it up.
If you want a gooey bacon onion jam burger or that old fashioned sloppy joe recipe you love, these can handle it. If you love a good homemade salmon burger with plenty of tartar sauce, or a decadent smoked burger, yup these buns are perfect. No matter the juiciness or sauciness of your burger game, these buns will deliver it to your mouth for that perfect bite every time.
Ingredients and Substitutions
Like most bread recipes, homemade burger buns don’t take a lot of ingredients. Here’s exactly what I use to get that perfect texture, and my suggestions for swapping in other things if you must.

Bread Flour – I absolutely, 100% recommend buying good quality bread flour (Arrowhead mills, Bob’s Red Mill, King Arthur) if you’re serious about making bread. It contains a higher protein content which gives you that essential ‘chew’ you want out of bread. That being said, all-purpose will work fine, but add a little less water, and expect a softer bun.
Warm Water – I always start with warm water. It helps the yeast proof faster and everything moves along a bit faster. Of course, the longer the rise…the better the flavor! So feel free to use room temperature water instead if you’re prepared to wait more. But DO NOT go hotter than 110° (use an instant read thermometer) because that will kill the yeast and your bread will not rise.
Honey – I like a little sweetener in the dough. It helps activate and feed the yeast, and flavor the hamburger buns. You can use honey, maple syrup, or granulated sugar.
Salt – Don’t skip the salt! The buns will taste bland if you leave it out. I prefer a coarse kosher salt for most of my recipes.
Yeast – I always use active dry yeast because I bake a lot and I can buy it in bulk for cheaper. Even though (spoiler alert) you don’t actually have to activate it (it will rise without the proofing and bubbling step), I usually do to get things moving along faster. You can use instant yeast in equal amounts, but this takes more than 1 packet. One packet is 2 ¼ teaspoons, and I prefer 1 tablespoons worth. If you use less, just know the rise time will be longer.
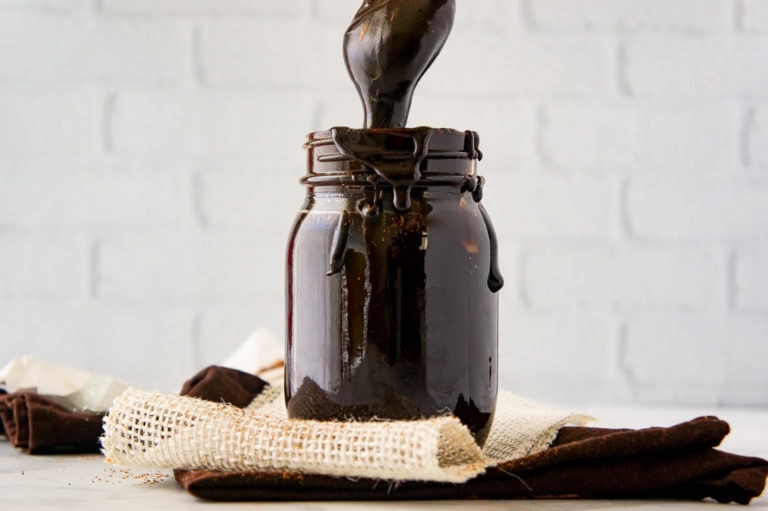
Fat – Here’s the real secret ingredient, fat. It is entirely essential for texture and flavor and in my personal opinion, the absolute best one I’ve ever used for these homemade burger buns is rendered bacon fat. I know it sounds strange, but it lends a savory, amazing flavor, great texture, and overall pleasant workability to the dough. You can of course use softened (NOT melted) unsalted butter, lard, shortening, or olive oil.
Pro Tip – Bacon Fat vs. Lard
If you’d like to use bacon fat in your recipes (which I highly recommend not only for flavor but for reducing food waste), then get a fat storage jar and a fine mesh sieve or some cheesecloth. Then, whenever you cook bacon, strain the liquid fat through the sieve or cloth into the jar, close it, and pop it into the fridge. Whenever you’re ready to cook, pull the jar out and scoop out some of the soft, solid fat to use in place of oil or butter.
What’s the difference between that and lard? Lard doesn’t have the smoky, bacon flavor that you get from rendered bacon fat, but both will work!
Making Burger Bun Dough
The secret to this recipe is knead it, knead it, and knead it some more. I prefer to make this bread by hand, because I can feel the difference in the dough as I work with it. A mixer can also work (for a single batch).
Combine the proofed yeast/honey/water mixture into the flour, salt, and fat (it’s okay if it’s in chunks), and stir until the flour is mostly absorbed. Then dump it onto a clean surface and start to push and pull it.
Don’t stop kneading for 10-12 minutes. It’s a workout, but I promise the end result of perfectly texture buns is worth it. By the end of that time, the dough should be soft, stick to itself, and when you stretch a small piece of it, it should become almost see-through before ripping.
It will seem sticky in the first 4-5 minutes. DON’T add more flour. I know! It’s so tempting! Instead, coat your hands with a little oil or extra fat and keep kneading. As the gluten forms in the dough, it will come together, I PROMISE.

Shaping Circular Burger Buns
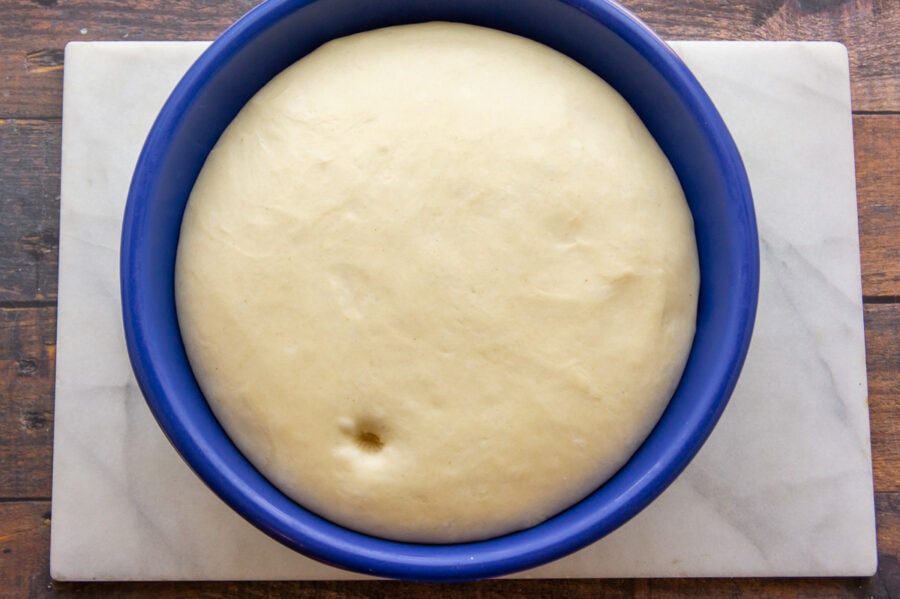
Once your bowl has a big, puffy batch of dough ready to shape, the key is understanding how to get that burger bun shape. My tips here, or by watching the video I’ve made, can help you learn how to get that tight ball which will help them rise into a good shape, instead of going flat.
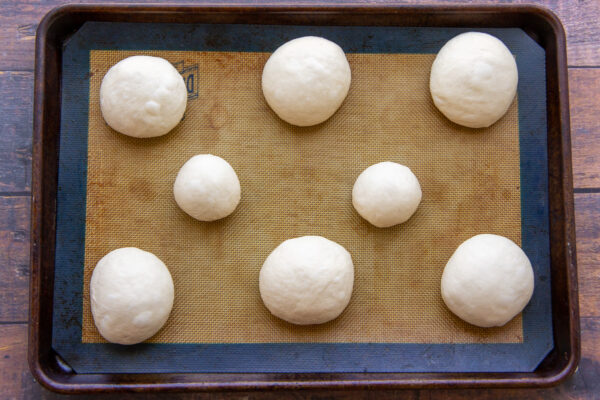
- Separate the dough into 8 pieces. For an average size burger (¼ to ⅓ lb) we make each bun 135 grams, weighed on our digital kitchen scale. It’s okay to be off by a gram or two either way in each bun, but try to get it close for even baking.
- Take a piece of dough and pull the edges down to the bottom. It will make a ball if you pinch it all together at the bottom.
- Set the pinched seam side down on a clean surface and begin to roll it between your forefinger and thumb in smooth, firm circles. Imagine you’re holding a tennis ball and trying to roll it in repeating, even circles.
The dough should tighten up into a smooth ball as you do this. Use firm pressure and increase your speed as much as you’re able. This step is really important, if it doesn’t form a tight ball, it will rise outward more than we want, and you’ll have flatter (but still tasty) buns. - Place them on a baking sheet lined with parchment or a silicone mat about 3 inches apart from each other. If they’re too close, they’ll rise into each other and you’ll just have a few attached edges. It’s not the end of the world, I promise.
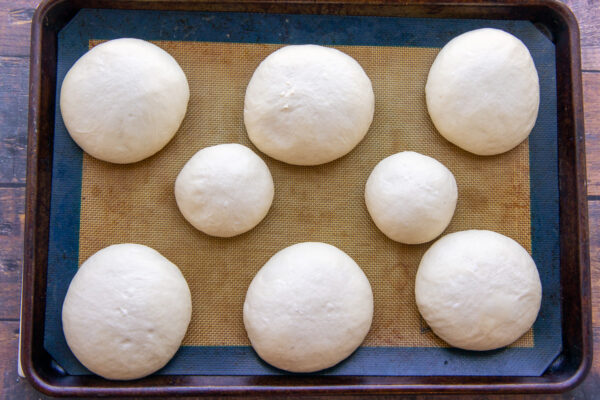
- Cover them with a damp (not wet) kitchen towel and let rise another 1-1.5 hours, or until doubled in size.
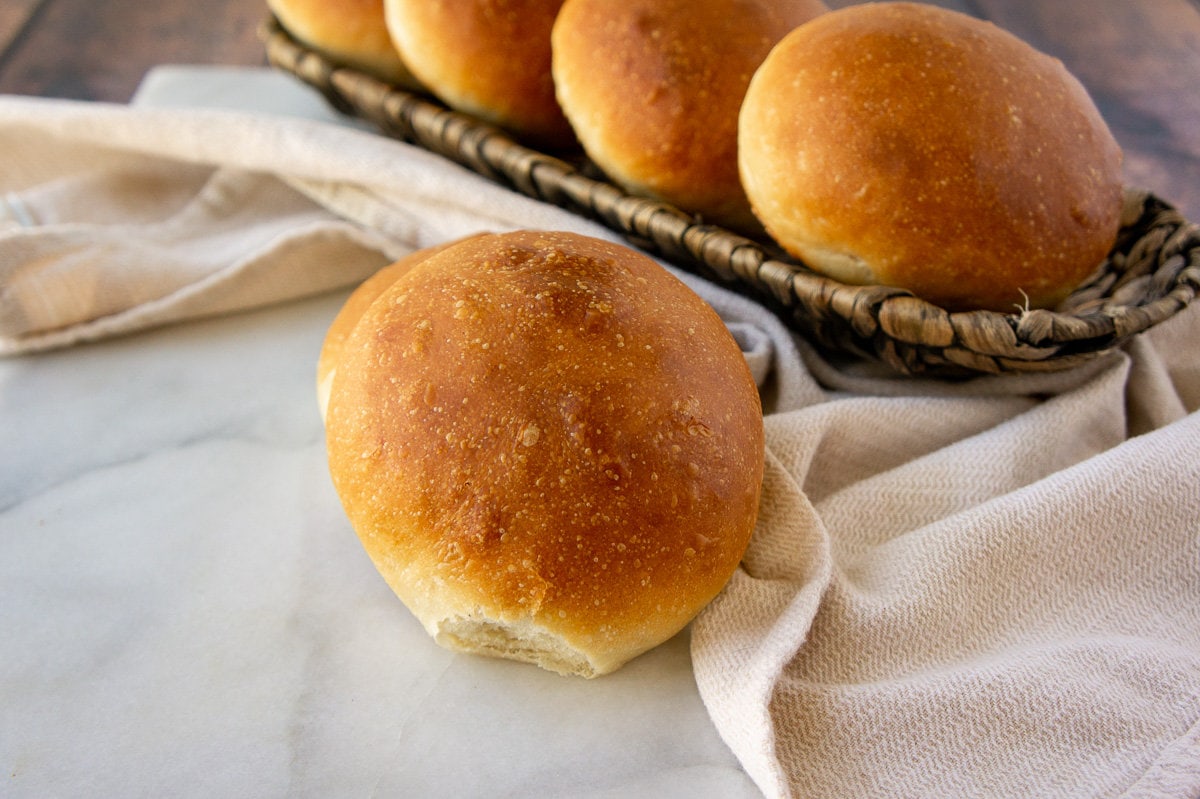
Bake Them to Golden Brown Perfection
In the last 30 minutes of rise time, preheat your oven and place a large, oven proof pan on the bottom rack. Heat up some water in a kettle, or at least be ready to microwave it when it’s time to put them in.
When they’re risen, brush the tops with milk. This creates a brown, beautiful top. You can also use an egg wash, but I’m usually too lazy and I hate tossing out all the extra.
Open the oven and place the buns in the upper half of the oven. Carefully pull out the bottom rack with the preheated pan and pour in warm to hot water. This creates steam and it’s essential to the texture of the outside of the bun. Don’t use cold water – it can shatter or damage your pan. Close the oven quickly to trap the steam.
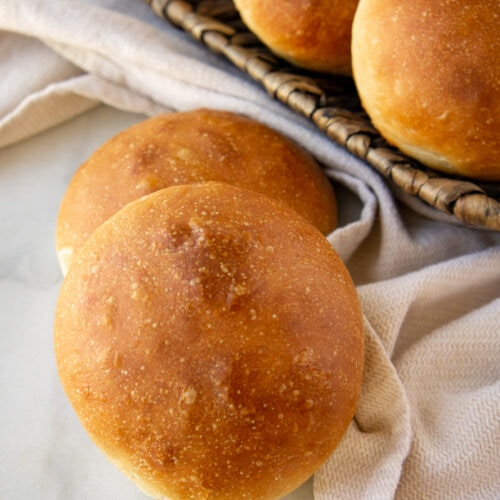
When they’re baked, remove them to a cooling rack and let them completely cool down before you store them. At room temperature you can keep them in an airtight container for up to 4 days before they go stale.
FAQ’s
This homemade burger bun recipe doubles, triples, even quadruples beautifully. It’s very important to measure by weight in those cases so the dough reacts the same. Rising will take longer, and you’ll need to bake in batches.
Yes! I often triple the batch and freeze most of the buns. Store them in an airtight container or freezer safe bag for up to 3 months. I prefer a silicone bag which keeps freezer burn and frost off them very well. If you choose a cloth bag, use them within 1 month.
Because of the fat in this recipe, these homemade burger buns stay fresh for up to 4 days if stored after they’re completely cool and kept in an airtight container or bag. If they do get a tiny bit stale, preheat your oven to 450°F and sprinkle them with water. Pop them in for 3-4 minutes and they’ll be refreshed.
When you finally slice one open, you’ll love the fluffy inside texture, but what I really love is the slight chew of the outside. It really can take the juiciest of burgers, but you can also use them for sloppy joes, deli sandwiches, really whatever your heart desires. If you’re interested, I also use this dough to make my hot dog buns and homemade pizza dough, so check out my tips for making it into those too!
Homemade Burger Buns
Equipment
- 1 Kitchen Scale
- baking sheets
Ingredients
- 750 grams bread flour 5.5-6 cups*
- 1 tablespoon salt
- 75 grams fat* plus extra for greasing pans and kneading
- 500 mililiters warm water No hotter than 110°F, 2 cups
- 1 tablespoon honey
- 1 tablespoon yeast
- 1 tablespoon milk
Instructions
Hamburger Bun Dough
- Combine the honey, yeast, and warm water and stir to dissolve honey. Let proof 5-10 minutes until bubbly.
- Combine flour, salt, and fat into a large bowl.
- When yeast mixture is proofed, pour it into the dry ingredients and begin mixing.
- Once most of the flour has been absorbed, turn out the dough onto a lightly oiled surface and begin kneading.
- Knead for 10 minutes until dough is soft, tacky, and elastic. You should be able to stretch it gently for several seconds without it ripping.
- Form into a ball and place in a large, oiled bowl. Cover and let rise for 1-1.5 hours.


Shaping Burger Buns
- When doubled and the dough does not bounce back with poked, punch it down and turn it out onto a clean surface.
- Divide the dough into 8 equal pieces measuring about 135 grams each.
- Form each chunk into a ball by pulling the edges down to the bottom and pinching it underneath.
- Place it seam side down on the counter and roll between your forefinger and thumb in a circle so the ball tightens and smooths out.
- Place on a baking sheet and repeat.
- Cover buns and let rise for another 1-1.5 hours until puffy and risen.
Baking Burger Buns
- Preheat oven to 425°F and place a large, oven safe dish on the lowest rack of your oven.
- Warm up a few cups of water in the microwave or a kettle.
- Brush the buns with milk and place on a rack in the upper 1/3 of your oven.
- Pour the warm water in the dish on the bottom rack and shut the oven door quickly.
- Bake for 20-25 minutes, or until golden brown.
- Transfer to a cooling rack. Once cooled, store at room temperature for 4 days, or the freezer for 3 months.
Video
Notes
Nutrition
Nutrition information and cooking times are provided as a best estimate. Values may vary based upon ingredients and equipment.
I don’t know why I’m just now leaving a review on this recipe because I’ve made it 100 times and if I mix it until it passes the window pane test it is perfect. It’s so soft, like a marshmallow, and it bakes up beautifully. The only change I’ve made is I substitute 10% whole grain flour. I bake them at 400° with steam for 8 minutes. I also divide the dough by 14 because that works for us.
I love that you give your recipes in grams. Makes you a more successful baker.
Thank You so much and keep making handprints in the flour ❤️ Nonna
Hi Jeanette, your review made my heart so happy! I’m delighted that it’s become a staple recipe for you like it has for ours!
Absolutely amazing! So easy to make, and the perfect chew. I added some coarse salt to the top of mine because I love salt, but otherwise no changes. I’ll never buy hamburger buns again!
Oh I love the idea of salt on top! I’ll try that next time, thanks for sharing your experience Bethany!
I have never made bread before. This recipe was my first attempt, and it turned out great! My 2nd time making it, I made smaller buns at 100g each. I made a loaf out of the rest. So yummy! It doesn’t last long. I’m now on my 3rd time making it and am going to do 2 loaves instead of buns. Thank you for the recipe! It is perfect!
I’m so glad you enjoyed them! I’ve never tried making them a loaf, but I’ll have to give that go now!
The recipe itself is good, made a beautiful soft dough.
However I followed the instructions regarding the oven safe dish and water and my glass casserole dish exploded as soon as I put the water in it. Huge mess, would not recommend.
Maybe my dish is low quality but I’ve baked lasagna from frozen in it without issue.
Next time I’d use a metal dish.
Sorry to hear this happened to you Sarah, I regularly use my glass casserole for this and that hasn’t yet happened. It’s possible there was a tiny hairline crack, I’ve had mason jars burst in the freezer from things like that, but it’s hard to say. Metal of course works just as well!
I would not add cold(ish) water to a preheated glass casserole dish. I have seen plenty of folks break this way. I would add the water before putting the casserole dish in the oven then let is sit a bit to heat up properly 🙂
Great recipe, ingredient quantities spot on. Made 8 really fab bread buns. Haven’t made bread in years, given me a boost to get back into bread making.
Matt, Thanks so much. I am so happy you have found the boost to get back to making your own bread. It is very satisfying. I bet you’ll also enjoy Homemade Hot Dog Buns.