Fluffy Pizza Dough Recipe {2 Pizzas!}
This page contains affiliate links. For more information please read my Disclosure Policy.

Skip take out and enjoy restaurant quality pizza at home with this from scratch Fluffy Pizza Dough Recipe. It’s versatile, easy to work with, made with simple ingredients, and has the perfect balance of textures.
It’s been an ambition of mine to create a fluffy pizza dough recipe for quite a while. We love a good wood-fired thin crust, but generally my family, kids included, prefer a thicker, fluffier crust – and this recipe nails it!
This recipe was actually born out of my homemade burger bun and hot dog bun recipes. I loved that dough so much I adapted it to pizza, and sure enough a huge win! It’s soft and fluffy on the inside but chewy and crisp on the outside.
It yields two large 12” pizzas, or can be refrigerated or frozen for another time. I’ve even used it to make flatbreads, calzones, and breadsticks.
Ingredients & Optional Add Ins
My version of fluffy pizza dough uses just 6 easy ingredients and comes together pretty quickly.
- Bread flour – That crisp, chew on the exterior comes partially from using a high gluten bread flour. You can use all-purpose, but it will yield a softer crust with less chew. It also hydrates differently, so you may need less water or more flour.
- Salt – I use coarse kosher salt in my dough. A full tablespoon seems like a lot but it’s key to flavor.
- Yeast – I always use active dry yeast, it’s a heck of a lot cheaper than instant and sold in bulk. You can use instant but skip the proofing step.
- Water – Warm water (not hot or the yeast will die) is needed to proof the yeast and dissolve the honey. You can swap in half milk for a softer crust.
- Honey – This is my sugar of choice and adds a delicate sweetness. Feel free to swap in white sugar instead.
- Olive oil – Fat makes dough much easier to work with and is key to the overall texture of the final bake. I like a nice extra virgin olive oil, but even canola or grapeseed can work.
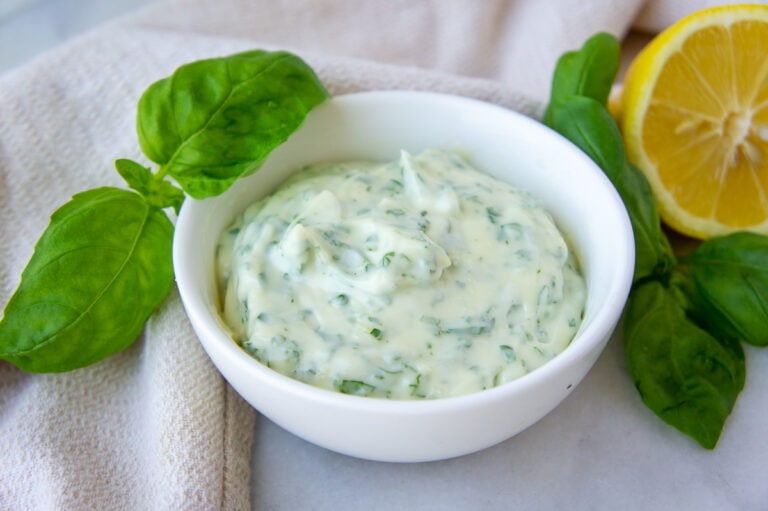
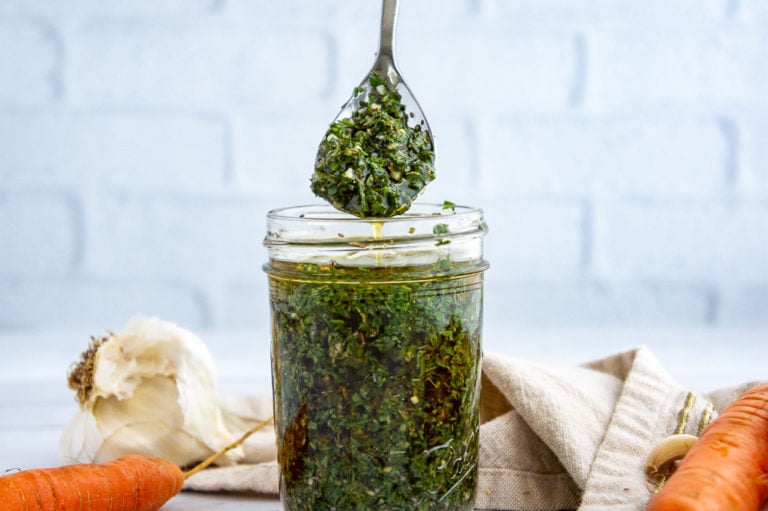
Of course there are lots of ways to make your crust more fun! I often add dried herbs, chopped roasted garlic, fermented garlic honey, or chopped caramelized onions to enhance the final flavor of the crust itself. It makes the most amazing flatbreads that way!
Use 1 teaspoon of dried spices and herbs like garlic powder, onion powder, basil, and oregano. Or, use 1-2 tablespoons of roasted garlic or onions.
Topping Suggestions
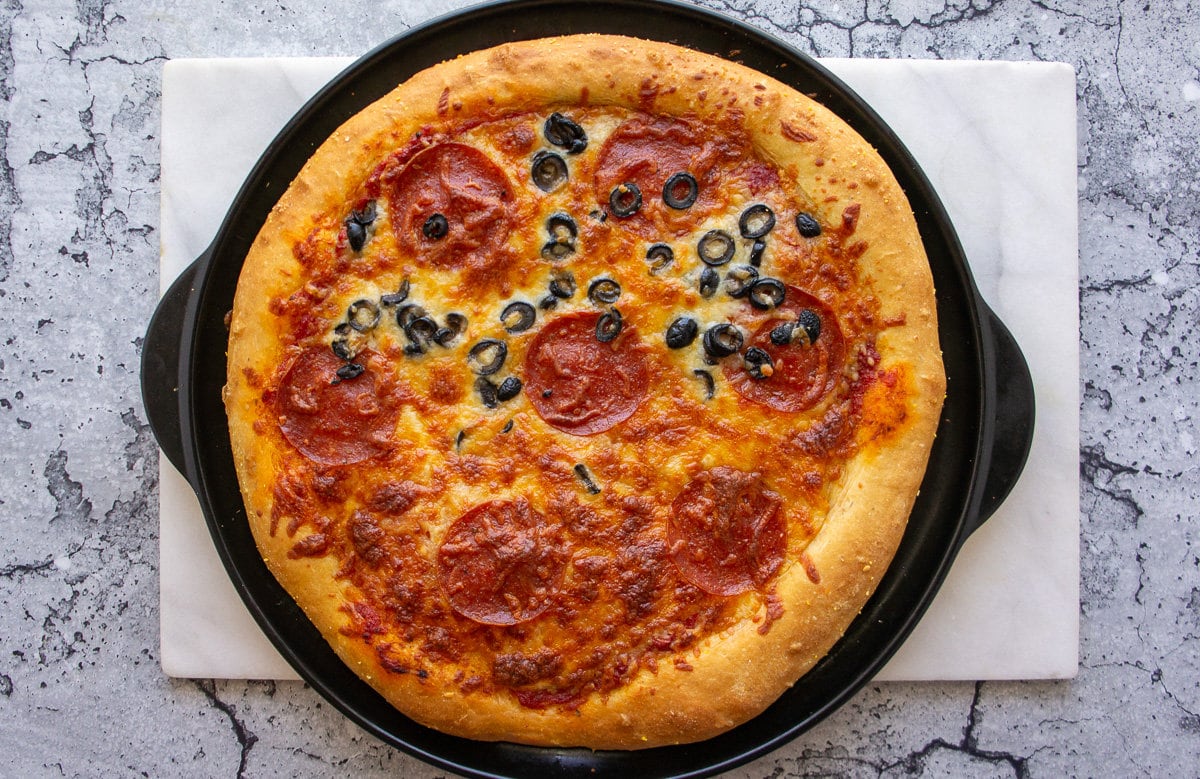
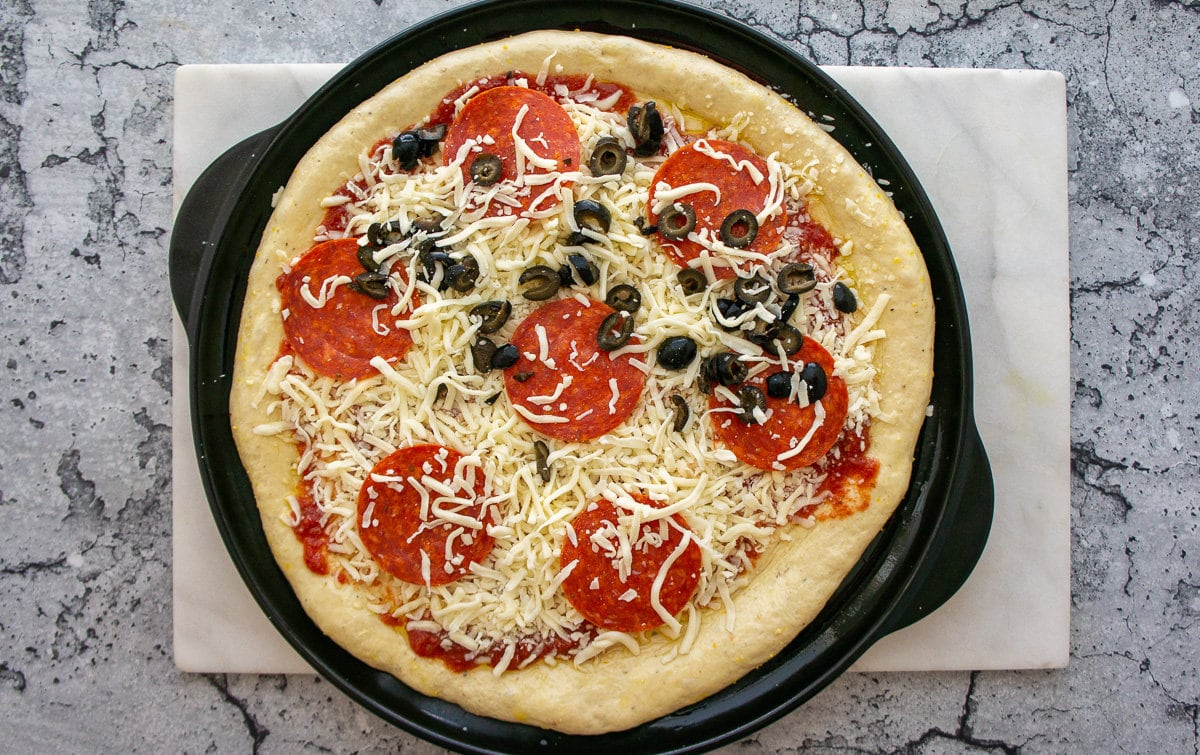
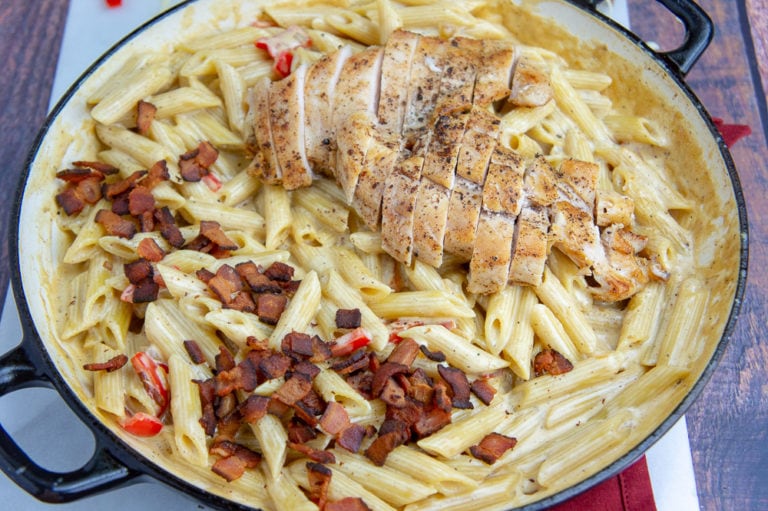
Of course you’re making pizza dough to make pizza! That means toppings! As you can see my kids prefer a plain pepperoni and olives with classic pizza sauce, but my husband and I love unique combos like potato leek pizza and artichoke pizza. Whether you’re using keto pizza sauce, white sauce, using only veggies, or loading it up with your favorite meats, this dough is perfect for it all. Get creative with your favorite toppings, here are a few of mine.
- Olive oil, roasted chicken, sun dried tomatoes, onions, roasted red peppers, and hot honey.
- Olive oil, prosciutto, arugula, parmesan and mozzarella, and balsamic drizzle.
- Bacon, mozzarella and fontina, roasted garlic, and apple butter.
Step by Step Instructions
Pizza dough is just a yeast-risen bread, and bread can be intimidating, I know. But it’s actually quite easy once you know what to look for.
Start by warming the water, it’s important to NOT exceed 110°F. If it’s hotter than that the yeast will die and your dough won’t rise. I use an instant read thermometer to check it out.
Then stir in the honey so it’s dissolved, that will help it incorporate much easier. Finally, stir in the yeast.
Despite common perception, it’s not actually necessary to proof yeast. Even active dry will rise when hydrated in the dough, it just takes longer. Proofing it in the water accelerates the rise and helps ensure the yeast is good. If your yeast is older, that can be reassuring.
Let it sit until the yeast is foamy, about 5-10 minutes. Mix the flour, salt, and dried herbs if you’re using them.
Next start mixing in the yeast/water mixture and olive oil. If you’re adding in soft or wet ingredients like roasted garlic, add them now. You can use a stand mixer with a dough hook on low speed, or do it by hand. I use a silicone spatula to get it started, then turn it out onto a clean, lightly floured surface.
Knead it until a very elastic, soft dough forms. Once it’s sticky and stretchy, but pulls away from the bowl or counter, then form it into a ball. Coat the dough and then cover the bowl with a towel and let it rise in a warm, draft-free space for 1-1.5 hours.
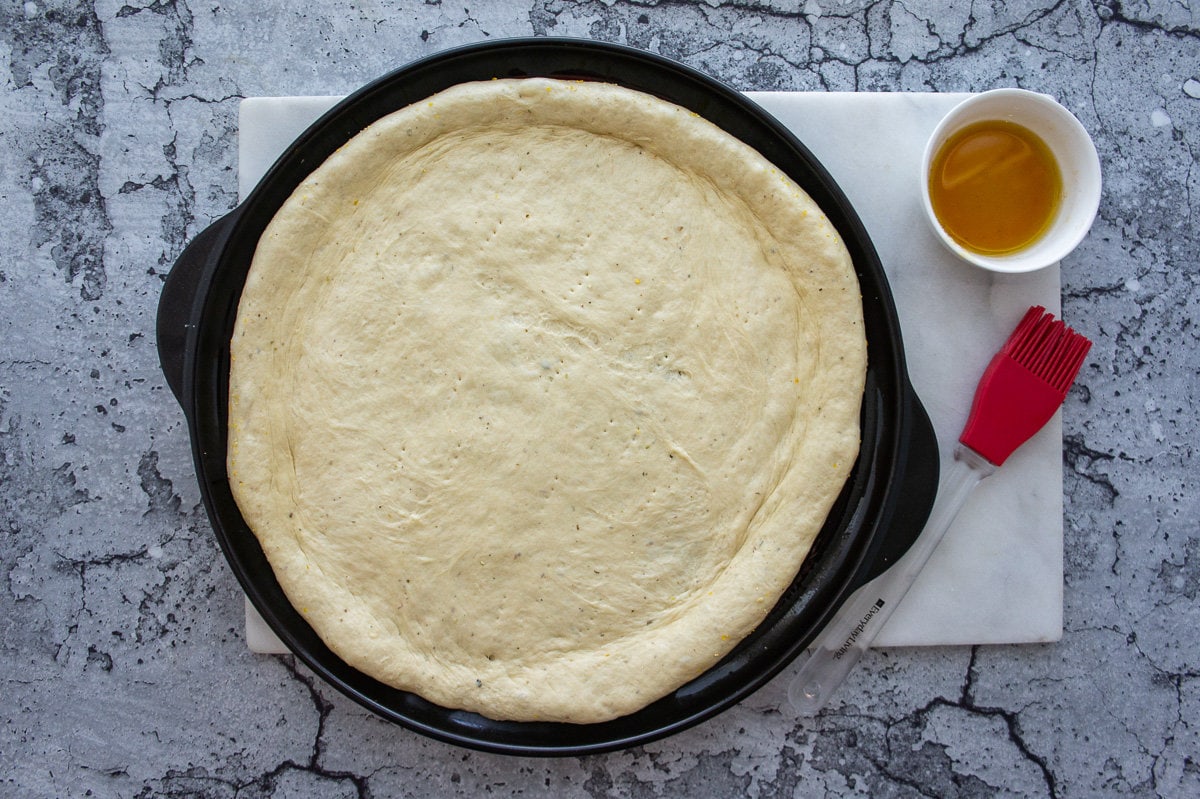
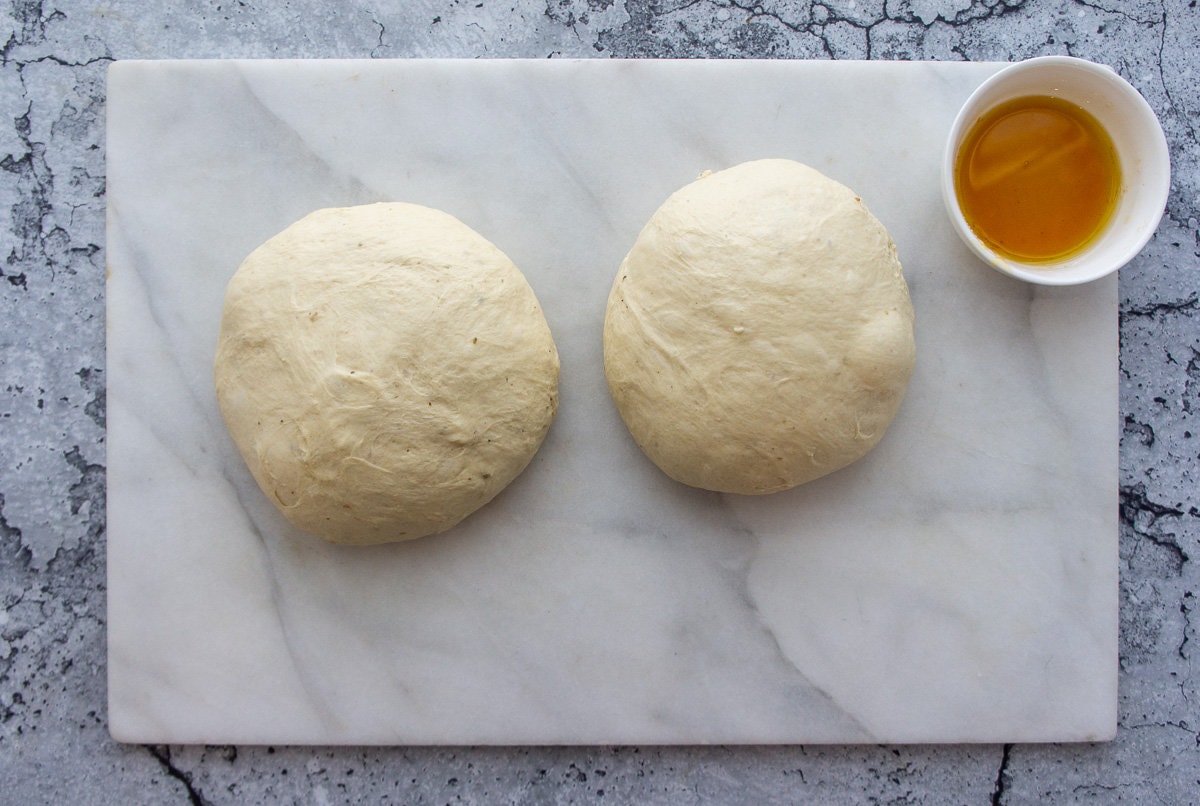
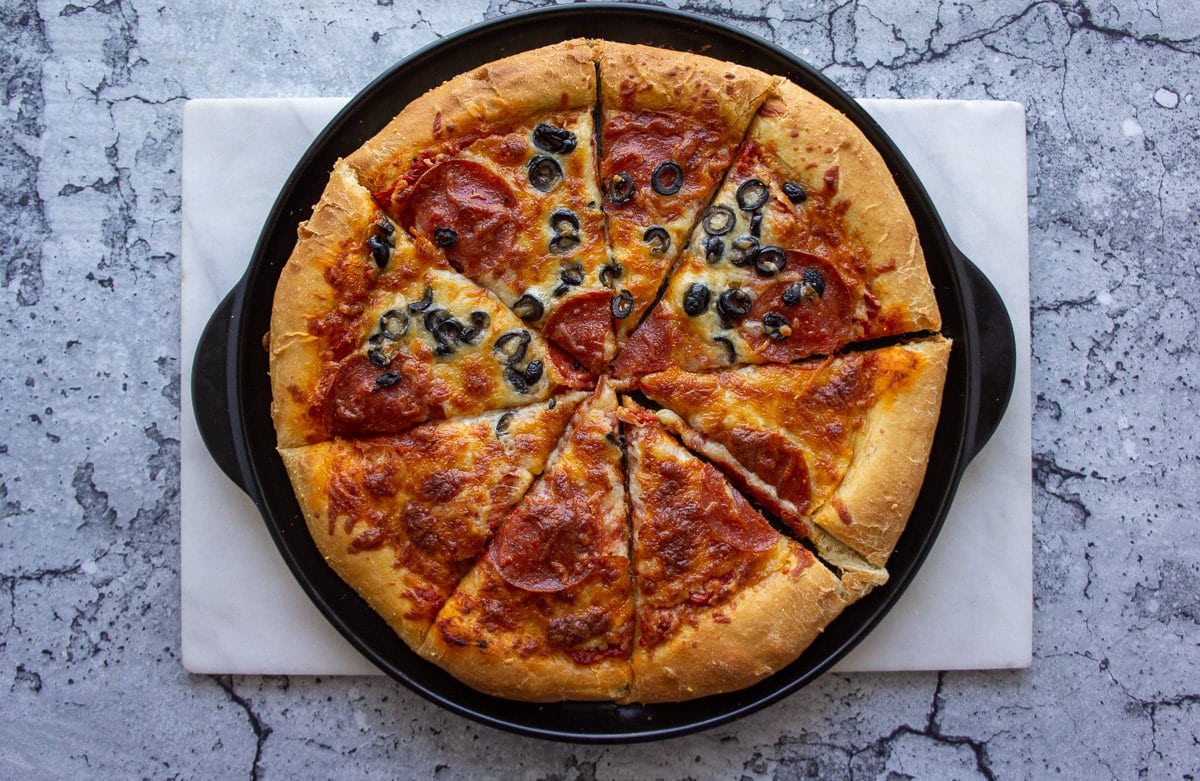
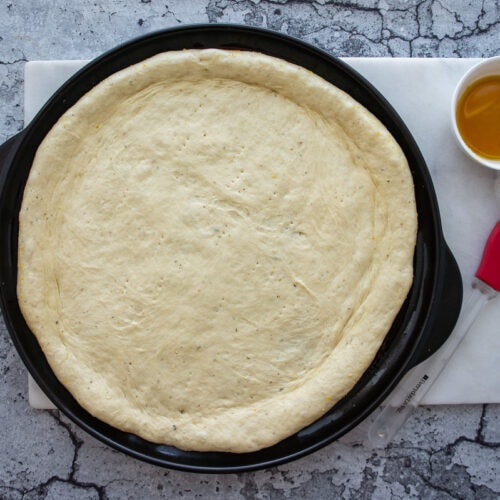
When the dough is doubled, punch it down and divide in half. Preheat your oven to 450°F. Then pull and press it into a circle (or any other shape you like!) on a lightly oiled pan. Brush the edges of the crust with olive oil, then top it with your favorite toppings and bake for 18-20 minutes.
Tips for Perfection
Pizza dough is easy when you know how to handle it! Here are some bonus tips that will help it turn out perfectly and delicious every time.
- Different flours hydrate differently – Different bread flours need different amounts of water to achieve the right dough consistency. If the dough is WET after kneading for 3 minutes or so, add 2-3 more tablespoons, one at a time until it’s sticky, but not wet and tearing easily.
- Don’t add too much flour! – It’s tempting, I know, to add more flour until the dough stops sticking completely, but that will turn your dough from fluffy and light to dense and dry. It needs to be sticky! Lightly wet your hands and oil the counter if your dough is too sticky to handle.
- Avoid rolling pins – I’ve used one and it’s fine, but definitely stops some of the puffy rise during baking. Instead I prefer to gently press and pull it out, even if that means an irregular shape.
- Create a thicker crust – Press out from the middle to create a thinner middle and a thicker crust. If you love an extra thick crust then roll the edges up and over and gently pinch down around the border.
- Oil the pan – I actually find this fluffy pizza dough bakes best when it’s placed on a lightly oiled pan, then slid into the oven. I’ve tried it on a hot pizza stone and an unoiled pan and it bakes fine, but that thin layer of oil really creates the best golden brown bottom on the crust. It works beautifully as a pan pizza crust for that reason!
Troubleshooting
I want you to have success when you make this pizza dough, if you run into any of these problems, then check out these tips to help you get back on track.
- Dough is too sticky – As long as it’s sticking mostly to itself, sticky is right. The moisture is needed to create the fluffy interior and chew. You can lightly oil or wet your hands to make it workable, or use a stand mixer so it’s less messy. If however the dough pulls apart when you touch it and seems very loose, add a bit more flour.
- Dough is stiff and dry – This is a problem of over-kneading or lack of water. Add a bit more oil or water and gently mix.
- The dough collapsed – That can happen if left to rise too long. It’s actually okay, just knead lightly for a few minutes, form back into a ball, and let it rise again.
- Dough won’t rise – Your yeast is probably bad. Unfortunately, there’s no method I’m aware of that can save it.
- Yeast isn’t foaming – You either tried to proof it in water that was too hot or the yeast is too old and dead. If you used warm water, try again, if not, then you’ll need new yeast unfortunately.
- Crust is dense after baking – It could be too little water, too cool of an oven, or over-kneading. Sticky dough that’s kneaded until elastic and baked in a hot oven is key.
FAQ’s
Yes, absolutely. You even have options. After the rise, punch the dough down and divide in half. Then place into separate large silicone bags or containers and freeze. Thaw in the fridge for 24 hours then use. It will rise again, and that’s completely fine. You can also roll out and par bake the pizza dough for 12 minutes. Then cool completely and top, and freeze flat. Bake from frozen at 425°F for 20-25 minutes.
Yes, you can make the dough and let it rise on the counter, then punch it down and put it in the fridge. Or you can simply mix the dough and place it in the fridge to do it’s rising. That method requires at least 12 hours to complete the rise.
No, you only technically need the first rise to bake it. Of course a second rise won’t hurt it! I often refrigerate the second half of the dough and it rises in the fridge again. It will bake just as nicely!
Kneading the dough actually plays a role in the texture of the crumb. So if you knead heavily, like I do in homemade sandwich bread, you’ll end up with a closed texture (no bubbles), which is not what we want with pizza dough. So just knead until it’s elastic, soft, and sticky.
And of course, now that you’ve mastered this fluffy pizza dough recipe, you’re more than ready to whip up some of my other tasty yeast breads!
- Asiago Cheese Bread
- Honey Wheat Bread
- Garlic Bread Rolls
- Homemade Burger Buns
- Homemade Hot Dog Buns
- White Wheat Sandwich Bread
- Chocolate Filled Bread
The Best Fluffy Pizza Dough Recipe
Ingredients
- 750 grams bread flour* 5.5-6 cups*
- 1 tabelspoon salt
- 4 tablespoons olive oil divided
- 450 mililiters warm water 1 3/4-2 cups*
- 1 tablespoon yeast*
- 1 tablespoon honey
Optional
- 1 teaspoon dried spices or herbs garlic powder, onion powder, oregano, basil
- 2 tablespoons chopped roasted garlic
- 2 tablespoons chopped caramelized onions
Instructions
- Warm the water to 110°F or less then stir in the honey and yeast. Set aside to proof for 5-10 minutes.
- Combine the flour, salt, and any dried spices or herbs you're using in a large bowl, or the bowl of your stand mixer.
- When the yeast is foamy, pour it into the flour mixture with 2 tablespoons of oil and begin forming a dough. Or, place the dough hook on your stand mixer and turn it to low. If adding wet ingredients like roasted garlic, add at this step.
- If mixing by hand, when the dough is shaggy but holding together, turn out onto a very clean, lightly floured surface and knead for 5-8 minutes, about 5 minutes on the stand mixer. When the dough is elastic, stretchy, and still slightly sticky, it's done.
- Oil a clean bowl and your hands with 1 tablespoon of oil and form the dough into a ball, then place in the oiled bowl.
- Cover with a towel and let rise for 1-1.5 hours, or until doubled, and the indent of your finger remains when gently pressed down.
- Punch down and turn out onto a clean work surface. Cut the dough in half.
- Preheat your oven to 450°F. Very lightly oil a baking sheet or pizza stone.
- Gently stretch and pull the dough into a circle (or whatever shape you desire), working from the middle outward, keeping a thicker edge for the crust. Each dough will yield a 12-13" pizza.
- Brush the crust edge on both pizzas with 1/2 tablespoon of olive oil each. Add your desired sauces and toppings.
- Bake for 18-20 minutes or until the crust is golden brown.
- To refrigerate unused dough, place in a large, airtight container for up to 3 days. Let it sit at room temperature for 5-10 minutes before rolling out.
- To freeze, place in a large freezer safe container and store for up to 3 months. Thaw in the fridge for 12-24 hours then roll out and bake as directed.
Notes
Nutrition
Nutrition information and cooking times are provided as a best estimate. Values may vary based upon ingredients and equipment.

Hi Mikayla I used the feature 2x to make a double batch. Unfortunately, it only changes the weighted amounts (ie 1500 grams of flour) however, for the water I use the liquid measure (2 cups) which was NOT effected by using the Amanda2x button 🙁 after I mixed in the flour, I realized it was way too dry and gradually added in another 1.5 cup of water until the dough felt right. Keep your fingers crossed for me that it works out!
Hi Charene, yes the darn 2X button is great and also the bane of my existence. It’s an application I add on to the site, not one I code myself it is troublesome for some recipes and I don’t precisely know why or when it will happen. I hope it turned out okay, but gradually adding water is precisely the way to go about it, so I hope it turned out well anyway!
Hi I’m wondering if u can give me the method if I’m using instant yeast thank you
For instant yeast you can skip step 1, where you activate the yeast in warm water. I still recommend mildly warm water to help the honey mix into the dough, but you can start with step two, then combine the honey, water, and yeast directly into the dough in step 3 with the oil. Best of luck, enjoy!
Can one use AP flour instead of Bread Flour?
Hi Susan, you absolutely can use AP instead. The end result might be slightly less chewy, but still delicious.
I have a great pizza dough recipe… but it’s sourdough, so it rises all day on the counter and then days in the fridge before I can use it, and that’s not helpful when you want pizza now! But most “regular” recipes I’ve tried have been underwhelming. This one is PERFECT. The dough comes out fluffy but also chewy, like real pizza crust and not just bread. It is fast and easy, and the timing is also very flexible. After the one hour rise, it is happy to sit in the fridge until I’m ready to make the pizza. If I add some sourdough starter discard to it, the extra dough is even better when I use it a few days later, but the recipe is great even without that.
Hi Leigh, thank you so much for such a thoughtful review. I appreciate you taking the time to share why you love it and how it’s gone for you! I hope you continue to enjoy it, and I’m adding sourdough pizza crust to my list of must-tries.
It looks like you docked the pizza dough in the picture but the instructions don’t say to – does docking the dough yield better results? Thanks!
Hi Abby, I did dock it for the pictures! It’s not necessary, I have done it both ways, and the dough always works for us. The reason I’ll go ahead and dock it is if I know it’s maybe not fully risen or if I notice lots of big air bubbles when I stretch it, which can make it balloon up when baking and leave you with a crazy-looking spot on your pie. That being said it certainly never hurts to dock it, it’ll make sure the bottom crust and all your toppings bake flat and even. Enjoy!
My wife and I have been making the same old pizza dough for the past 5 years so she suggested I find something new! We tried this last night and wow, it turned out beautifully! The only mistake was we over-baked it a little bit, so will try again with the 2nd dough soon!!
Great recipe, 5 stars!! Thank you!
I’m so happy you found my recipe. I know you’ll love it the second time around as well.
From a eaters perspective.
After using this recipe to make both Flat bread and pizza dough, we are forever converts. This is a fabulous recipe and has made it to the front our personal cook-book. Thank you sooooooooo much!
Your comment made my day! I’m so glad you like the recipe and will keep using it, give calzones and breadsticks a try too, it’s so versatile!