No Knead Drop Biscuits
This page contains affiliate links. For more information please read my Disclosure Policy.
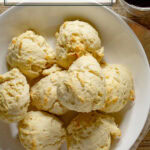

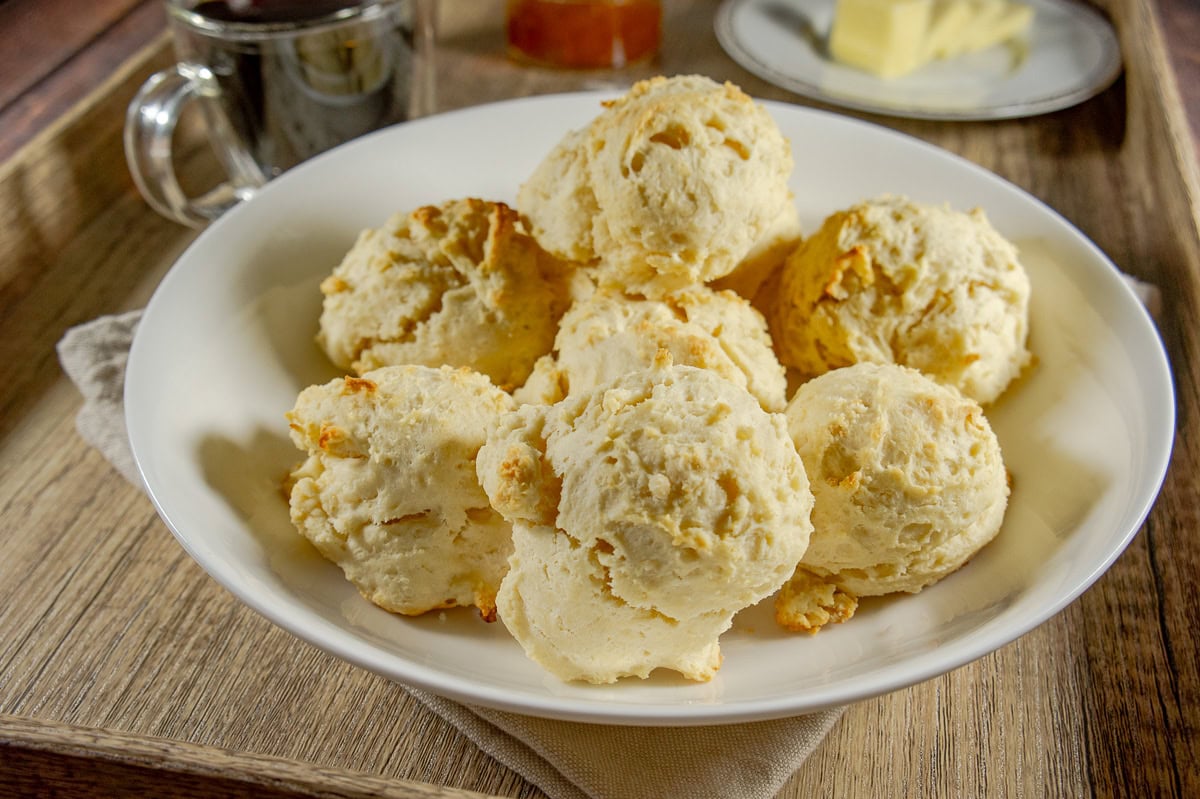
5 ingredients and 20 minutes are all you need to make the EASIEST No Knead Biscuits. Homemade Drop Biscuits are a quick and easy recipe that uses baking powder, milk, flour, salt, and melted butter to make a scoopable, fast biscuit that comes out of the oven fluffy, warm, and delicious.
I am not a morning person. My family will attest to this, and it often means that even though a yummy, freshly cooked brunch sounds amazing, I just can’t get my butt moving fast enough to do it before my kids get their hangry faces.
So I turn to quick and easy options more often than not. Sheet pan pancakes, whole wheat freezer waffles, and these no-knead drop biscuits are essentials in my breakfast tool kit. They’re quick and easy, but still made from scratch and 100% delicious. This style of biscuit is my go-to, they’re warm, fluffy, and tasty, but don’t need chopped butter or a biscuit cutter. Just a bowl, a scoop, and a hot oven.
Recipe Highlights
- They take just 5 ingredients are are done in 20 minutes.
- No knead biscuits require less tools, but are still soft, fluffy, and perfect with butter, jam, or gravy.
- There are endless variations! Add-ins and flavorings make them the perfect, versatile quick breakfast.
Drop Biscuit VS. Traditional
Traditional, buttermilk, drop biscuit, what’s the diff? Truly, just the mixing and shaping of them. All biscuits use very similar ingredients: flour, liquid (often milk), and fat (butter).
Drop biscuits use leavening agents like baking powder to create lift, rather than cold butter like a traditional biscuit. Which allows them to be simply scooped and ‘dropped’ onto a baking sheet, and are less fussy about shaping and folding of the dough.
Ingredients & Substitutions
This is a very classic, straightforward biscuit that uses basic pantry staples to make. I’ve shared variations and optional ingredients along with the 5 basic necessities below.
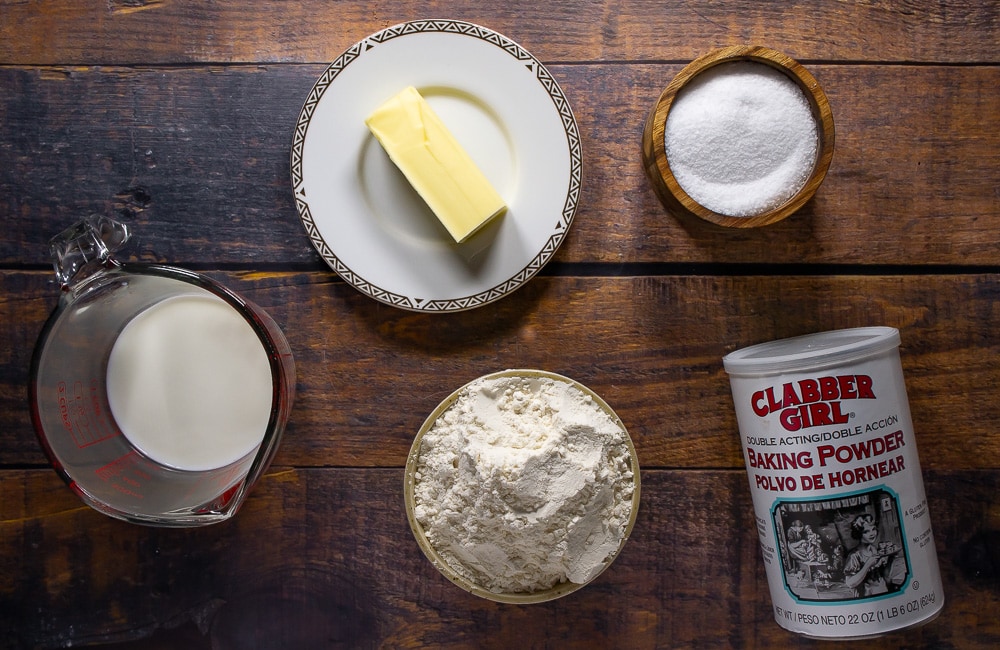
- All Purpose Flour
- Whole Milk – Buttermilk or non-dairy milk like oatmilk, soy milk, or almond milk work as well.
- Melted Butter – Unsalted butter. If using salted butter, skip the addition of salt.
- Baking Powder – These biscuits are sometimes called baking powder biscuits, because the addition of baking powder gives it the rise we’re skipping by not cutting in cold butter.
- Salt – Do not skip this unless you’re using salted butter.
Variations & Additions
We love changing these up with different ingredients. My ham and cheese drop biscuits are a quick and easy breakfast that can use up leftover holiday ham. Asiago biscuits are cheesy, and delicious when paired with hearty dinners like Dr. Pepper braised ribs. A touch of sugar and fruit makes sweet versions like this blueberry biscuit recipe.
- Meats: Use cooked meats like bacon, ham, or sausage to make these savory and hearty.
- Cheese: Experiment with melty cheeses like cheddar, swiss, or pepper jack, or try aged hard cheeses like Asiago, Parmesan, and Grana Padano for a more sophisticated flavor.
- Seasonings: 1-2 Tablespoons of sugar to sweeten, 1 teaspoon of black pepper for a bit of spice, or 1/2 a teaspoon each of garlic powder and herbs for a dinner biscuit.
- Fruit: Fresh or frozen fruits like blueberries, chopped strawberries, raspberries, or cherries are great. Try dried options like raisins, apricots, or dates too.
- Others: Go for sun-dried tomatoes, chopped green or black olives, sunflower seeds, nuts, or even chocolate chips to create endless fun flavors.
Step by Step Instructions
The ease of making these little beauties is that you literally just measure, mix, scoop and bake. I promise it is that simple. In 20 minutes you’ll have 8 gorgeous, tender biscuits ready to eat. Feel free to double or triple the recipe as needed.
Step 1: Preheat and Make the Dough
Preheat your oven to 425°F and line a baking sheet with a silicone baking mat or parchment paper for easy clean up. Greasing is not necessary.
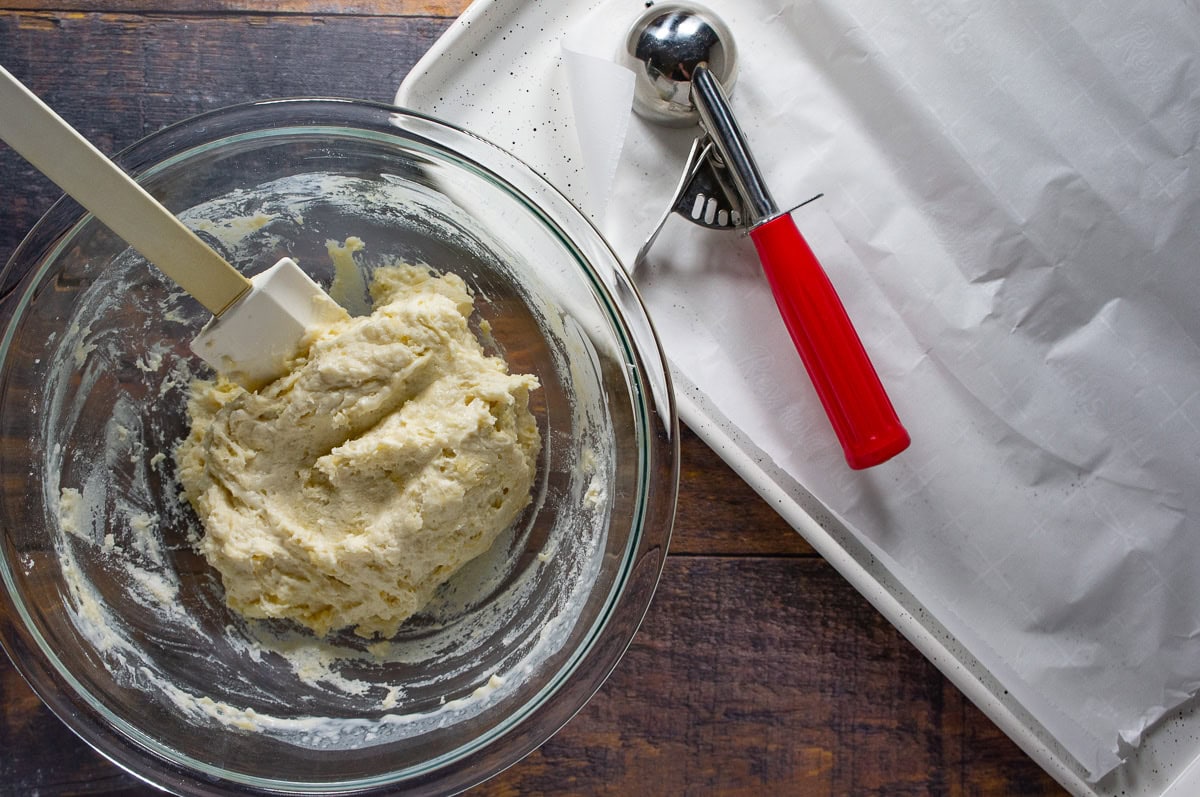
Melt your butter, and set it aside to cool with your measured milk. Measure flour into a bowl using a kitchen scale, or by carefully spooning flour into the measuring cup and leveling it. Stir in the baking powder and salt.
Pour in the milk and butter into the dry ingredients and GENTLY mix the dough. Make sure all the dry spots are mixed in, but don’t overwork the dough, or the biscuits can become dry and dense. The dough should be sticky and thick enough to scoop.
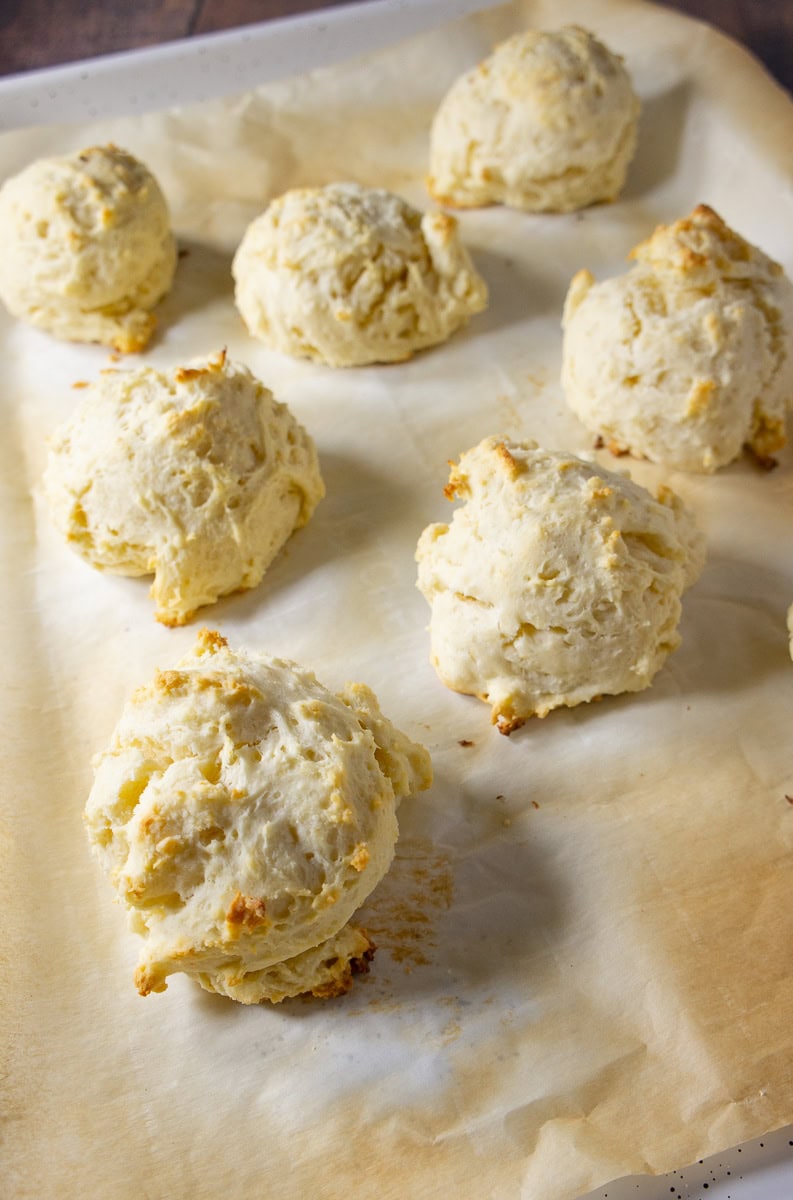
Step 2 – Drop Biscuits onto the Baking Sheet and Bake
Use a cookie scoop to drop consistently sized biscuits onto the prepared baking sheet, leaving 1/2″ between each. Brush with milk for added browning if desired.
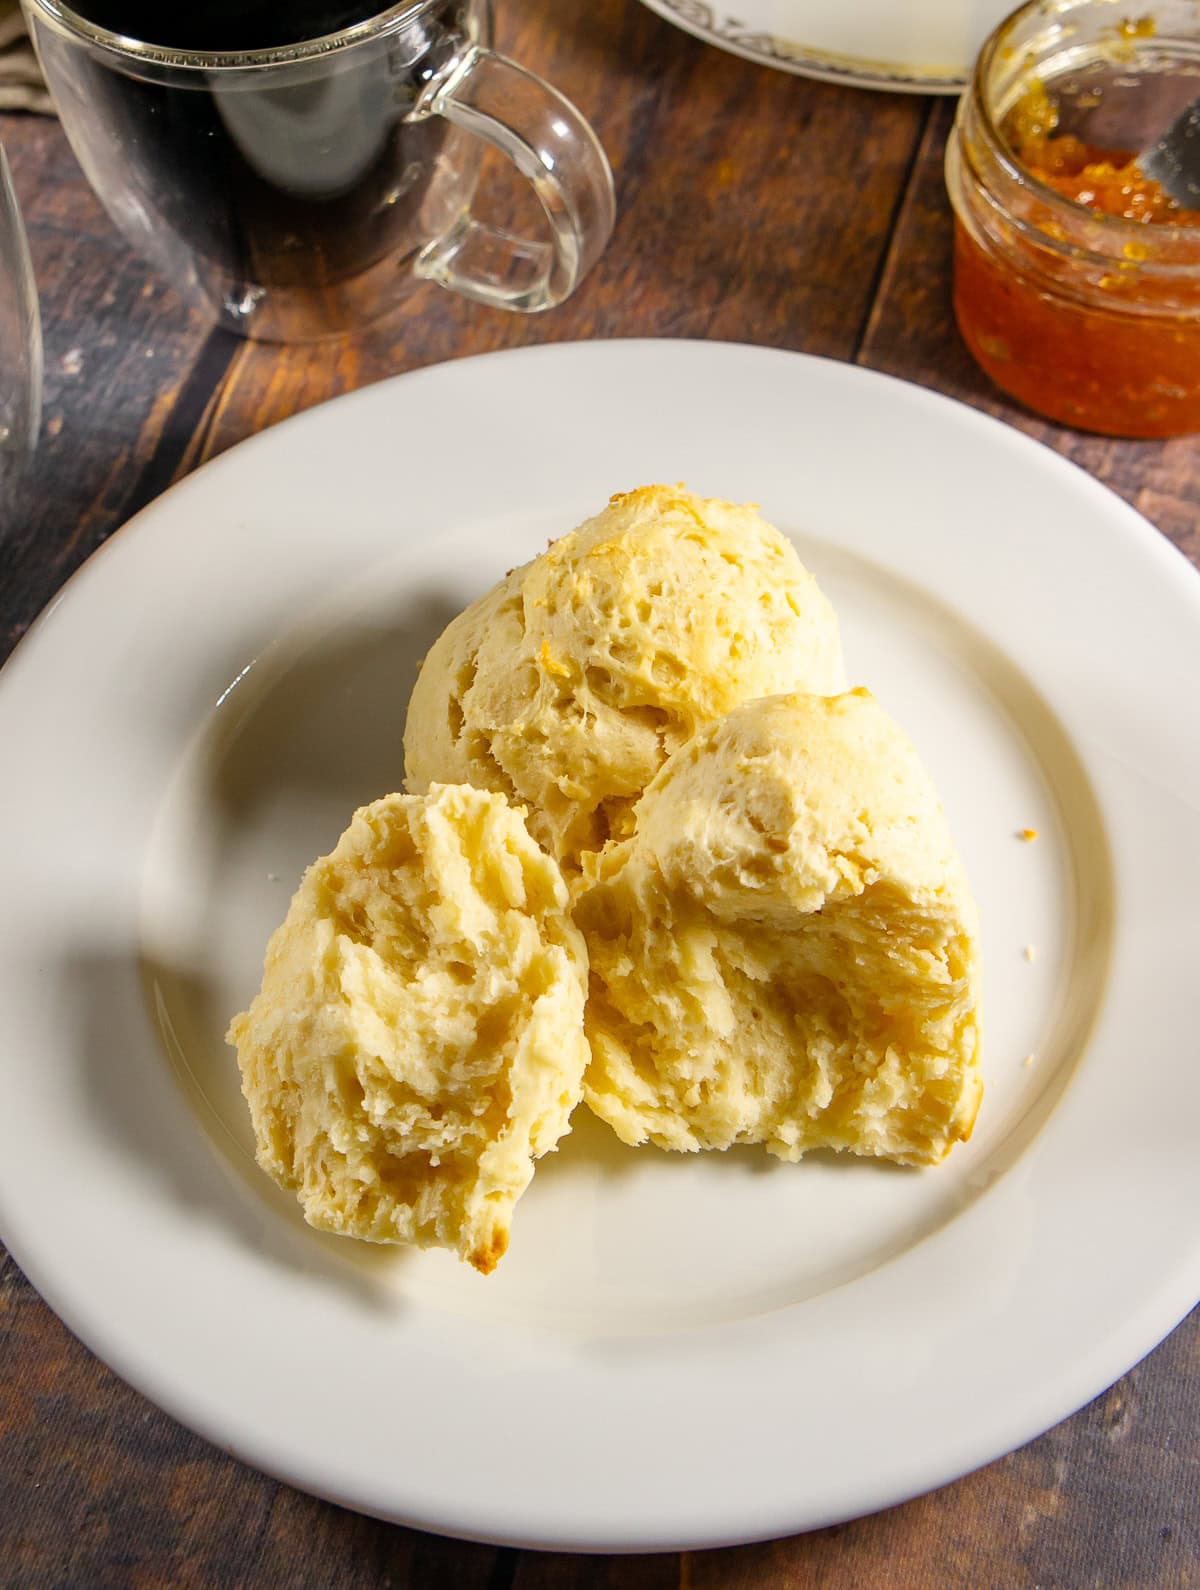
Bake for 12 minutes, until bottoms have gently browned, then remove and let them cool. Serve them with dinner, lunch or breakfast. They’re great with strawberry watermelon jam, apricot jelly, pomegranate jelly, nut butter, apple butter, any type of gravy, or a pat of butter! Store leftovers in an airtight container for up to 3 days.
FAQ’s
You can substitute up to 1/2 of the flour for wheat flour, for a gluten free drop biscuit I recommend a 1 for 1 gluten free flour blend. I haven’t tested nut flours or other gluten free flours yet, please let me know if you do!
Yes, you can double or triple the recipe as needed. Or, for a small batch, cut the recipe in half for 4 biscuits.
Likely answer is you forgot baking powder, or used baking soda instead. Baking soda will not yield the same results, and no leavening agent will lead to a flatter biscuit.
There are two possible causes, most commonly that the dough was overmixed. Once you add the butter and milk to the flour, just mix until the flour is incorporated. Continue to mix past this point will develop unneeded gluten in the dough and create a tough biscuit.
OR
You’re oven temperature could be low. I have an OLD oven and my oven thermometer often registers higher than I have it set and I adjust accordingly. An oven thermometer is an easy investment that helps accurate baking. You need a high temp and quick bake for the proper biscuit texture.
Improperly measured flour or too little milk/butter. I recommend a kitchen scale for baking because volume measuring cups are often inconsistent. Fluff the flour with a fork and spoon it into your measuring cup for the most accurate scoop.
I sincerely hope you enjoy these VERY easy no-knead biscuits. They’re a busy foodie mom’s answer to hot, warm breakfast that you can get in the oven while your coffee is still hot. Check out my other yeast-free breads and baking recipes, and enjoy!
- Honey Butter Cornbread
- Cornbread Muffins with Corn
- Types of Quick Breads
- Banana Oat Chocolate Chip Muffins
- Blackberry Buttermilk Coffee Cake
Love this recipe? Please consider leaving a 5 star rating in the recipe card below, or a comment to share your experience with fellow home cooks. I hope you enjoy and as always, Happy Eating!
No-Knead Drop Biscuits
Ingredients
- 9 ounces All purpose flour 2 cups
- 6 ounces whole milk 3/4 cup
- 3 ounces unsalted butter 1/3 cip
- 1/2 tsp salt
- 1 tsp baking powder
Instructions
- Preheat oven to 425°F. Prepare a baking sheet with parchment paper.*
- Melt butter and set aside to cool slightly. Measure out milk.
- Measure flour into a mixing bowl. Add in salt and baking powder and stir to combine.
- Pour in milk and melted butter to the dry ingredients and mix gently, until dough comes together with no dry spots.
- Drop large scoops of dough onto baking sheet and bake for 12 minutes, or until lightly golden on bottom and beginning to be golden on top.
- Remove from pan to cooling sheet and serve immediately or store in an airtight container (once cooled) for up to 3 days.
Notes
Nutrition
If you made this, please tag me on Instagram or Facebook and share the foodie love with fellow home cooks. Thanks for visiting!
Nutrition information and cooking times are provided as a best estimate. Values may vary based upon ingredients and equipment.

I had a hankering for biscuits but didn’t feel like kneading. This was the perfect recipe for my stand mixer and cookie dough scooper. I made mini biscuits in the toaster oven. Leftover dough is perfect for soups/stews calling for dumplings.
What a great idea for left over dough. I’m so glad you found my recipe and it worked so well for you!
Just made thess! I accidentally poured 1 cup instead of 3/4 when I had to start over with milk (found something floating in bowl lol). So I scooped a little more flour which might have glutenized it too much (if that’s a word) by overmixing? I had to cook them an extra 8 minutes. Also added a little shredded cheddar since I’m serving with BBQ ribs. Next time I’ll make them right LOL but they were still amazing!
Hi Jasmine, I’m so glad they still worked out (and love the idea of cheesy biscuits with BBQ ribs). I hope they’re still as good next time!
I recently tried your recipe for Homemade Drop Biscuits and I must say, I was impressed by how easy and delicious they were. The recipe required only a few basic ingredients and the biscuits were ready to bake in just a matter of minutes. A Must Make addition to any breakfast or brunch table.
Dani, I’m thrilled you found them simple to make and delicious enough to add them to your must have list!
These drop biscuits were a lifesaver. I was craving biscuits but didn’t want to put in so much effort. These were the perfect texture and saved me some steps!
Thanks Tristin, I’m happy they worked out so well!
This was so light, fluffy and buttery. They were perfect for breakfast or as a side for dinner. I’ll never go back to store-bought biscuits again!
That’s great Sangeetha, I love you will use this recipe for years to come!
These were so easy and came out really tasty. My kids love biscuits so they enjoyed helping make them, so it doubled as a fun way for them to see how foods are created.
That is great Kristina. My kiddo loves being in the kitchen with me too! I bet they would love Ham And Cheese Biscuits too!
These were so easy and turned out great. I froze the leftovers and plan to use them to make mini bacon egg and cheese sandwiches later on. A great recipe!
Thanks Isa, Great idea for using the left overs.
I made these for Easter breakfast and we all loved them! And I love how easy they were. I don’t have time to fuss with cutting them out! Thanks.
They are quite simple to make and always turn out just right for breakfast or dinner! So glad you loved them.
This is the kind of recipe I like, easy, fast and super delicious. I made them for breakfast and my family already asked me to make them again. And I can think in a hundred different ways I can pair them.
Thanks Silvia, I would love to hear about the other ways you decide to use them!