White Wheat Bread
This page contains affiliate links. For more information please read my Disclosure Policy.


This white wheat bread recipe is a soft, homemade whole wheat white bread ideal for sandwiches, toast and more! A combination of white whole wheat flour and bread flour result in a lovely, light loaf-style bread that slices beautifully.

I love bread. I love kneading bread, the slow rise of the dough and the smell of fresh bread filling the house. I make it A LOT. I’ve shared some fun recipes like Garlic Bread Rolls and Asiago Cheese Bread. But I figured it was probably good share a staple in my house, a simple, but delicious White Whole Wheat Bread recipe that has held together many a sandwich in my kitchen. I typically rotate between it and my Honey Wheat Sandwich Bread to mix things up.
It’s a simple combo of flours and basic bread ingredients and it’s a delicious mix of white bread and whole wheat bread. Some of the nutrition of whole grain bread, with the appearance of white bread. Your kids will never know…
Wheat Bread vs. White Bread
I know, this bread looks like white sandwich bread, but it’s not! One third of the flour is made up of a white whole wheat flour. But what really is the difference?
Simply put whole wheat flour is just that, whole. Unlike white flour, which is heavily refined, whole wheat flours still contain the germ and the bran, meaning they have a lot more nutritional value, and in my opinion, flavor. White whole wheat is simply a whole grain flour made from white wheat berries. Your typical whole wheat is made from red wheat berries that aren’t as sweet.
So if wheat flour is so much better, why use any refined flours in this recipe? The fact of the mater is that I’ve yet to get a wheat flour to behave like my white flours do. A combination creates a happy texture, flavor, and rise.
Ingredients & Substitutions
Like most breads, this loaf of homemade sandwich bread is a simple combination of easy to find, common ingredients.

- Bread Flour – 2/3 of the flour for this recipe, and essential for developing the strong gluten that gives the bread it’s texture.
- White Whole Wheat Flour – White whole wheat gives the bread an added natural sweetness that whole wheat flours don’t otherwise have, and it’s the reason this loaf still looks like a classic sandwich loaf.
- Salt – ALWAYS, just always.
- Sugar – Just a bit helps the yeast thrive, and adds flavor.
- Yeast – Creates all that lovely air!
- Butter – Fat equal richness and helps with texture. Coconut oil is a good alternative.
- Milk – I like milk for it’s added richness and flavor in this homemade sandwich bread. Water can be used, so can non-dairy milks, but they may affect flavor.
Step by Step Instructions
As with most bread recipes, the hardest part is the waiting! While this recipe does require some mixing and kneading, it’s all very simple and I’m going to walk you through every step!

Step 1 – Make the dough
Heat your milk to 105°F, but do not exceed 110°F, or the yeast will die. Mix in half the sugar, then the yeast. This will activate your yeast, and get very bubbly and foamy in about 5 to 10 minutes.
Melt your butter, and set aside to cool slightly. Then mix all of your white whole wheat flour, plus 2 cups of bread flour in a bowl and set aside. Keep the remaining bread flour nearby.
Pour in the foamy yeast mixture, salt, melted butter, and remaining sugar and begin to mix. Fold and stir until all the flour is absorbed. The dough may appear sticky. Turn it out onto a floured surface and knead, add 1-2 tablespoons of flour at a time until a smooth, shiny, elastic dough forms. You may not need all the flour.
This should take about 10 minutes; the dough should still feel lightly tacky. Place in a lightly greased bowl and turn the dough so all sides are greased. Cover and let rise in a warm area for 1-2 hours.
If you don’t own a kitchen scale, but like to bake….invest! Accuracy, ease, and consistent baking is enough to be worth a 12 dollar scale!

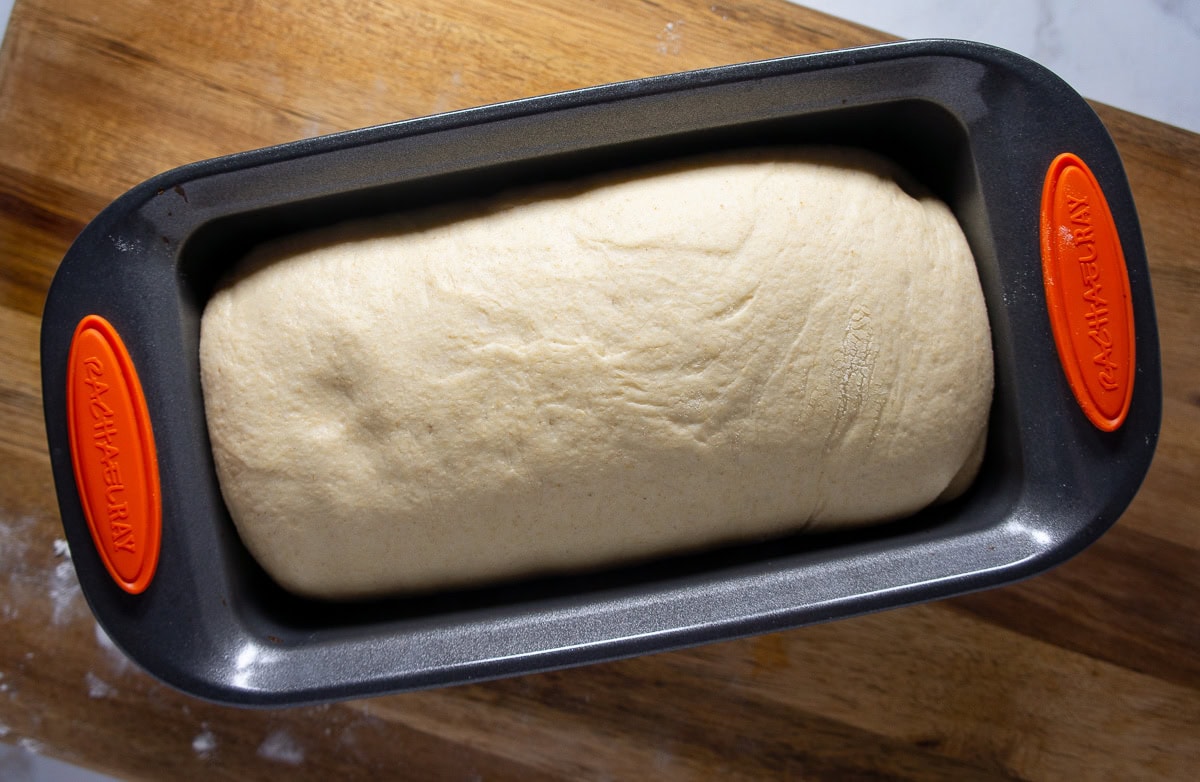
Step 2 – Punch down and shape dough
When your bread dough is doubled in size push down to knock out the air and turn it out onto a lightly greased or floured surface. Measure your bread pan. Press the dough into a rectangle the same width as your pan using your hands. The dough should be pliant and soft. If it snaps back when you push it, let it rest for 10 minutes and try again.
Starting on the long edge, roll it up into a cylinder. Keep it as tight as possible. Place your rolled-up dough into a 9×5 loaf pan. Cover and let rise again until doubled or puffy and higher than the edge of the pan, anywhere from 45 minutes to an hour.
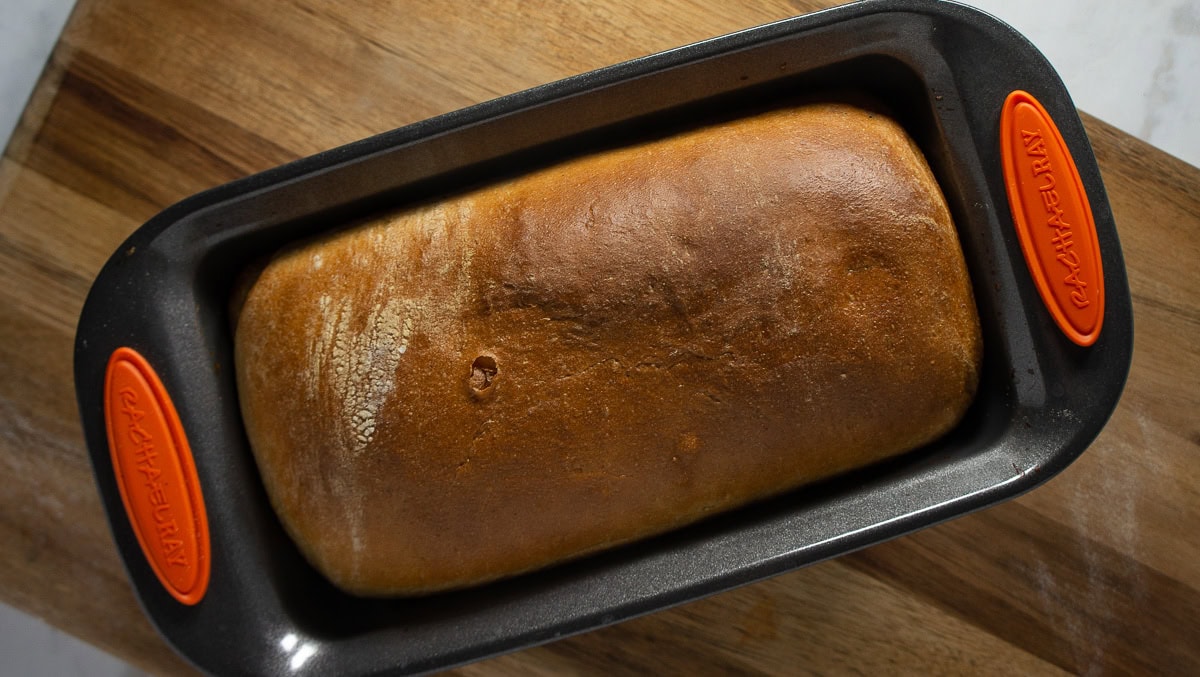
Step 3 – Brush and Bake
Preheat the oven to 350°F after 35 minutes of the dough’s second rise. Check that the dough is risen by very gently pressing a finger into it. If it springs back, the dough is not done rising, if it stays sunken, it’s ready.
Brush the top gently with a bit of milk and place in the preheated oven. Bake for 35 minutes, or until deeply golden brown on top. Remove from oven and carefully tip the pan onto a cooling rack to remove the bread loaf from the pan. Quickly turn the bread right side up and allow it to cool completely before slicing.
Slice as needed, and store the remaining bread in an airtight container for up to 5 days. If possible, store cut side down to prevent drying out. Feel free to portion and freeze slices if you know you won’t eat it that quickly. Likewise, double the batch and freeze a second loaf once cooled completely.
FAQs
Yes! It won’t have the pure white bread appearance, and may have a slightly nuttier flavor, but it’s perfectly delicious to use as a 1 to 1 replacement.
In the years before pasteurization this was true. Bacteria, proteins, and some enzymes present in natural milk can inhibit the growth of yeast. Scalding the milk, or bringing it to a point of steaming, but not boiling, kills the bacteria, denatures the proteins, and stops those pesky enzymes from getting in the way of yeast.
Nowadays the pasteurization process most of our milks go through solves this problem for us and we can skip the scorching step. However, if you use unpasteurized milk, please follow this guide to scalding milk. Then allow it to cool to at least 110°F before adding your yeast.
Yes! If you’re not a fan of weekly bread baking like myself, go ahead and double away. You’ll need 2 loaf pans of course to baking at the same time. If you don’t have 2 pans, and would still like to double this recipe, you’ll have to take an extra step.
Divide the dough in half after the first rise. Shape both, place one in the pan, and the other wrapped in plastic in the fridge. Follow the recipe for the first loaf. Once your first loaf is out and cooling, let the loaf pan cool and then add the refrigerated dough to it. Let it rise at room temperature, probably closer to 1 1/2 hours since the dough is cool, and then bake as directed.
I don’t recommend baking this in the bread machine, but you can use it to make the dough. Simply follow your bread machine’s instructions for adding ingredients then set it to the dough cycle. When it’s done, remove and shape, then bake as directed.
Yes, you can use instant yeast. Replace the active dry with instant 1 for 1, then skip the activation step in warm milk. Instead, simply add the yeast, salt, and sugar to the flour. Then add in the milk and melted butter. Mix as directed.
Enjoy!
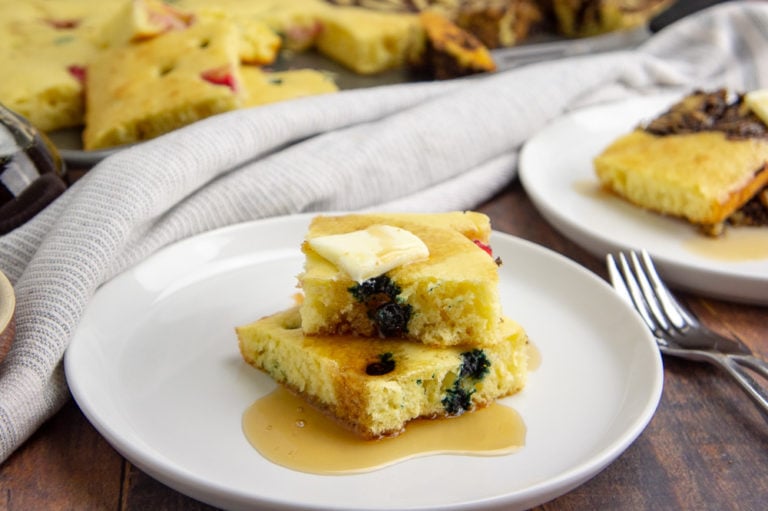
Now you have a healthier, satisfying homemade sandwich bread recipe in your back pocket. It makes lovely french toast, especially if you slice it thick, but I also like enjoying any of the following recipes with it! Have fun, and as always Happy Eating!
- Apple Pecan Chicken Salad
- Homemade Nut Butter
- Homemade Strawberry Jam
- Homemade Pomegranate Jelly
- Homemade Loquat Jam
- Pear Butter

White Wheat Homemade Sandwich Bread
Ingredients
- 10 oz whole milk + 1/2 tbs for brushing
- 1 1/2 tsp active dry yeast
- 2 tbs granulated sugar
- 1 tbs butter, melted plus extra for greasing the rise bowl
- 1 1/2 tsp salt
- 5 oz white whole wheat flour about 1 cup
- 9.5 oz bread flour about 2 cups, minus 2 tablespoons
Instructions
- Microwave milk to between 95°F and 110°F. Add in yeast and 1 Tbs of sugar, stir and let sit until yeast is foamy and bubbled on top. About 5 minutes.
- Meanwhile, melt butter and set aside. Measure white whole wheat flour and 5 ounces (about 1 cup) of bread flour into a large bowl or a stand mixer with the salt and remainder of sugar.
- When yeast/milk mixture is ready, add it to the flour mixture with the melted butter. Mix with a sturdy spoon or spatula, or fit stand mixer with a dough hook and turn on to medium speed until dough comes together in a sticky shaggy dough.
- Begin adding remainder of bread flour 1 to 2 tablespoons at a time until dough pulls away from sides of bowl.
- Lightly flour a clean work surface and your hands, and turn dough out onto surface. Begin kneading by pushing down and out with the palms of your hands. Rotate and fold and repeat. The dough will become less sticky as you knead, simply flour board and hands if dough sticks too much to handle, but do not over flour.
- Knead until dough is smooth and elastic, but slightly tacky. Grease a large bowl with a little bit of butter (or oil) and form dough into a ball. Place in bowl, rotate it to coat all sides with grease, and cover with plastic wrap. Rise until doubled, 45 mins to 1 hour.
- Get loaf pan ready by a lightly floured work surface. Turn dough out onto surface and gently press into a rectangle the same length as your loaf pan, and about 6 inches wide. Try to keep the dough even thickness.
- Roll dough up from the long edge, keeping it tight. Place dough into the loaf pan and cover with plastic wrap. Let rise until peeking up over the edge of the pan, about 45 minutes to 1 hour.
- After 35 minutes, preheat oven to 350°F. Check dough at 45 minutes, dough should fill out the pan, and when gently touched have a bit of resistance, but not feel dense. If needed let rise longer. When ready, brush top of loaf with reserved milk.
- Place in oven on middle rack and bake for 35 minutes.
- Remove from oven, and carefully remove from loaf pan immediately onto a cooling rack. Allow to cool completely before slicing or storing.
- Store in a plastic bag in a cool cupboard for up to 5 days. When slicing use a sharp serrated knife.
Notes
Nutrition
Originally published 7/28/2019, Updated 3/31/2020
Nutrition information and cooking times are provided as a best estimate. Values may vary based upon ingredients and equipment.


Love this bread the best so far! The only thing is I have to add a lot more flour, recipe makes it way too wet.
Thanks for sharing Cara, sometimes different flours can hydrate very differently so I’m sorry to say it’s hard to predict for every baker, but I’m glad the flavor is working well for you and you’ve adapted it to your kitchen!
I found it was too sticky to knead with the recipe’s proportions. I added much more white flour (almost another cup). It was still a little sticky when I set it to rise. Perhaps the liquid weight conversion to ml wasn’t correct, but I did convert from liquid weight in oz to liquid ml, it was 295ml. Perhaps that was too much? I suggest liquid measurement should be in something other than weight for those of who don’t have a scale.
Hi Sandra, thanks for sharing your experience. It’s hard to say precisely what happened, different flours and different brands of flours have different hydration levels, so troubleshooting can be tricky, but thank you for your suggestion and sharing how you managed it!
This bread is fantastic! I don’t eat much bread but bake it for my husband. I couldn’t keep my hands off this. Delicious! I sent this recipe to my sister and she loves it too! Thanks!
Thanks Dawn, that’s really nice to hear! I hope you both continue to enjoy it!
Loved it. Simple 7 ingredients
Very good flavor and texture. This is my go to recipe for bread
Elaine, you have made me happy to know you have a ‘go to’ bread recipe from my blog. You may also enjoy Honey Wheat Bread
i made this bread today in my bread machine including bake. net time i’ll use dough cycle but it was so good i was flabbergasted. the flavor and crumb wonderful. i’e been a bread baker for 30 plus years and when i saw 1 tb of melted butter i thot hmm this can’t b right. the first time i measured my ingredients too. thanks for the recipe. trying the honey wheat next
Diana, I’m so happy you liked the bread so much. I would love to hear how the Honey Wheat comes out for you as well!
Love this bread!! And, you are right about the measuring of the flour. I prefer to measure it by weight also, so thank you for including that.
You’re very welcome! Glad you’re enjoying the bread 🙂