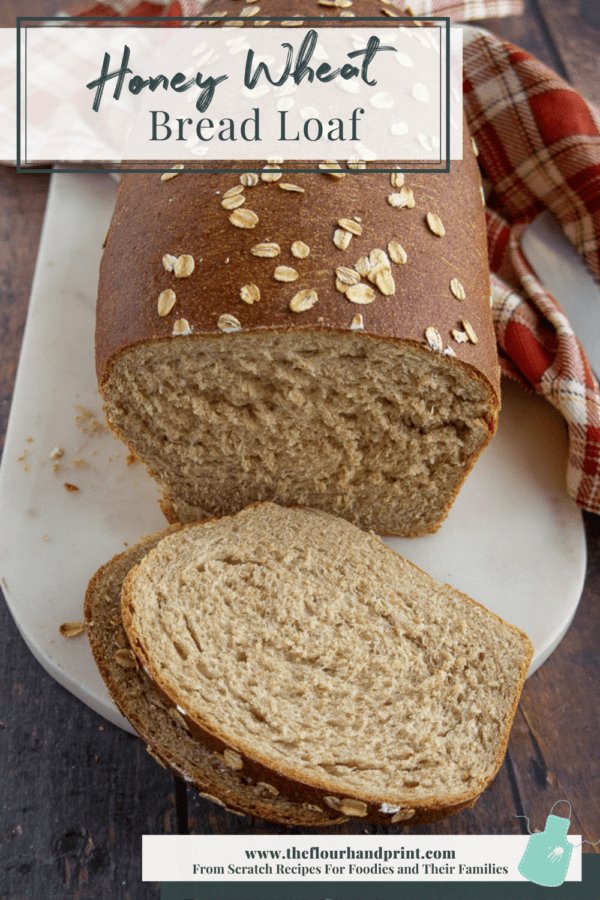
Honey Wheat Bread
This page contains affiliate links. For more information please read my Disclosure Policy.
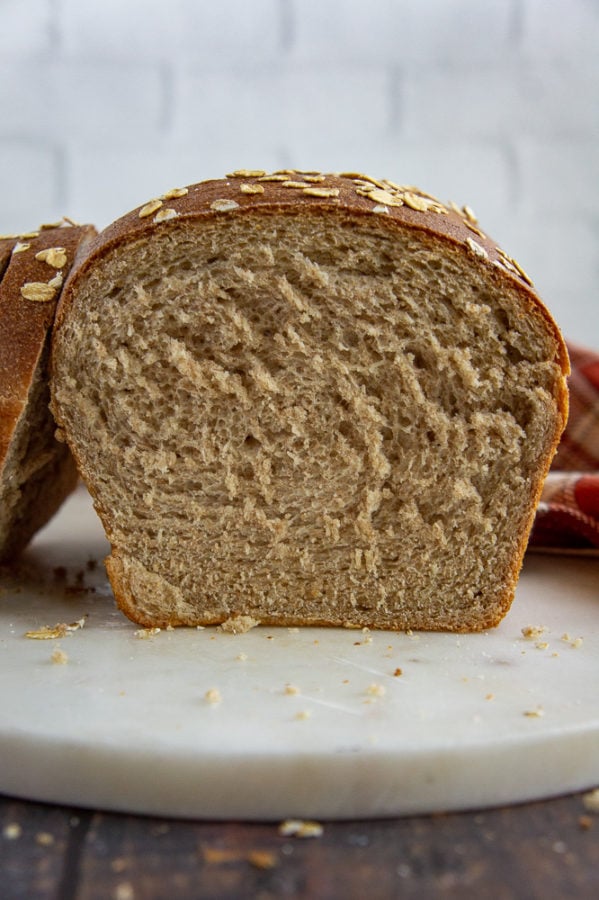
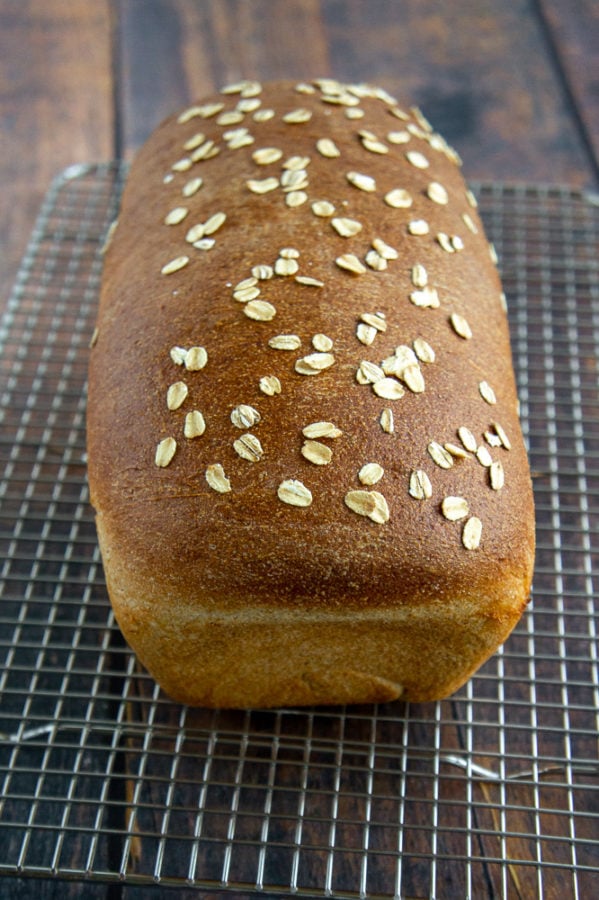
Honey wheat bread is a whole grain sandwich bread recipe that is lightly sweetened, fluffy, and easy to make. Get my tips on rising, shaping, and baking to golden brown perfection.
It has been way, way too long since I added a bread recipe, let alone a sandwich-style loaf to the blog. I love my white wheat loaf recipe and still make it often, but this new honey wheat bread is something special.
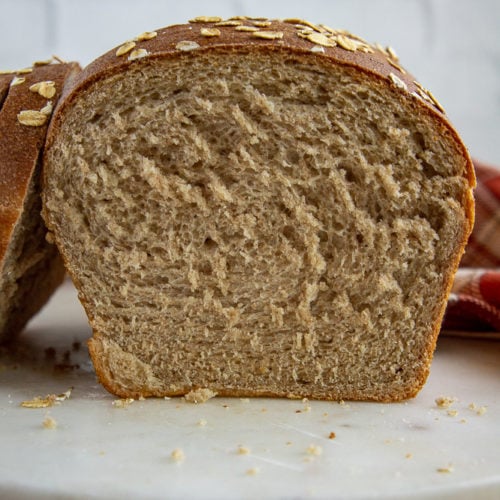
It’s lightly sweetened and perfectly textured from a blend of whole wheat and bread flour. The soft dough can be made in your stand mixer, bread machine, or by hand, and then it’s just two rises and into the oven. The result is a fluffy baked homemade whole wheat sandwich bread that even your kids will gobble up.
Ingredients for Honey Whole Wheat Bread
One of my favorite things about making homemade bread of any kind is that it doesn’t take a lot of ingredients!
While a sandwich loaf like this one will take more than say pizza dough, you’ll find most of these are common and easy to find, if you don’t already have them.
- Bread flour – A high gluten flour that helps create the soft, spongy final loaf.
- Whole wheat flour – That whole grain goodness! Use either classic whole wheat or a white whole wheat flour.
- Yeast – I use active dry, but you could also use instant.
- Salt – Definitely don’t skip the salt!
- Warm water – Warm water activates the yeast and helps the rise get going faster.
- Honey – It’s hard to make a honey wheat loaf without it, just enough to lightly sweeten.
- Milk – This I only used for the final brush before baking. Milk creates a beautiful brown top, and is easy to use just enough, rather than a whole egg for an egg wash I mostly discard. That being said, use egg wash if you prefer.
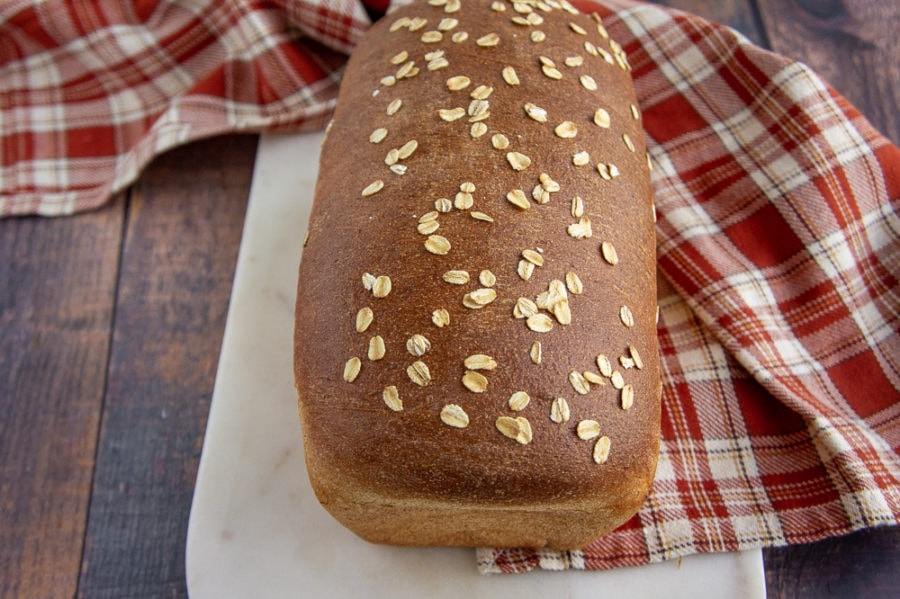
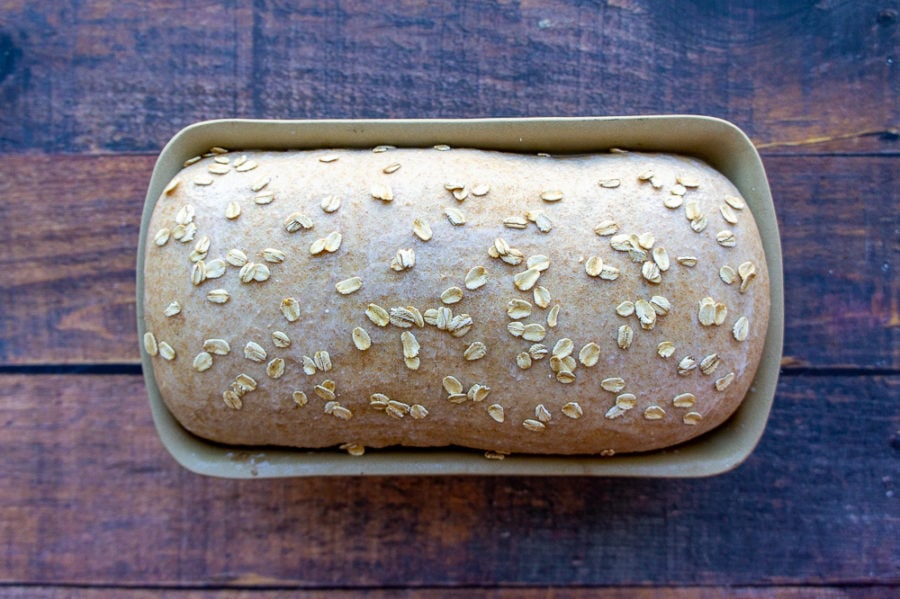
You’ll notice in the pictures that I have oats on top. I do that for appearance, because I think it looks rustic, and I don’t mind the chew of oats on the crust. Poppy seeds, finely chopped nuts, sunflower seeds, or pepitas are other great choices.
How to Rise, Shape, and Bake Sandwich Bread
To use a bread machine just add all the ingredients into your machine, according to the manufacturer’s instructions and set it for the ‘dough’ setting.
But I find that’s not needed, it’s so easy to whip up in my stand mixer, and produces a soft and supple dough. Here are my tips for mixing the dough to perfection and getting it set up for it’s first rise.
- There’s actually no need to proof your yeast. Really. Unless you doubt whether it will work, just mix it into the bowl of your mixer with the flour and salt.
- USE A KITCHEN SCALE (sorry to shout), but this is important. Measuring by weight makes this recipe so easy that I never need to add extra flour or water to get the texture right.
- Dissolve the honey in warm water first. If you’re worried about your yeast, you can proof it in the same mixture at the same time. BUT don’t heat your water to above 110°F, or it can kill the yeast. Stir the honey until it dissolves for best dough integration.
- Let the stand mixer run on medium low (like how fast you could do it by hand) for 7 minutes, or by hand for about 10.
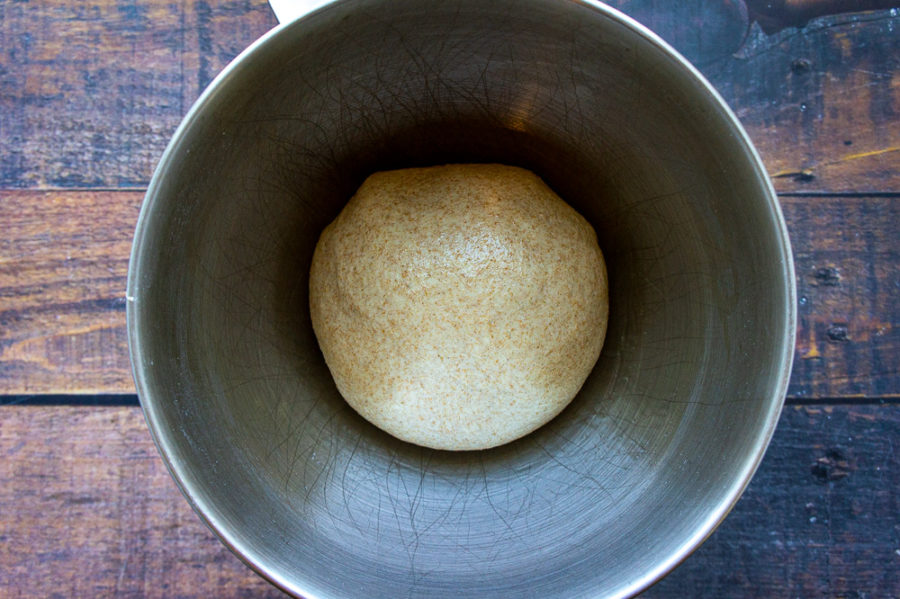
- The dough is ready for it’s first rise when it’s stretchy, tacky, but not sticky, and holds its shape in a ball.
- Oiling the rising bowl makes this very easy in the next part. Just coat your hands and wipe them around a bowl. Then roll the dough around the bowl, and cover with a slightly damp towel.
Shaping the Dough
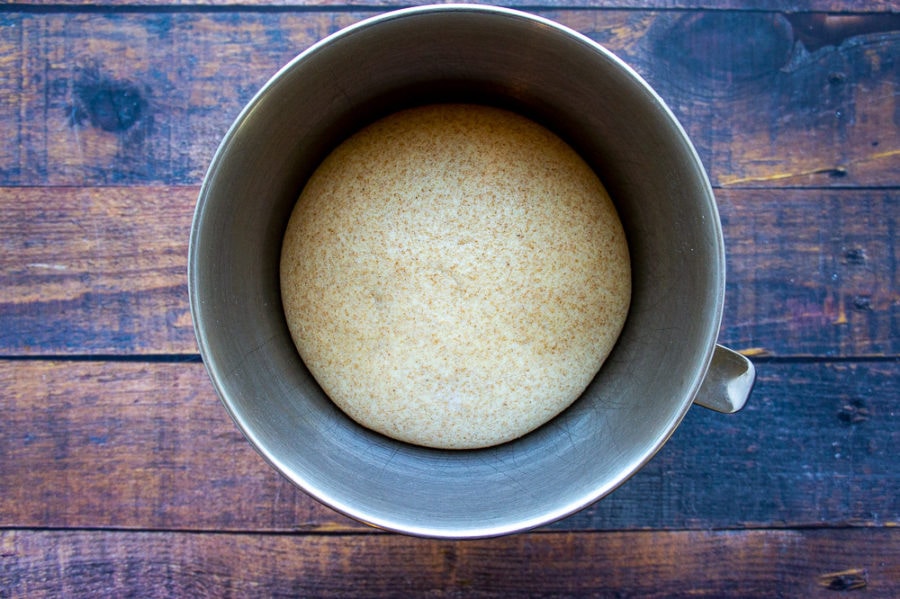
This next part starts when the dough has been rising for about an hour. You’ll know it’s ready when it has doubled in size. Or stick your finger down into it, if the indent doesn’t fill in, it’s ready for shaping.
- Prep your loaf pan so the bread comes out easily for cooling. Use a 9×5 pan if you have it, and grease with cooking spray or lightly with oil.
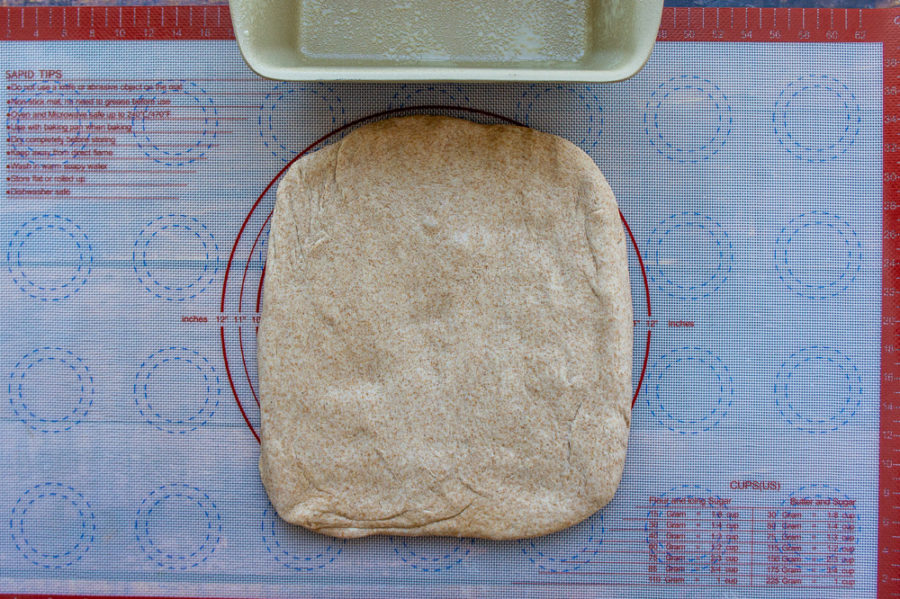
- Use a silicone baking mat for rolling out (no extra flour needed!) It also makes measuring dimensions a breeze.
- Measure the bottom of the loaf pan (I eyeball it) and press the dough out to that width.
- No need for a rolling pin, just gently stretch and press the dough out into a rectangle with your palms.
- Roll up from the bottom to the top, so the width stays the same as the pan like a cinnamon roll and pinch the seams shut.
- Place seam side down in the pan and cover with a slightly damp towel again.
Bake the Loaf
The next rise is done when the loaf has risen an inch or two above the edge of the pan. I gently touch mine, and when my finger indent stays put, I move forward with baking.
- Use milk or an egg wash to coat the top of the loaf for even browning.
- Sprinkle with seeds or finely chopped nuts or oats
- Bake for 35 minutes, or until the top is deeply brown. Tap the top and if it sounds nice and hollow, pull it out.
- Ask quickly as you can (with hot pads) remove it from the pan to cool completely on a cooling rack. The sides will get soggy if you let it cool in the pan.
- Don’t slice before it’s completely cool, seriously, give it a couple of hours and then you’ll get clean, beautiful sandwich bread slices.
Troubleshooting your loaf
A few things could be happening, if your house is cool (are you baking in winter?) then rise times can take twice as long. Your yeast could also be old, and working only partially as well as it should. It’s also possible that you put too hot of water into the dough and killed some of the yeast off.
If the bread is rising at all, just be patient, it’s hard! You can put it in a warm place to help it along. If it’s not risen at all after 2 hours, scrap it and try again, this time, proof your yeast by mixing it in tepid, barely lukewarm water first. It should be foamy in about 10 minutes.
That’s usually an issue of under-rising. If your bread wasn’t given enough time in the loaf pan to rise, the bottom will look more closed crumb than the rest of the bread. It’s still edible, but give it a longer rise time next time.
It rose too long! I’ve had this happen and usually if I knead it for a few minutes, reshape it and let it rise again, it’ll be just fine.
I consider this healthy and feel great feeding it to my son and husband. It has whole grains, unrefined sugar in a small amount, and no strange dough preservatives or softeners.
Children under the age of 1 should not consume any honey in cooked, baked, or raw form. It’s hard, I remember that! You can swap in maple syrup if you still want to bake this recipe but have a young one at home.
Store and Serve Your Honey Whole Wheat Bread
With no preservatives in homemade bread, learning how to store yours is key. You can wrap it in plastic wrap, store it in a large silicone bag, wrap it in a large beeswax wrapper, or use a bread bag. Either way, try to eat it within 5 days.
It can get stale if exposed to too much air, or moldy if left anywhere damp.
You can also easily double or triple this recipe and make an extra loaf or two to put in the freezer, so it’s ready when you are.
When you’re ready for a slice, make a delicious breakfast toast with homemade nut butter, any of these amazing jams or jellies, or layer on the fillings for a healthy sandwich, like an apple pecan chicken salad.
However you like to eat it, I hope you enjoy it, and if by some chance it starts to get stale before you finish, just pop the ends in the freezer to make homemade breadcrumbs when you’re ready.
Check out these other yeast based recipes on the site too, for your next baking project!
Honey Wheat Bread
Ingredients
- 300 grams whole wheat flour 2 cups
- 315 grams bread flour 2 1/3 cups
- 2 1/4 teaspoon active dry yeast
- 1 1/2 teaspoon salt
- 340 mililiters warm water* 12 ounces or 1 1/2 cups
- 82 grams honey 1/4 cup
- 2 teaspoons milk
Optional topping
- 2 tablespoons oats or any seeds/chopped nuts
Instructions
Dough/First Rise
- Combine the yeast, flours, and salt in a large mixing bowl. I used my stand mixer.
- Dissolve the honey into the warm water by stirring.
- Add the water to the flours and mix on medium low, or by hand, for 7-10 minutes. The dough should be soft, tacky but not sticky, and hold it's shape as a ball fairly well.
- Lightly oil a large bowl* and the dough ball and place it inside.
- Cover with a slightly damp towel and let rise 1-1.5 hours, or until doubled in size. The dough is ready when you can stick your knuckle in it and the indent stays.
Shaping/Second Rise
- Lightly grease a 9×5 loaf pan.
- On a baking mat or clean surface press the dough into a rectangle, keeping the width the same as the bottom of your loaf pan.
- Roll from the bottom edge up, gently squeezing to maintain a tight roll with even width.
- Pinch the seams shut and place it seam side down into the prepared loaf pan.
- Cover loosely with a lightly damp towel and let rise another hour, or until very tall and when touched lightly, the indent stays.
- About 40 minutes into the rise, preheat your oven to 350°F.
Baking
- Brush with the two teaspoons of milk and sprinkle on the oats or seeds if using.
- Bake for 35-40 minutes or until the top is deep brown and it sounds hollow when tapped.
- Bring out of the oven and carefully, but quickly slide it out of the pan onto a cooling rack to prevent soggy sides from steam.
- Let cool completely, a few hours at least, before slicing if you want clean slices.
- Store for up to 5 days in an airtight wrapping or container at room temperature. Freeze for up to 3 months.
Notes
Nutrition
Nutrition information and cooking times are provided as a best estimate. Values may vary based upon ingredients and equipment.


I made this bread yesterday and although it taste good and looks like your photo, it is very dense and heavy.
I don’t know where I went wrong. Any suggests?
I would like to have a goto recipe for honey wheat sandwich bread.
Hi Barb, it’s hard to be precise without more details about how the process went for you but I would guess it’s an issue with rise time. I have had a dense loaf happen when I’m impatient and put it in the oven without letting it rise all the way in the pan. If you try again, I’d give yourself a wide window of rising time somewhere warm. It is denser than most sliced sandwich bread at the store however, because there are no dough softeners or other additives and preservatives. Good luck :).
This bread came together so well. I made it into 6 sandwich rolls. Delicious hint of honey flavor.
Glad you liked them! Rolls are a great idea 🙂