How to Make Homemade Breadcrumbs
This page contains affiliate links. For more information please read my Disclosure Policy.
Learn how to make homemade breadcrumbs quickly and easily with any bread you have at home. This guide will walk you through the process of making breadcrumbs, as well as storing them and inspiration to use them!
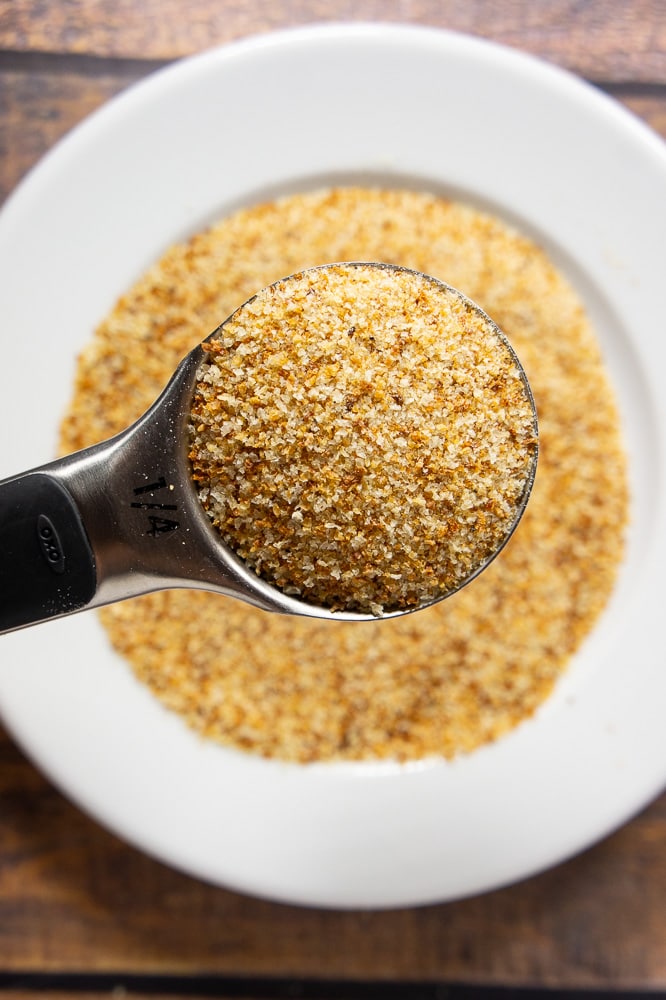
As far as making things at home go, breadcrumbs is an easy and quick pantry staple that can help you reduce food waste and save money all at the same time.
I’ve been making breadcrumbs for a while, and have lots of tips for making a quick batch in your kitchen, from almost any bread you have.
Choosing your Bread
Open your cupboard, pull out the first bread you see. That will work.
It really is that simple! Homemade breadcrumbs are one of my favorite ways to reduce waste because it can be done with nearly any bread. White sandwich bread? Go for it. A stale loaf of sourdough? Yup. Those Garlic Bread Rolls you made and couldn’t finish off? Absolutely.
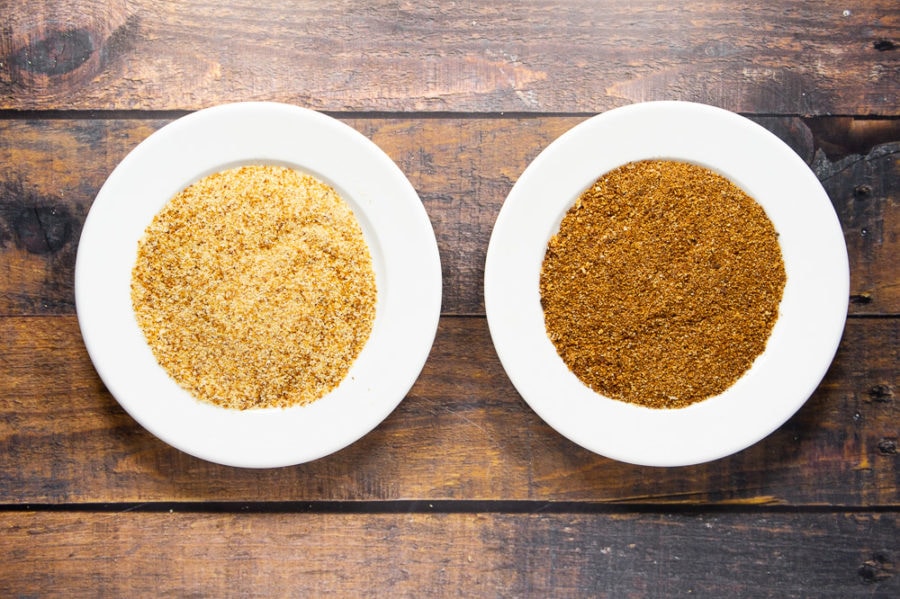
As a huge fan of making homemade bread, I occasionally find myself with a stumpy end of a loaf that’s going a little stale. The ends of my Honey Wheat Bread and White Whole Wheat Sandwich Loaf are great candidates. (No preservatives in homemade bread!)
As a cook who likes a stocked freezer, I occasionally find a lost bag of hot dog or hamburger buns with a little freezer burn. Both of those work.
The real kicker? It doesn’t have to be stale bread. If you’re staring at a potential dinner recipe and completely out of breadcrumbs, go ahead and make it with fresh bread. Dinner saved.
How to Make homemade Breadcrumbs
There are different methods out there for making breadcrumbs, but after testing over and over again, I find I prefer one simple method. It produces uniform, dry breadcrumbs, and takes very little overall effort.
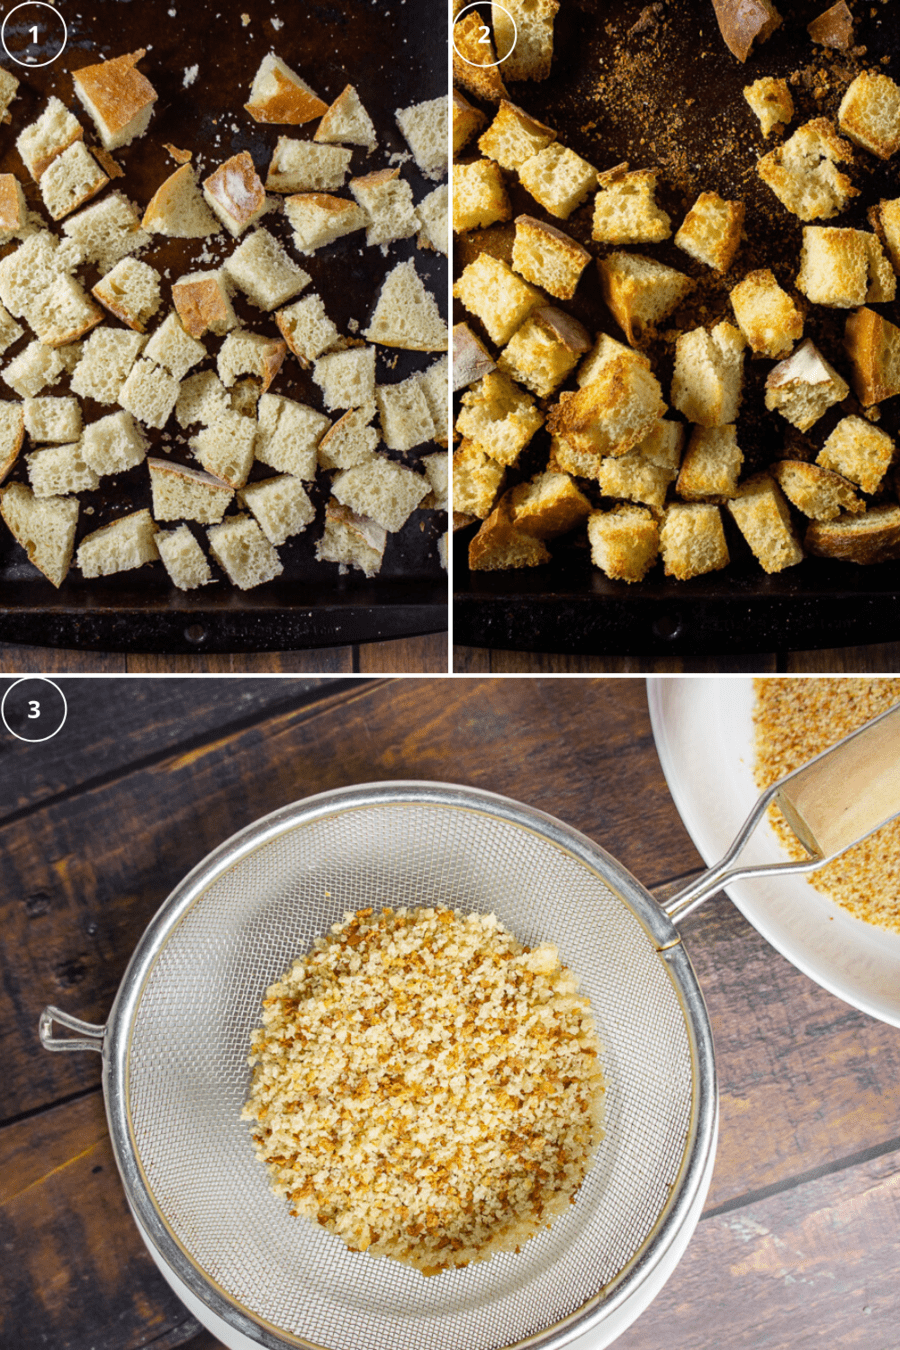
- First things first, preheat your oven to 300°F. On a clean, dry baking sheet tear or chop your bread into uniform chunks. The goal is to get more surface area exposed to heat, and to have it toast evenly.
- Place in the oven when it’s ready and bake for 5 minutes. Pull out your bread, and stir the chunks. Return to oven for another 5 minutes.
- The bread chunks should be toasty and hard to the touch. Dump bread chunks into the food processor and pulse until fine crumbs form. Then pour into a wide mesh strainer set over a bowl or plate. This will sift any large chunks out that are either not toasted or just need a solo pulse in the food processor.
- If the chunks left in the strainer feel soft at all, return to the baking sheet and toast 1 minute or until crisp and dry. Pulse in processor and add to other crumbs.
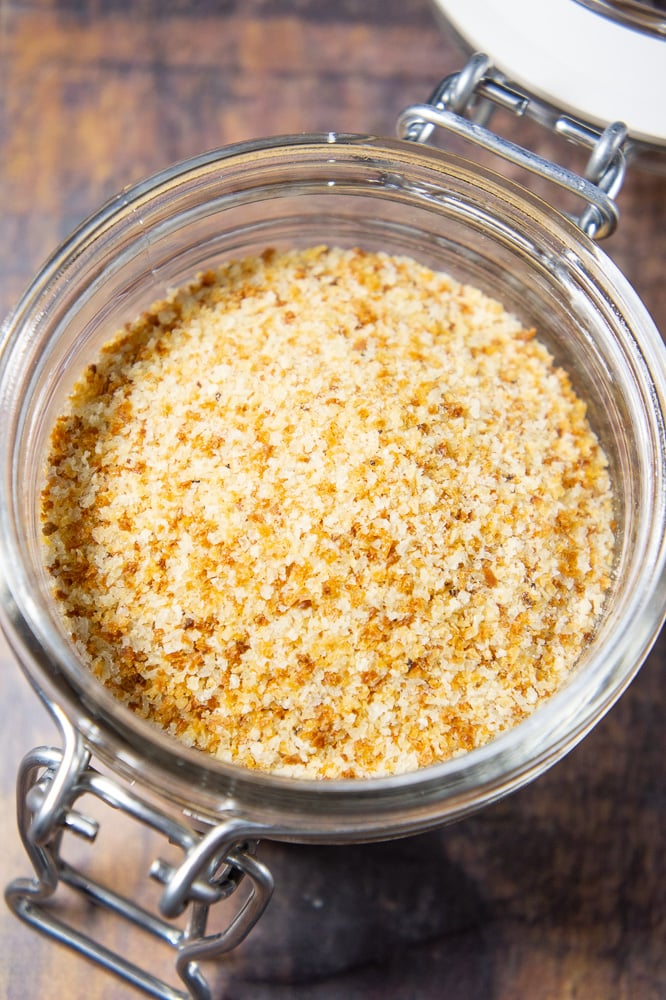
- Store all crumbs in an airtight container in the fridge for up to a month or the freezer for up to six months.
That’s it. Breadcrumbs in 15 minutes! Use them as you would store bought breadcrumbs! It is important to note that homemade breadcrumbs don’t undergo the intense drying process manufactured bread crumbs do. This means moisture may be left in your breadcrumbs which can lead to bacteria growth. Please store in the fridge, or the freezer for best results and longevity.
Pro TIp: If your bread chunks have any give when you press down on them after 10 minutes in the oven, return it to the oven for 3 minute intervals until its crisp, hard, and dry to the touch.
FAQ’S
Most any bread will work but I’d advise not working with breads that have chunks of fruits or chocolates. I’ve also found that though I technically can make breadcrumbs from them, pita or flatbread make my least favorite breadcrumbs for textural and consistency reasons.
The same way you do stale bread! Because fresh bread still retains more of its moisture than stale bread, you may simply need to extend your bake time by a few minutes for the bread to dry out properly.
Simply add herbs, salt, or seasonings of choice to the food processor with your bread chunks. As the bread breaks down the seasoning will be evenly distributed.
Nice alternatives to breadcrumbs include crushed crackers, chips, or even cereals like corn flakes.
If not stored properly, or if not dried properly, breadcrumbs can retain moisture. This may lead to mold growth or moisture build up in the storage container. Visually inspect your breadcrumbs for mold, and if at any point your breadcrumbs have gone from crispy to soft when you press them between your fingers, discard them.
No. If dried thoroughly in the oven there won’t be enough moisture for the breadcrumbs to freeze together or get clumpy. If they do, you had too much moisture remaining in them.
Use & Enjoy!
Easy, am I right? Breadcrumbs are such a simple homemade staple, and making homemade breadcrumbs can be fun! Your breaded chicken may taste even better with breadcrumbs made from that garlic rosemary fresh bread then it did with standard store bought breadcrumbs!
Have fun experimenting, and until next time, Happy Eating!
Want more recipes using breadcrumbs, check out these favorites!
- Creamy Lemon Broccoli Pasta with Breadcrumb Topping
- Stove Top Italian Meatballs
- Homestyle Crispy Chicken Strips
- Potato and Cheese Balls
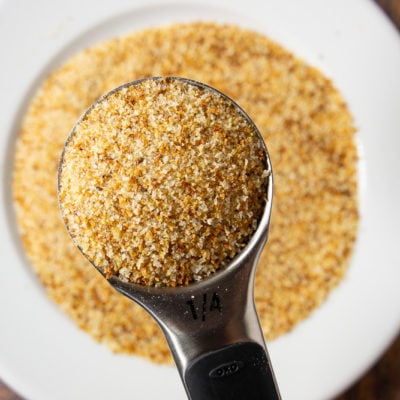
Homemade Breadcrumbs
Equipment
- Food processor
- Wide wire mesh sieve
Ingredients
- Bread* (As much as you like)
Instructions
- Preheat your oven to 300°F. Chop or tear your bread into chunks and spread evenly in a single layer on a baking sheet.
- Bake in the middle rack of your oven for 5 minutes. Stir the bread chunks and return to the oven for 5 minutes.
- If bread chunks are dry and crispy, move them to the food processor. (If there is any give or squish left in the bread, return to the oven for 2-3 minute intervals until crispy and dry).
- Pulse until uniform small breadcrumbs form. Dump through a wide mesh strainer into a bowl. This will sift out any larger breadcrumbs and/or any chunks that aren't completely dry.
- If the chunks caught in the strainer have any give or squish, return to the baking sheet and toast another 1 to 2 minutes or until dry. Pulse and combine with other breadcrumbs.
- Store in an airtight container in the fridge for up to one month, or the freezer for up to 6 months.
Notes
Nutrition
Nutrition information and cooking times are provided as a best estimate. Values may vary based upon ingredients and equipment.



I always have a stash of homemade breadcrumbs on hand. Homemade ones are always so much better than store bought.
Absolutely Susan. Store bought bread crumbs do not measure up to homemade!
One of the best uses for bread that you won’t eat otherwise. In addition to the plain breadcrumbs, I make Italian seasoned by adding in a few tablespoons of Italian seasoning.
Madelyn, that is a really great idea to ‘flavor up’ your breadcrumbs!
This breadcrumb recipe came out better than storebought and it was a great way to use up leftover pieces.
Thanks Sharon, I love the simplicity of making my own bread crumbs and knowing exactly what is in them!
I had some leftover French bread that I did not want to throw away, so I made bread crumbs with it. It came out perfect!
Perfect Katie, I bet they taste amazing on whatever you are using them for!