How to Roast Garlic In the Oven
This page contains affiliate links. For more information please read my Disclosure Policy.
Roasted garlic is an easy way to add a sweet garlic flavor to recipes without chopping or mincing every time. Learn how to roast garlic in the oven, and why it’s a fabulous and simple ingredient preparation you can do once a month.
I have to tell you, when I first discovered how incredibly delicious roasted garlic is, I was pretty upset I hadn’t tried it YEARS ago.
It’s seriously so easy to do, just a little bit of prep, a long slow roast in the oven, then some freezer prep, and you can have roasted garlic ready to toss into any recipe without any extra effort.
I keep a big bowl of it in the freezer. Then I can toss a handful of cloves into pasta sauces, compound butters, soups, marinades, pestos…well pretty much anything I would add garlic to!
Why roast garlic at all?
There are tons of benefits to regularly roasting garlic to have ready in your kitchen, here are my favorites.
- Roasted garlic is creamy and soft, there’s no need to chop it – it literally melts into pasta sauces, butter, or anything else that you like.
- Roasting takes the bite out of garlic, instead of being spicy, it’s got a rich, almost sweet, umami flavor that smells like the best garlic you’ve ever eaten.
- It can store in the freezer for three months, and is easy to roast in large batches so you only have to do it once in a while.
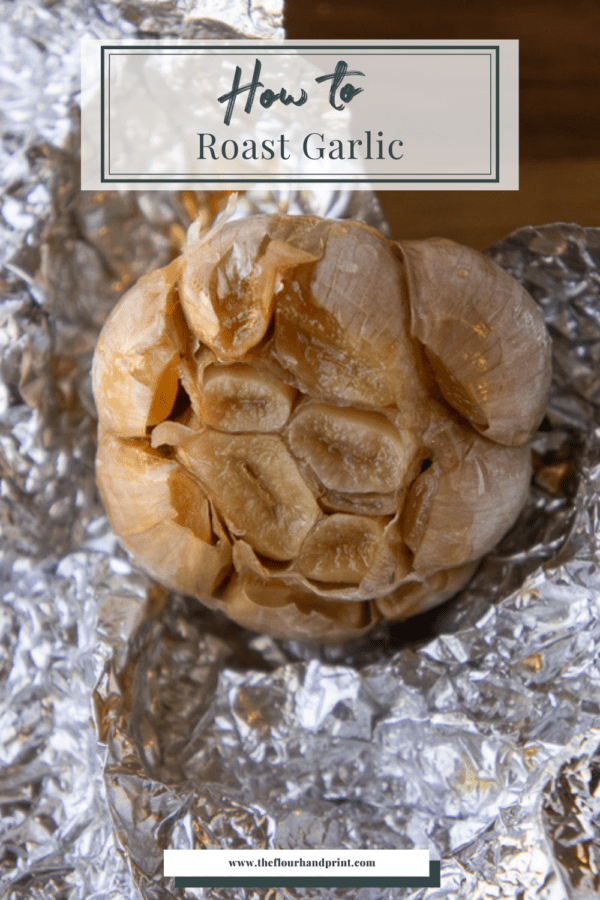
How to Roast Garlic In the Oven
Once you’ve done this once or twice, it’ll be like riding a bike I promise. It really is easy!
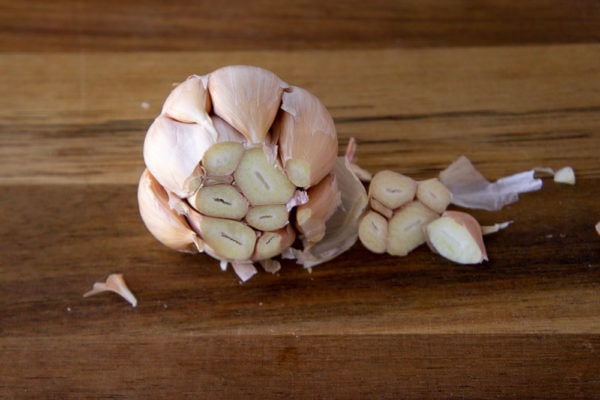
First start by peeling away most of the papery skins on your garlic bulbs. You want to take most, but not all of the paper. Leave the last layer or two on the garlic bulb to reduce the risk of burning the edges of the outermost cloves.
Then, find the place on the garlic bulb where most of the cloves come together, and slice through it with a sharp knife, exposing the tips of the cloves.
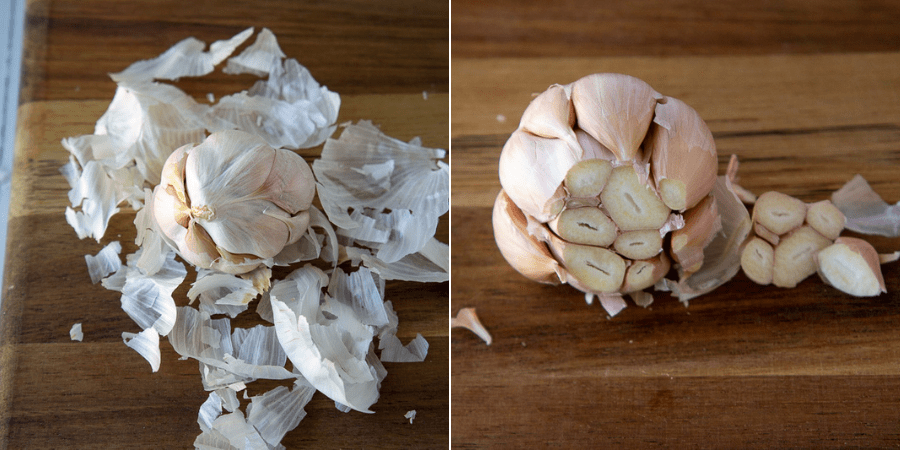
Now go around with a small paring knife and trim the tops off of any cloves that were missed by the first slice. This ensures they’re exposed to the oil and heat. Then place it on a square of foil and drizzle on a healthy amount of oil, a tablespoon or so per bulb.
Rub the oil all over the bulb, ensuring each exposed clove tip has oil on it. Then wrap the foil around the bulb, keeping the cut side up. Pop it into a muffin tin, bread pan, or other oven safe vessel that will keep it upright.
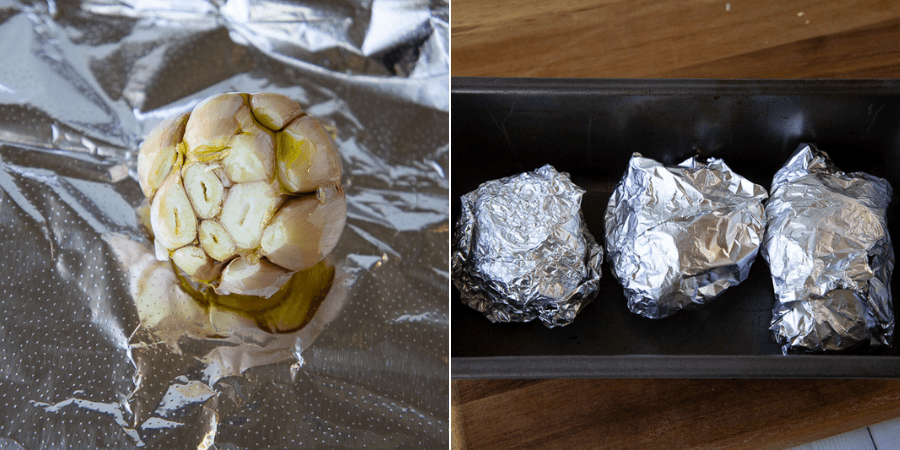
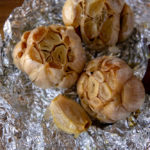
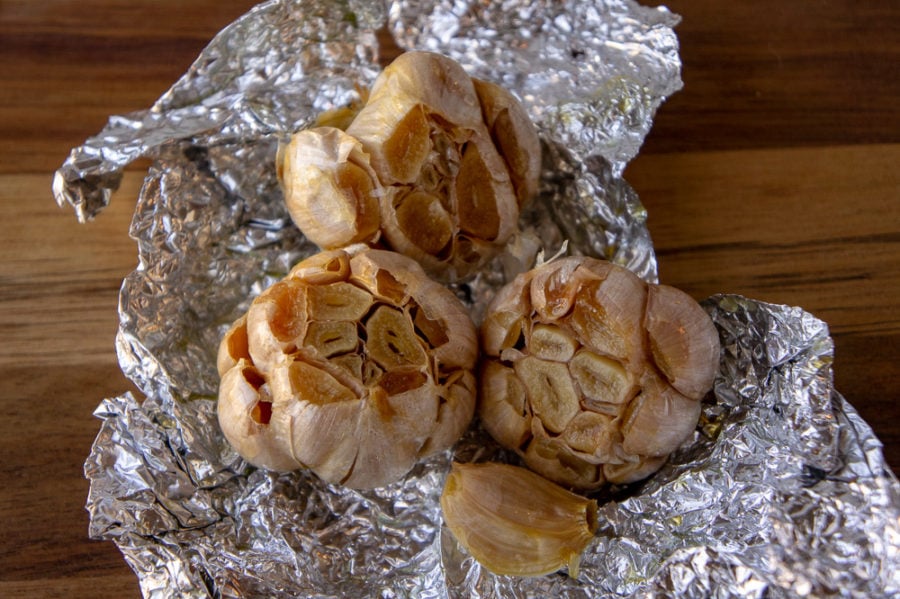
Repeat with as many bulbs as you like, I do about 6 big bulbs every month, and use it rapidly! Then its into the oven for an hour to get roasted, creamy, and delicious.
Pro Tip: A muffin tin is a popular way to roast garlic, but I actually find that using a pan where the wrapped bulbs are in tight contact with the sides during the roasting (like a muffin pan), causes some burning and deep roasted on the edges.
I find a loaf pan, cake pan, or other small pan I can nestle the wrapped bulbs creates more even roasting.

Can I use something other than foil?
If you prefer not to bake directly on foil, you can use parchment paper as well. Be sure to wrap it thoroughly, and tie it off with oven safe kitchen twine to keep the oil and steam inside.
How to prep roasted garlic for the freezer
An hour is a bit much for me to be prepping roasted garlic every night. I highly recommend roasting a large batch of garlic in the oven and storing the roasted cloves in the freezer for when you need them.
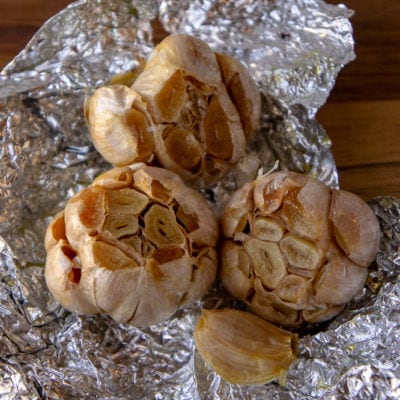
Once your garlic is roasted, it’s pretty easy to get ready for the freezer, but I will warn you – it’s a but sticky.
Let the roasted bulbs cool until you can comfortably handle them. Then get a freezer safe tray ready beside you. I use a simple disposable foil baking sheet that I wash and reuse just for freezing. Also get a discard bowl for the scraps to go into.
Then unwrap a bulb and either squeeze the cloves out of their skin, or peel the skins away.
I prefer to peel the papers back, as it leaves me with more whole , intact cloves. This helps so I always know how much I’m adding to recipes. But, you can simply squeeze from the base of each clove instead. Some cloves will come out whole, and others will squish and come out as a paste.
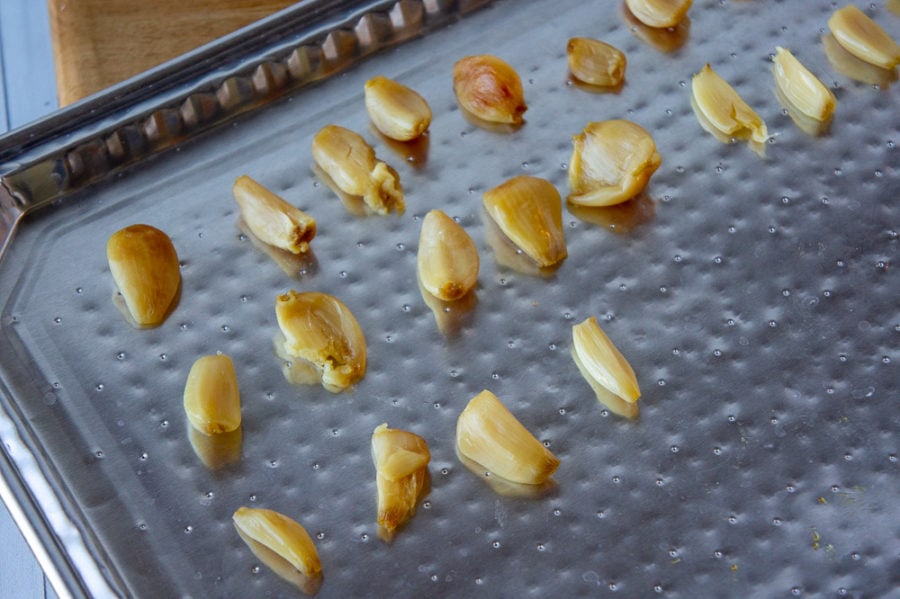
Just transfer both to the baking sheet and when you’ve emptied all the bulb’s place the baking sheet in the freezer, as flat as possible.
In just one to two hours the cloves will be frozen enough to pop off the baking sheet and transfer to a little, freezer safe bowl with an airtight lid. Return to the freezer and it can stay there until you’re ready to use them all up.
What to use Roasted Garlic in
Once you’ve roasted garlic in the oven and have a big bowl ready to go in the freezer, I hope you’re as eager as I was to use it all the time. Here are just a few suggestions for recipes that use roasted garlic, but really, it can go anywhere you like garlic flavor. Have fun, and until next time, as always, happy eating!
- Roasted Garlic Compound Butter
- Tomato Carrot Soup
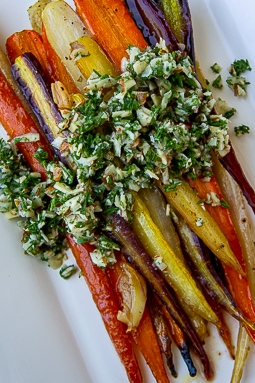
- Carrot Top Pesto
- Roasted Garlic Marinara
- Honeynut Squash Soup
Roasted Garlic Recipe
Ingredients
- 3 bulbs garlic
- 3 tablespoons olive oil
Instructions
- Preheat oven to 325°F and get out a loaf pan, cake pan, or other oven safe small pan to set the bulbs in.
- Peel all but the last layers of paper from the outside of the bulbs.
- Find the point on the tips of the garlic where most of the cloves come together and use a sharp knife to cut the tip off from that point, exposing the cloves.

- Use a small knife to carefully trim the tips off of any remaining cloves.
- Set each bulb on a small square of foil and drizzle with a tablespoon of oil each. Make sure all the exposed clove tips are coated in oil, as is the entire outside of the bulb. This is most easily done by hand.
- Wrap the bulb and set it in the pan, cut side up. If needed, use small balls of foil to stand them upright.
- Roast for 1 hour.
- Remove from the oven and let cool ten minutes. Then remove the bulbs and peel back the foil. Allow to cool until you can handle it comfortably.
- Peel back the papers on each garlic clove and place the roasted clove on a freezer safe tray or baking sheet. Repeat until you've removed all the cloves from the bulbs. *
- Freeze for 1 hour, or until cloves are solid. Transfer to a freezer safe bowl and store for up to 3 months.
Notes
Nutrition
Nutrition information and cooking times are provided as a best estimate. Values may vary based upon ingredients and equipment.

This is such an easy to follow recipe and we make several at a time so we always have them in the fridge! Love roasted garlic on toast or crostini!
Thank you for sharing that you love roasted garlic as much as we do, but also that my recipe is simple and easy to follow!
We love roasted garlic in many of our recipes. Like your idea of freezing it to save time and energy. Thanks for your recipe.
Thanks Hayley, it is so nice to be able to pop open the freezer, grab a clove or two to add that buttery rich flavor to a recipe! Roasted Garlic Compound Butter
i love roasted garlic. Thank you for reminding me that the simpler, the better. Best roasted garlic ever!
Enri, you’re welcome :)! It certainly is a game changer and tasted so wonderful. You might like Roasted Garlic Compound Butter
This is such a fantastic and simple way to infuse a sweet and aromatic garlic flavor into recipes without the hassle of chopping or mincing garlic every time! Plus, the fact that I can prepare a batch and store it for later use makes it even better. This technique is now a staple in my kitchen.
You’re right Sangeetha, roasted garlic is so simple, full of flavor and easy to use!
Oh my, this was just so good spread on a simple piece of baguette…I’m in heaven! So easy, and much healthier than butter but every bit as satisfying 🙂
Jessica, I so glad you loved it so much. We use with bread, in recipes and in dips too.Roasted Garlic Compound Butter
I love how easy it is to make your own roasted garlic at home with this recipe! My pasta sauces are certainly going to level up with this flavor.
Sharon I’m so glad you agree it is easy to make. You’re right your sauce with be elevated in flavor and maybe try using it in: Roasted Garlic Compound Butter!
I feel the same way! I didn’t grow up with roasted garlic… but now that I’ve discovered how delicious it is, I try to roast a bulb whenever I can. It adds so much flavour to many dishes!
I completely agree Bernice, once you have made your own roasted garlic, you’ll never want it any other way!