How to Make Roux: A Complete Guide
This page contains affiliate links. For more information please read my Disclosure Policy.
Learn how to make roux with this complete guide. It walks you through the different types of roux, roux colors, possible ingredients and uses, plus tons of troubleshooting tips to help you avoid the common mistakes. Roux is a key component to home-cooked, scratch made food that’s easier to make than you may think.
A big part of teaching myself how to make quality, scratch made food at home has been learning the building blocks. Things like making homemade burger buns, hot dog buns, pizza dough, how to make vinaigrettes, and homemade pasta dough are the blank canvases for my other recipes to grow from.
Learning how to make roux is one of those building blocks. It’s an essential component in making homemade gravies, cheese sauces, stews, soups, and more. Once you know the right temperatures and techniques to use, it’ll be easy to incorporate into your everyday cooking.
What is Roux?
Roux is a thickening compound made from flour and fat. We use all-purpose flour because it has a high starch content, meaning it’s capable of absorbing liquid. That absorption is what causes the ‘thickening’ action in our sauce.
But that wonderful, useful flour can also be very sticky when it get’s hot, which is great for baking but not for sauces. The stickiness happens so fast when flour is introduced into hot liquid that it seizes and forms those dreaded gravy lumps.
The anti-lump secret is fat. Most commonly, we make butter and flour roux, but any fat, including lard, bacon grease, pan drippings, ghee, coconut oil, or plain old vegetable oil are also effective.
When flour is whisked into hot fat, each individual starch is coated in a protective coat that stops the stickiness just long enough to let the flour absorb its maximum amount of liquid and viola, a smooth, creamy sauce. The thickening you observe is literally the swelling of starch granules slowly sticking together.
The Basic Process – Step by Step

Step one – Heat your Fat
It’s very important that your fat is in a hot, liquid form before adding flour. Melt butter over medium low heat until it starts to foam and bubble. Let the foaming subside (this is the water content evaporating) before adding flour.
Melt other fats like coconut oil or solidified lard until hot over medium LOW heat. For oil, you want it hot, but NOT smoking.
Extremely hot fat will burn the flour! If you’re using leftover fat from rendering/browning meat like bacon or ground sausage, let the fat cool down before adding flour. Bacon is cooked over a higher heat than roux should be, and adding flour to sizzling bacon grease will burn it.
Step two – Whisk in Flour
Arm yourself with your stirring utensil of choice. It doesn’t matter if it’s a whisk, wooden spoon, or silicone spatula. What does matter is that it can easily get into the edges of your pan.
Dump your flour in and stir. Stir fast, stir consistently, do not stop stirring until the flour is completely mixed into the fat.
Constant whisking is not necessary, I promise. BUT, you will have to whisk frequently enough that wandering away is not a good idea. Once you’ve whisked it into a paste, pause for few seconds between whisks to let it simmer. As it cooks, it will thin out and appear like it is releasing water.
A Note on Cooking Times – If you’re stopping at the white roux stage cook the roux for 2 to 3 minutes, ensuring the raw flour flavor has cooked out, but stopping it before the mixture begins to darken. When it has the faintest of aroma of buttered popcorn, you can add your liquid.
If your moving on to the blonde roux, brown roux, or the chocolate roux, continue to stir and cook it over medium low heat until the desired color is achieved.
Step 3 – Whisk in Liquid
The temperature of your liquid and roux matter. The liquid you’re attempting to thicken with roux can be anywhere between cold and slightly warm, but never hot. Hot liquid + hot roux = lumps.
Add the liquid slowly, pausing between additions to whisk it together until you’ve whisked all the liquid in. I typically add it in thirds. Once your roux is smoothly combined with your liquid, increase the heat. The thickening will occur when the liquid begins to simmer.
Amounts, Ratio, & Thickening Power
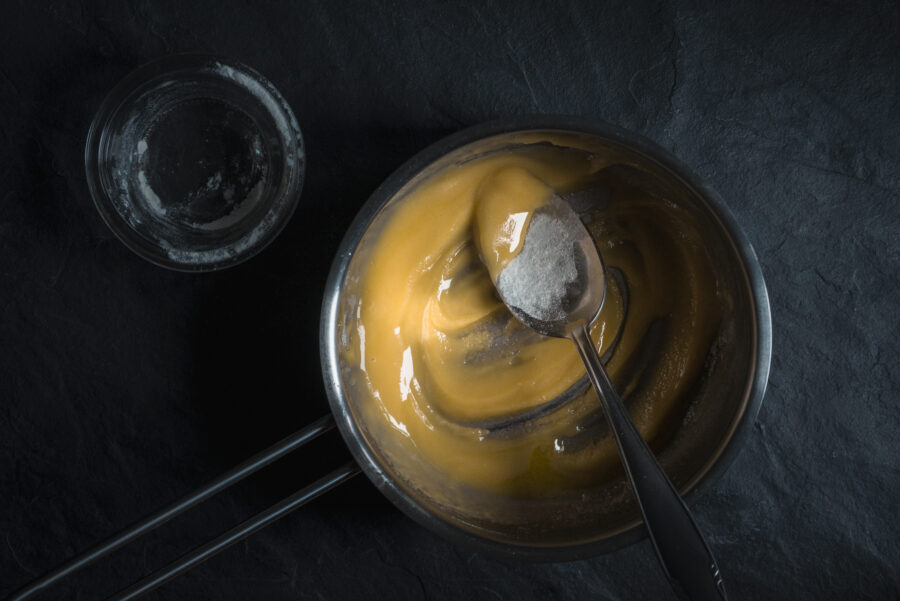
The ideal ratio of flour to fat is 1:1. Meaning for every 1 tablespoon of fat, you’ll need one tablespoon of flour. I’ve personally found that a heaping tablespoon of flour is more ideal.
My best advice to you is to start with an equal 1:1 ratio, and add a little more flour at a time from there, until you have the proper consistency. You’re looking for a paste, sort of like the wet sand on a beach, saturated and thick.
The actual amount of roux you need depends entirely on your recipe. Thickening power decreases as the roux changes color. White roux is strong and thickens quickly – 1 tablespoon is often plenty! However, chocolate roux hardly thickens at all.
Due to that, you’ll need a LOT more flour and butter to thicken a sauce if you’re using a darker roux, but recipes using darker roux almost always incorporate it as a part of the sauce, rather than use it as a thickener.
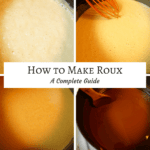
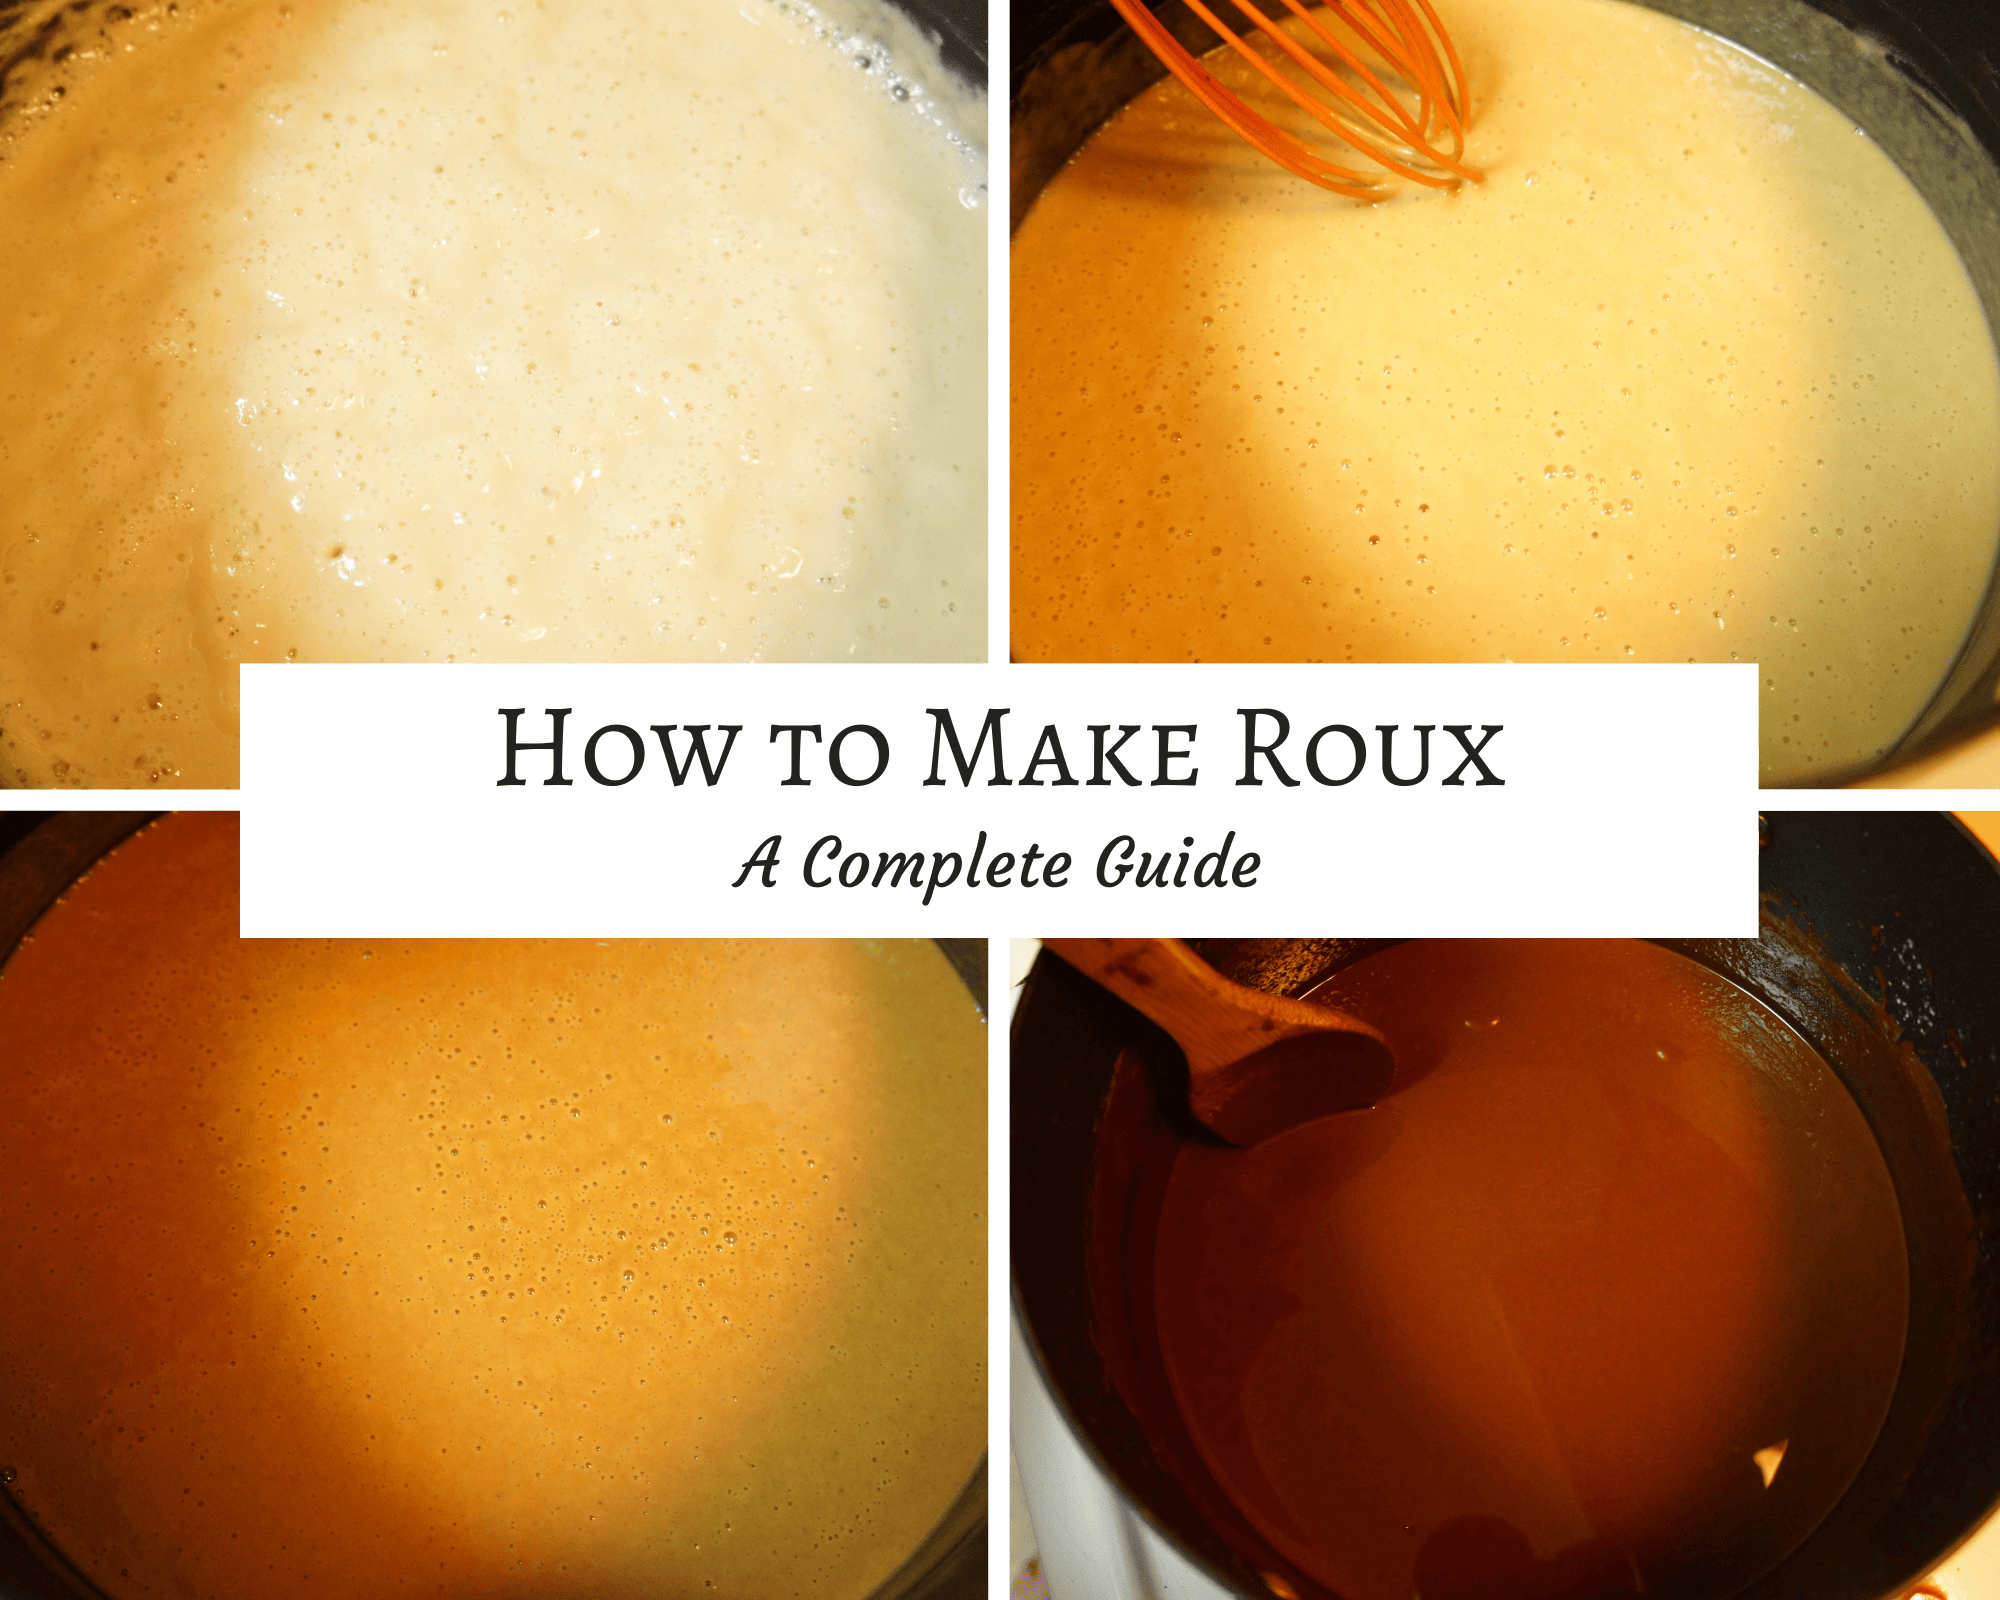
Types of Roux – The 4 Roux Colors
There are 4 distinct stages of roux, ranging from white with the most thickening power to almost black, with the least amount of thickening ability.
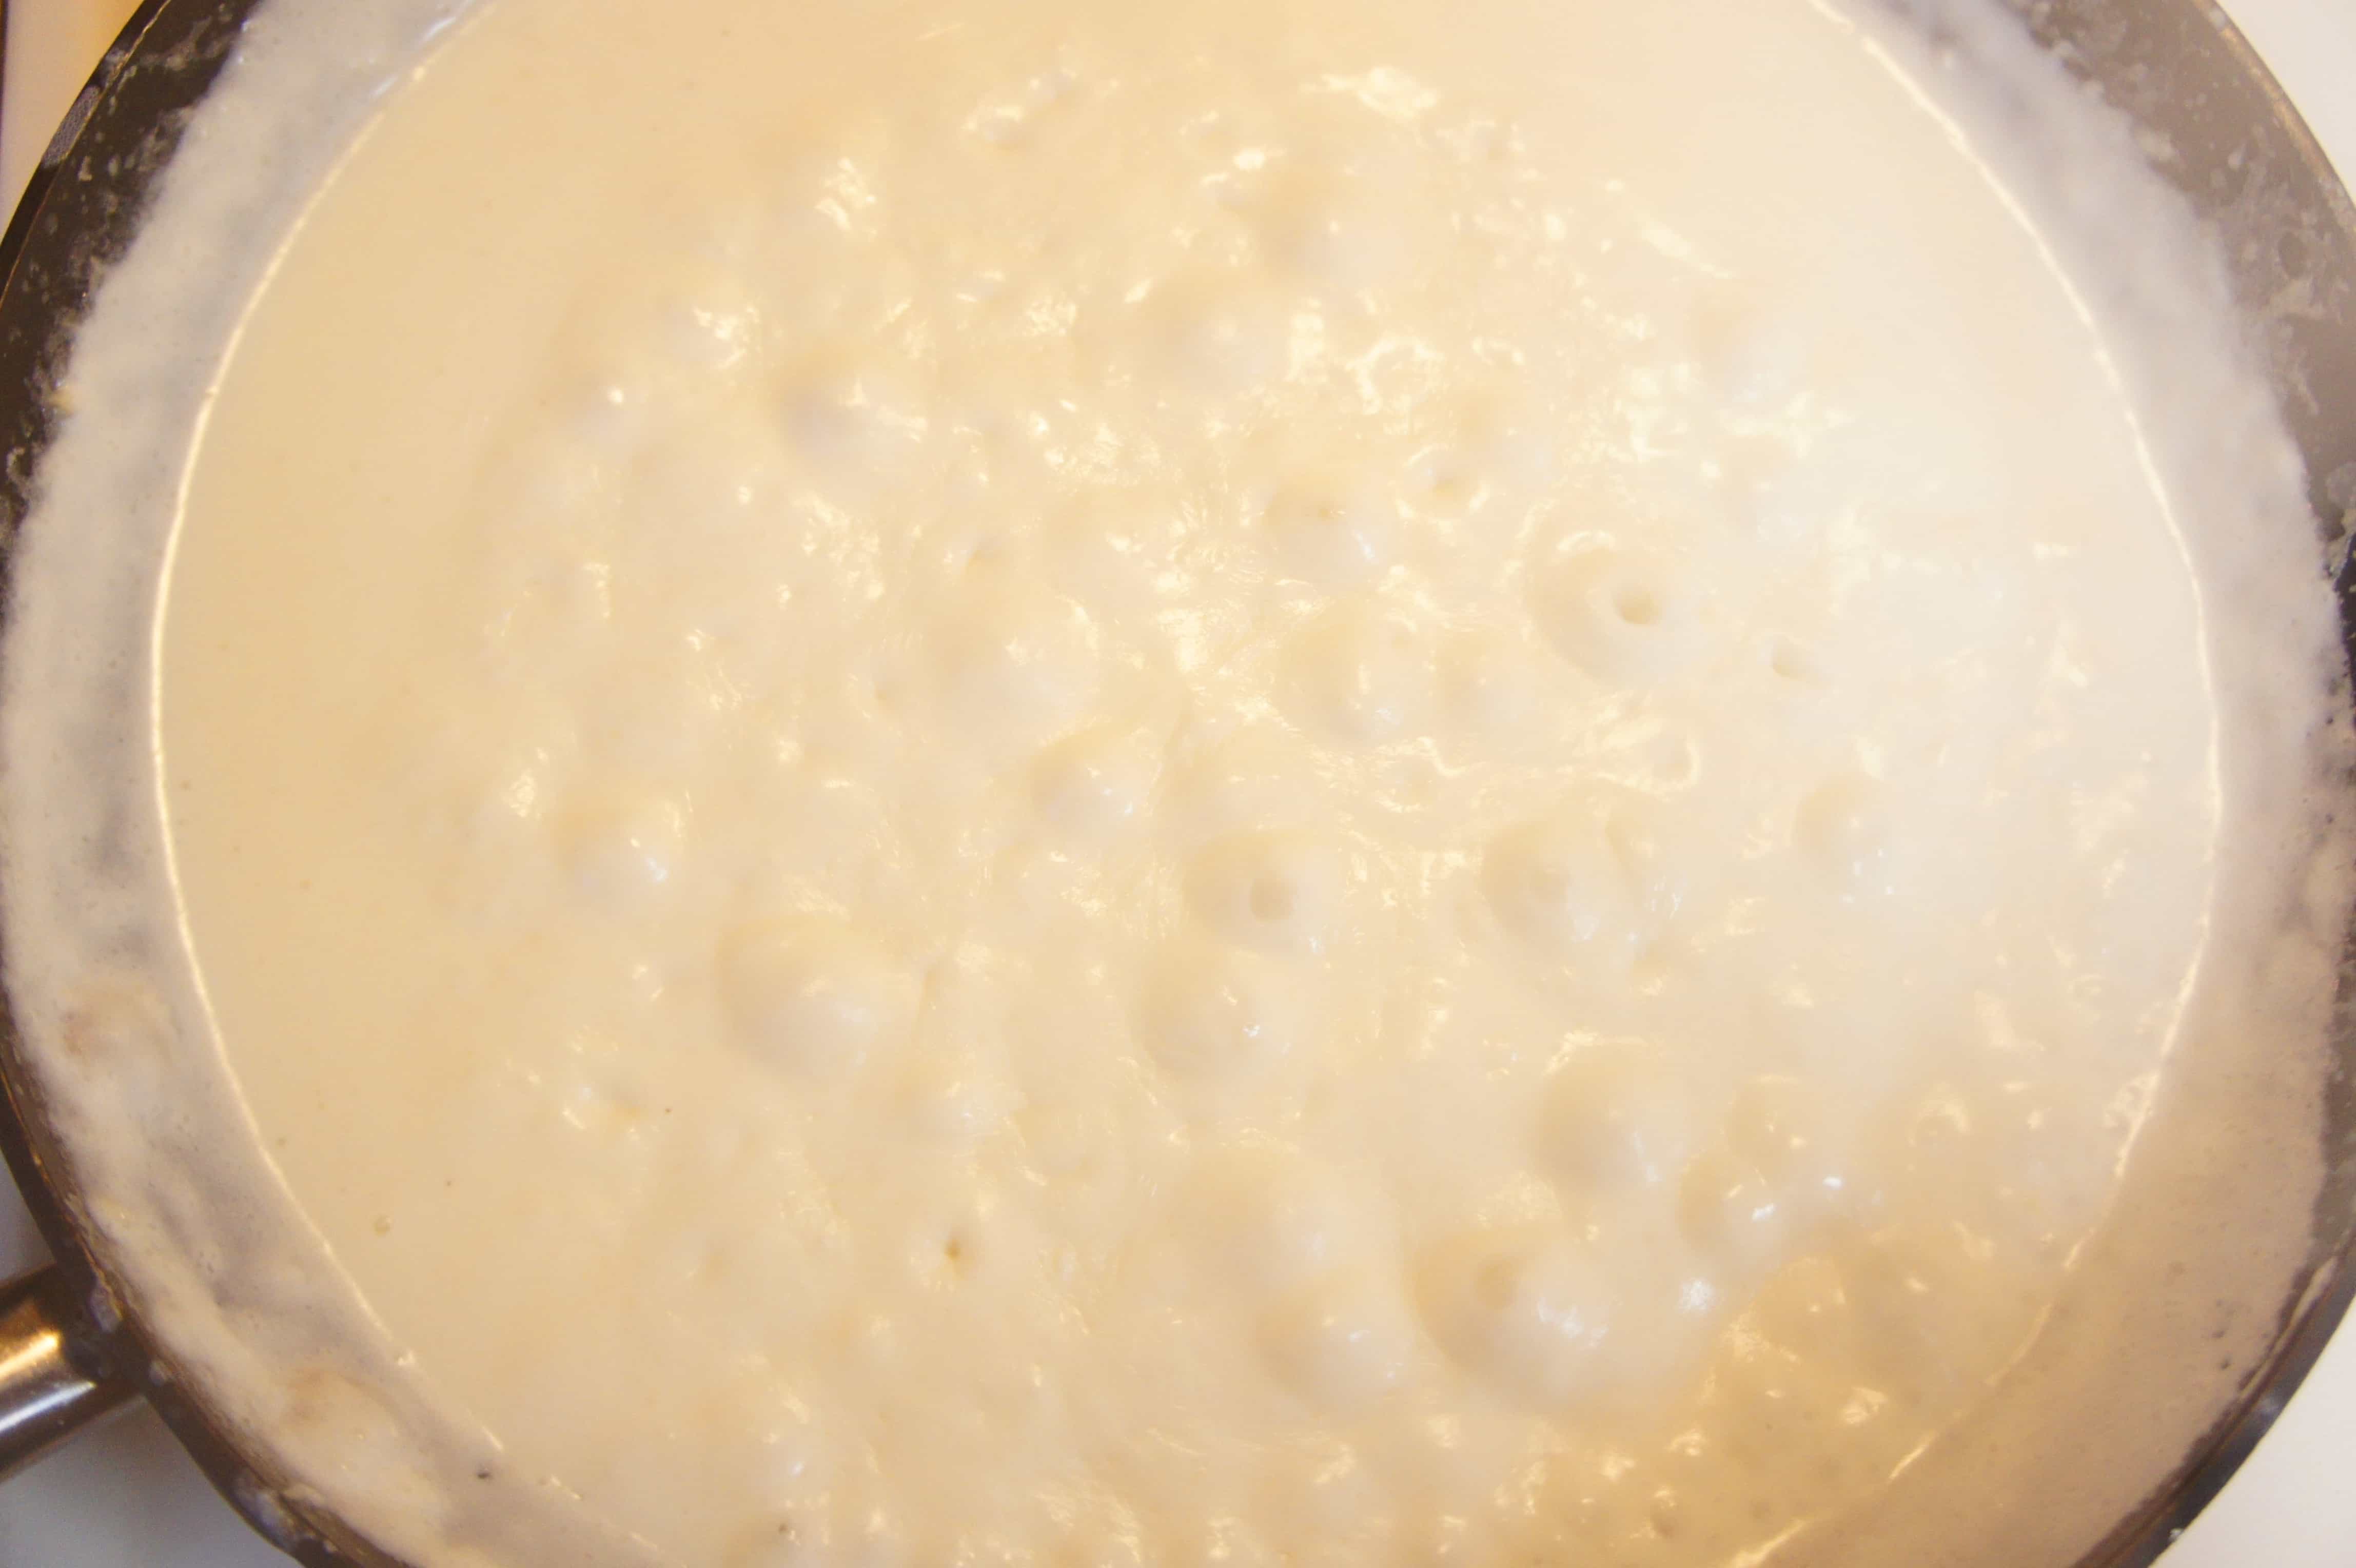
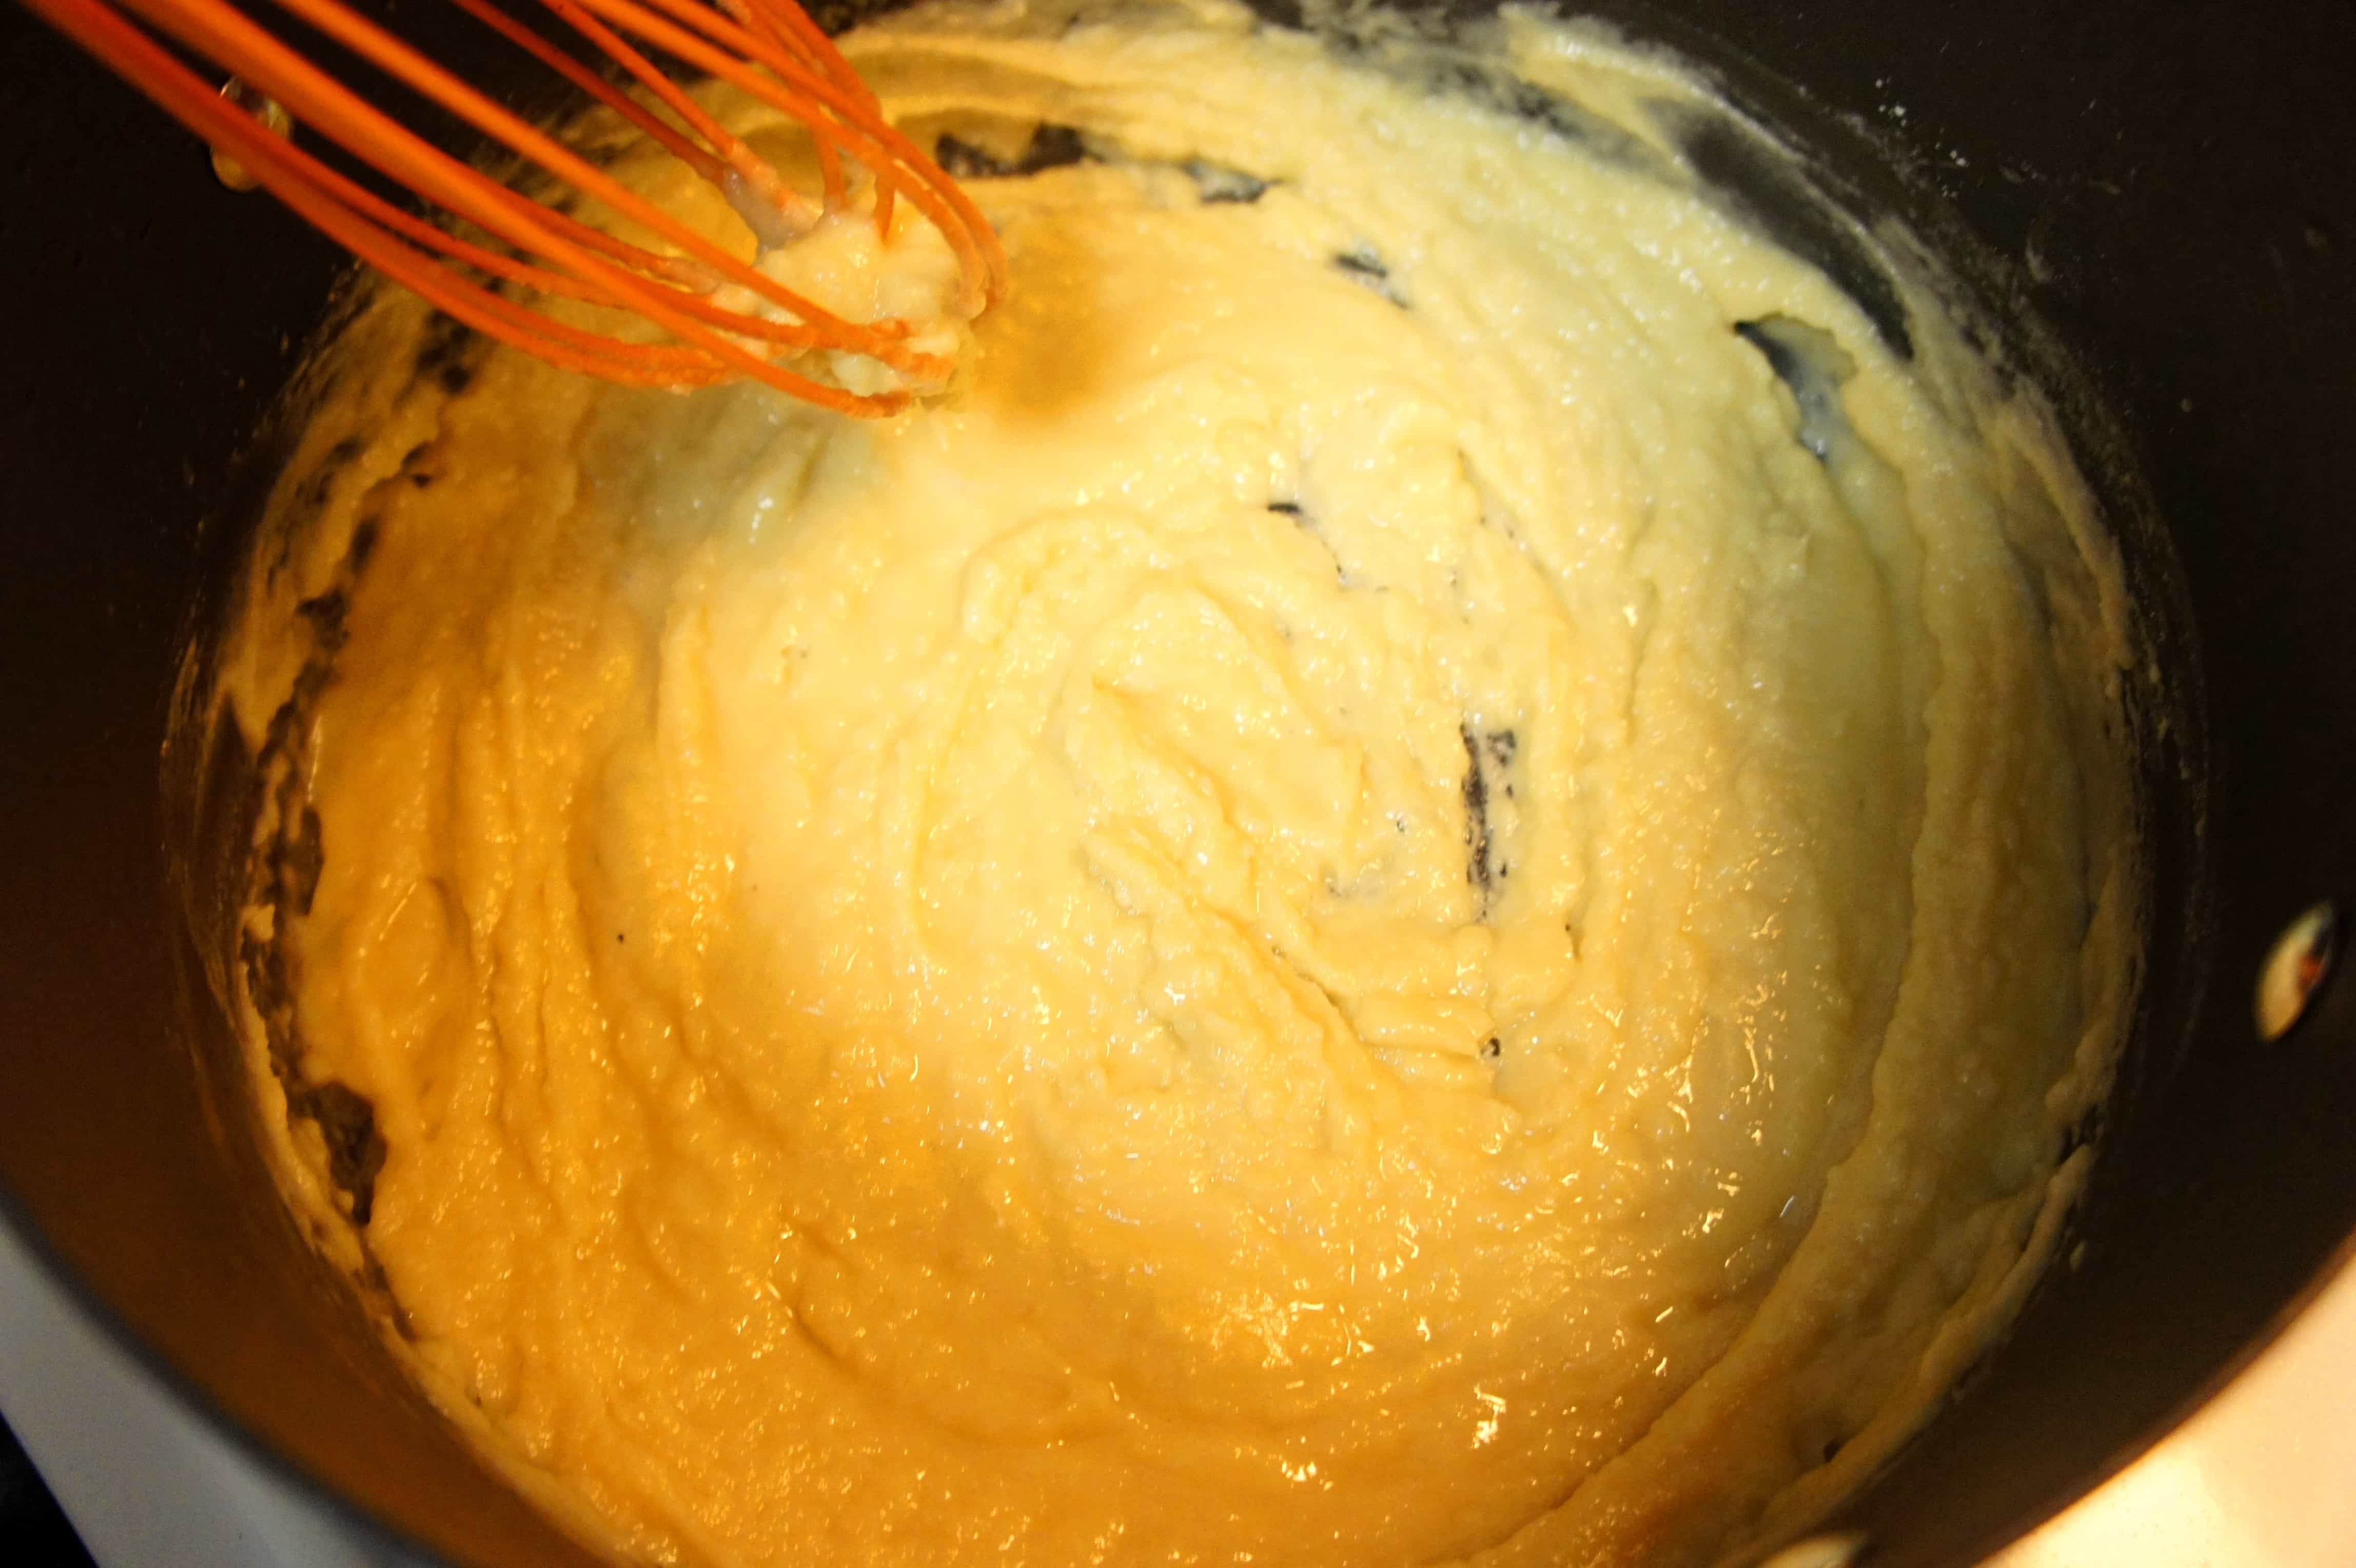
1. White Roux:
This is the first stage of roux, taking only 2-3 minutes from the time you begin whisking the flour in, until the the roux is ready for liquid.
This color is the ideal stage for making Bechamel, or a cream sauce. From Bechamel, you can make mornay, a cheese sauce. Recipes like creamed spinach with bacon, white cheddar mac and cheese, southern sausage gravy, and fishermen’s pie are best with a barely cooked white roux.
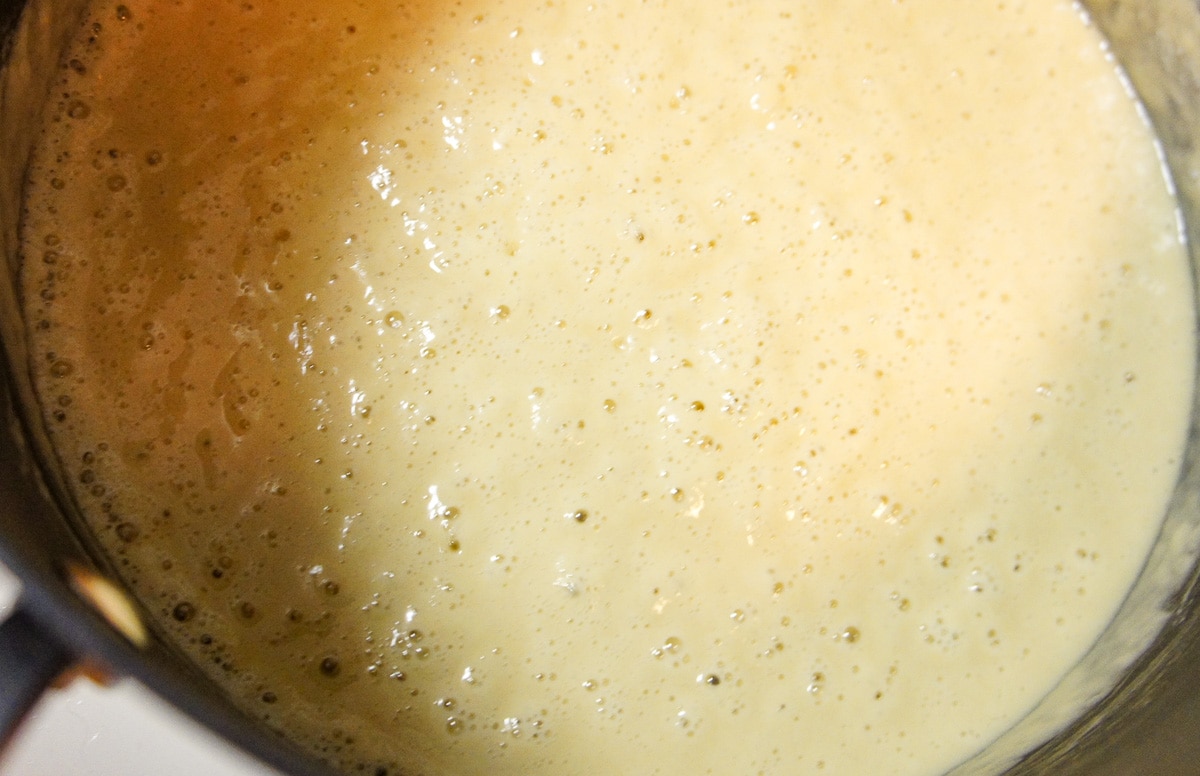
2. Blonde Roux (Golden Roux):
If you cook your roux for 5-10 minutes, whisking still to prevent burning, the flour will begin to darken to a blonde, almost pale caramel color. It has a distinct nutty aroma.
Stop here to make the classic French sauce Velouté. In truth there is no hard and fast rule on when to pick blonde roux over white roux, they are incredibly similar. The flavor difference between blonde and white roux are subtle. My own rules on which to pick are simple. To thicken dairy I use white roux, if only to maintain the pristine white color. For meat sauces or heartier flavors, I go for golden.
That being said, if you’re making alfredo sauce and go past white into a golden roux, I promise you’ll still be fine. Recipes like chicken corn chowder, classic meat gravies, pork tenderloin with mushroom sauce, or even a classic mac and cheese are great options for golden, aka blonde, roux.
You’ll notice the roux appears thinner as it cooks. That is the starch breaking down in the sauce, which reduces thickening power. A blonde roux will still thicken a sauce significantly.
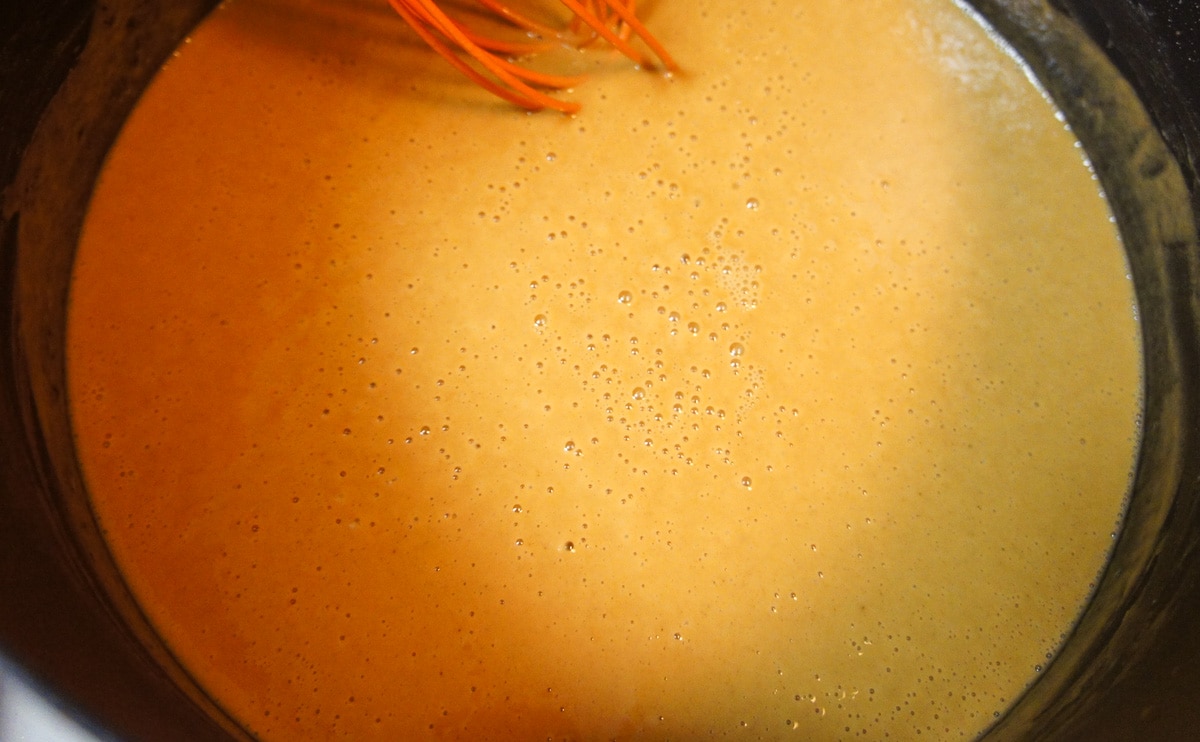
3. Brown Roux:
Here is where things really start to change, both in flavor and thickening. Around 15 minutes after the blonde roux (about 20-25 minutes total), it will darken to a rich brown almost like peanut butter with nutty, roasted aroma. The flavor makes it a beautiful base for gumbo, stews, or beef gravies.
Because the starches have been cooking for so long, the thickening power is reduced, meaning you’ll need more brown roux to thicken 2 cups of liquid than you would of the white roux.
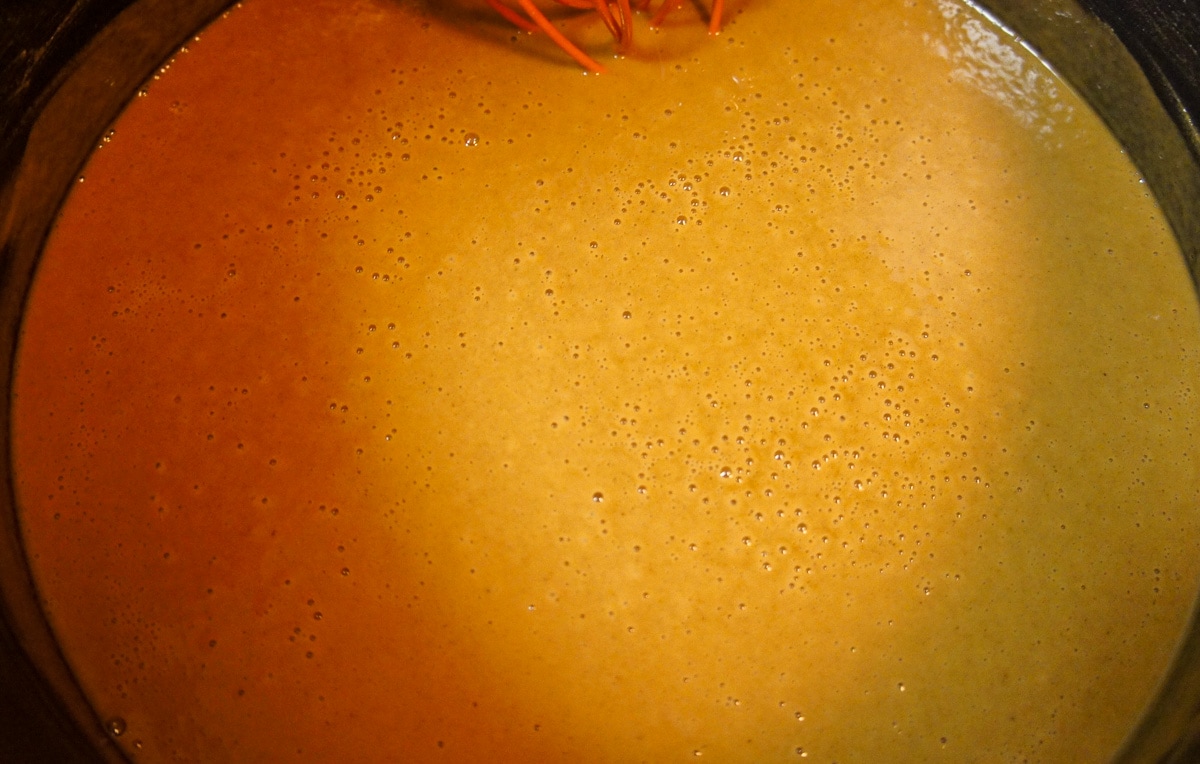
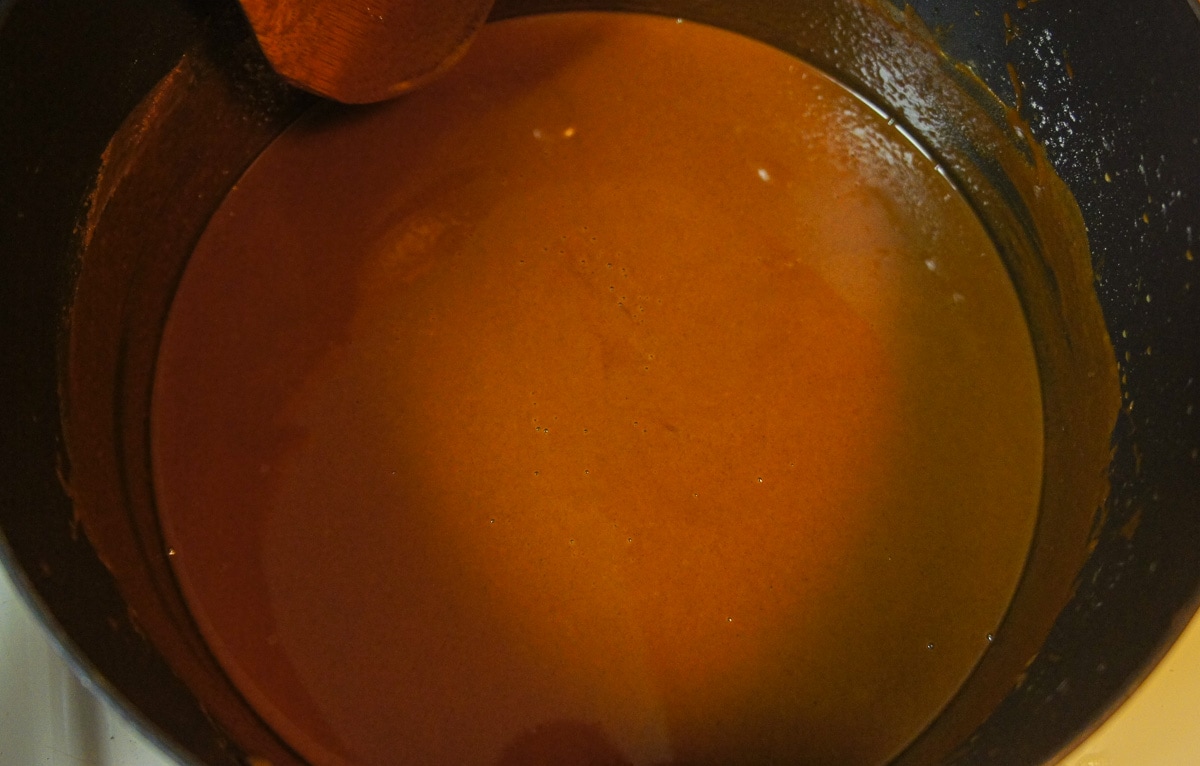
4. Chocolate Roux (Dark Roux):
This is the hardest, and most intense stage of making roux. By this stage, you’ve been whisking somewhat frequently for around 40 minutes, and the flour has cooked to almost burnt. It’s taken on a lovely, deep milk chocolate color and it’s giving off a roasted scent that falls between warm chocolate and deeply roasted nuts.
This is the pinnacle of roux making for southern cooks and their gumbos. With almost no thickening power left, this roux is used more for flavor, though it will still thicken a liquid slightly. You’ll notice how much thinner the roux looks here compared the thicker bubbly white roux.
This isn’t the easiest stage to get to, but if you’re up for putting in the time, I can tell you from experience that making homemade classic gumbo with a chocolate roux is extremely satisfying, both in flavor and self-esteem.
FAQs
You’ve undercooked the roux. Despite the abundance of recipes that say simply stir in the flour and go, I urge you to cook ANY roux for 2 minutes to cook off the raw taste. As long as you’re cooking over medium-low heat, it won’t darken too quickly.
Burnt roux! Darn! It’s easy to do. My best advice is to ignore any advice that says to cook roux over high heat. Make sure the fat you’re using is NOT heated to it’s smoke point Butter burns over high heat, so cook it over low. Bacon fat is VERY hot when you pull bacon out of the pan, so set the fat aside to cool slightly before adding flour. Always cook roux over medium low heat and take your time, slowly increasing heat as your confidence increases.
Not stirring enough is another culprit. In the beginning, do not walk away from it, stir constantly. As it cooks, especially if you’re cooking over medium-low heat, you can pause for a 10-20 seconds, but do not walk away.
Yes! It’s a nifty trick, and best recommended for white or blonde roux. Simply cook a large amount and then let it cool off heat. When cool enough to handle, pour it into an airtight container and store it in the fridge for up to 6 months, or longer in the freezer.
When you’re ready to use it, start with 1-2 tablespoons to thicken a sauce. You’ll need to let frozen roux thaw first. Keep in mind that the hot roux + cool liquid rule applies in reverse: only add refrigerated roux to a hot liquid.
Alternative Thickeners
Despite my own personal love for the many applications of roux, not everyone shares that love. Thankfully, there are alternatives! Keep in mind all of these will affect overall flavor and texture of your recipe.
- Cornstarch – Truthfully there are many ‘thickening powders’ out there, like arrowroot and tapioca, but the most common and easy is cornstarch. Whisk cornstarch into cold water first to make a slurry then whisk it into hot liquid and you’ll have a glossy, thick sauce.
- Beurre Manie – Less well known but just as easy, this is French for ‘kneaded butter’. It’s the technique of mixing flour into softened, but still solid butter to make a paste. You can then whisk that paste into hot liquids like soups or gravies to achieve thickening.
- Heavy Cream – I often fall back on the power of heavy cream when making sauces, especially cream sauces, because it reduces the risk of breaking. Asiago cream sauce, Dijon cream sauce, and gouda chicken bacon pasta are great examples of this. Cream cheese also works like heavy cream does!
Knowing how to make roux can free your alfredo sauce from jars your gumbo from boxes. It’s an essential technique that lays the foundation for so many recipes. Say goodbye to canned soup for this year’s Thanksgiving green bean casserole. Make your own cream of mushroom, and I guarantee it will be so much better. I’d love to hear what your favorite roux based recipes are, and I hope you feel 1000% more confident tackling them now.
Love this recipe? Please consider leaving a 5 star rating in the recipe card below, or a comment to share your experience with fellow home cooks. I hope you enjoy and as always, Happy Eating!
Nutrition information and cooking times are provided as a best estimate. Values may vary based upon ingredients and equipment.


Just stumbled across this recipe/article, fantastic job. I’ve been cooking for 25+ years and really found this as a great refresh to making/using such a basic component as a roux. Very nice job.
Thank you! I’m glad you found it helpful and thorough, I appreciate you taking the time to comment!
Thank you for the detail about the heat level at which to cook the roux because I didn’t find it anywhere else! Some recipes don’t even mention the heat level at which to cook it! You included your method and why you choose to cook the roux at a lower temperature than others night, but also let us know that other (probably more skilled) individuals CAN cook it at higher temperatures if they stir or whisk more often, or constantly at high heat and pay close attention to it the whole time. I definitely prefer to try your method since I’m not familiar with making a roux so there is more room for error. I’m excited to try it and to learn to incorporate this into my cooking and recipes. Many thanks again!
You’re so welcome! I strive to include every helpful details I can, and heat level is certainly important! I hope you’re successful with it and have fun experimenting with roux!
I am a mother and this helped me!
I’m glad to hear it!