Zesty and Delicious Lemon Poppy Seed Cookies
This page contains affiliate links. For more information please read my Disclosure Policy.

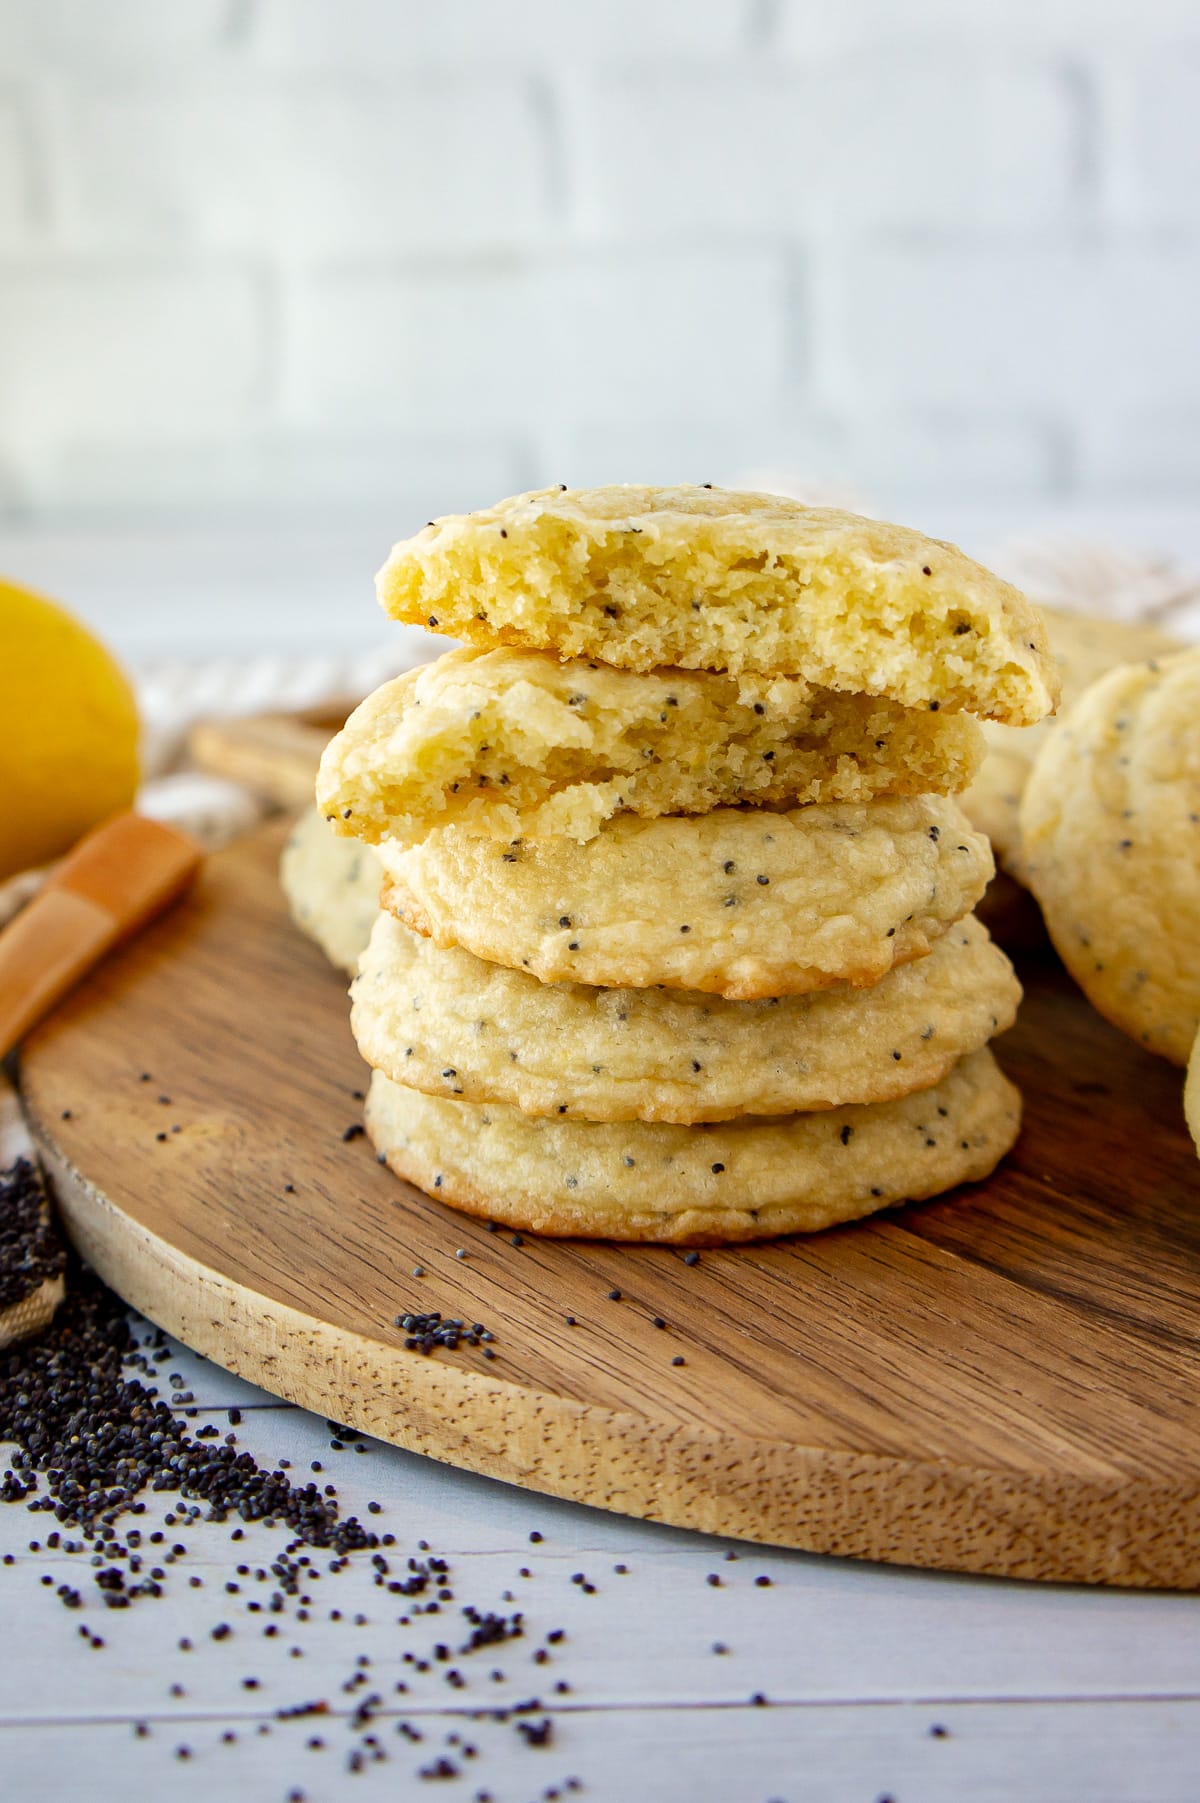
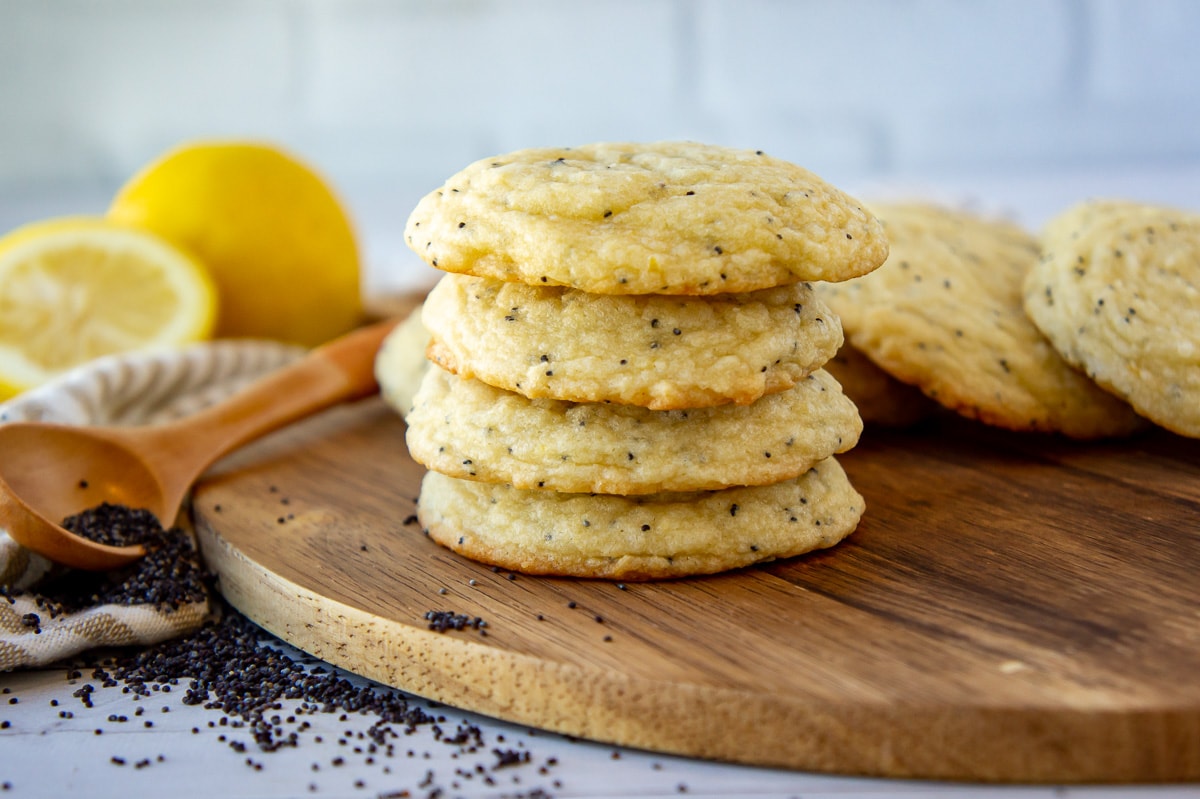
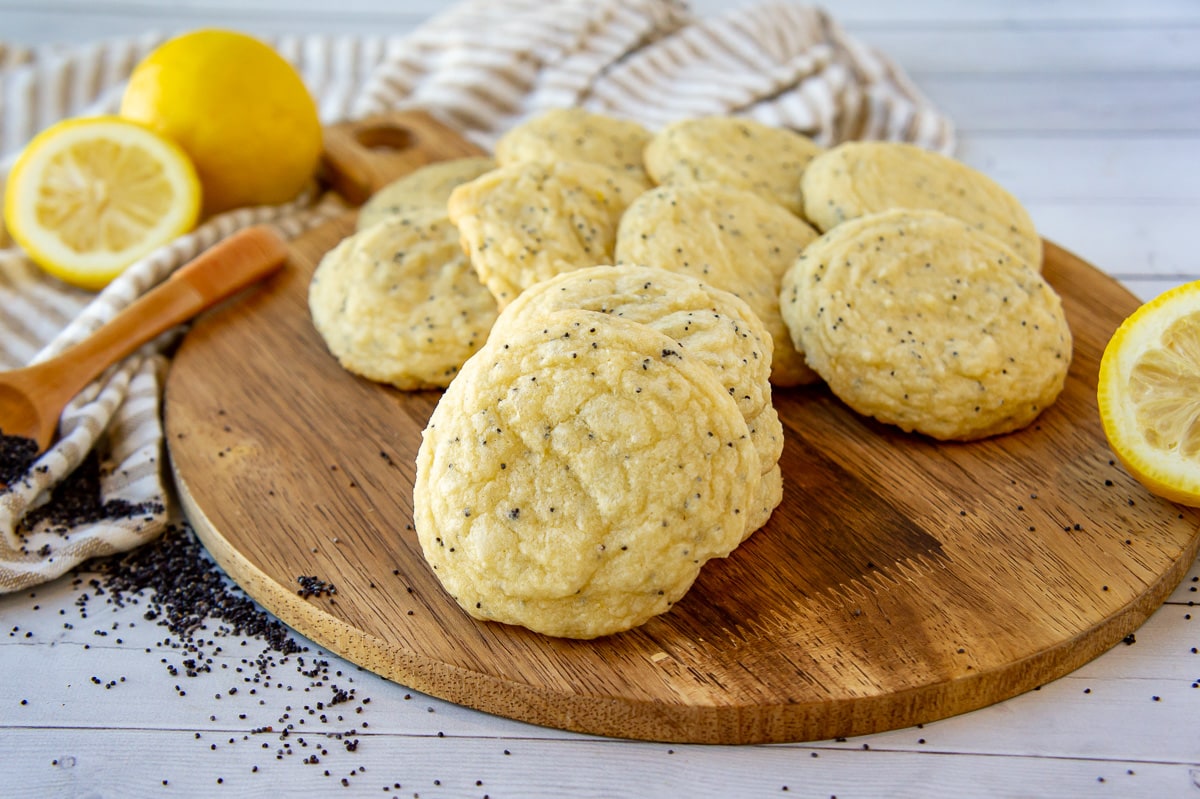
These soft and chewy lemon poppy seed cookies are the perfect balance of sweetness and lemony zing. The sugar cookie texture has a delicious chewy softness with a yummy crunch from poppyseeds and brightness from both lemon zest and fresh lemon juice. This easy to make recipe yields a large batch of 35+ cookies that store well for up to 5 days! Get step by step instructions and other key tips below.
These lemon poppy seed cookies are a recipe that I’m proud to call perfect. They’re my first ever cookie recipe on the blog, and I’ve updated it in 2023 with better pictures and instructions to make it them even easier to make. These cookies are so good your friends and family will think you stopped at a gourmet bakery.
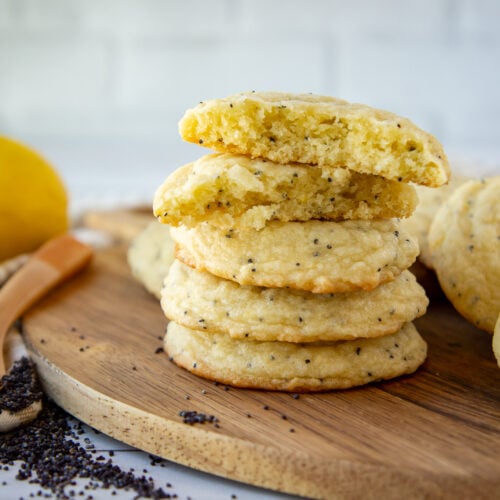
The secret to how delicious they are is the balance of softness and chewiness. The poppy seeds add a delightful crunch, while the fresh lemon zest and juice give them a bright, zingy flavor that balances out the sweetness. You can even add an optional lemon drizzle on top for extra flavor and beauty.
With bright flavors, these lemony cookies are perfect for a warm weather treat. Serve them with strawberry crunch cookies or berry crumble bars at your next summer cookout and wow everyone’s tastebuds.
Recipe Features
- Makes a large batch (35+ cookies) that can easily be halved or doubled.
- Keep well on the counter for 5 days.
- Unbaked dough can be refrigerated for 48 hours, or frozen up to 3 months.
- Easily increase or lessen the intensity of lemon flavor by adjusting lemon zest or adding a glaze.
Ingredients Tips & Swaps
To make the perfect lemon poppy seed cookies, you’ll need basic ingredients found in most sugar cookies, as well as the key components that are needed for flavor and texture. Below, you’ll find essential ingredient tips and substitutions. For the full ingredient list, refer to the recipe card below.
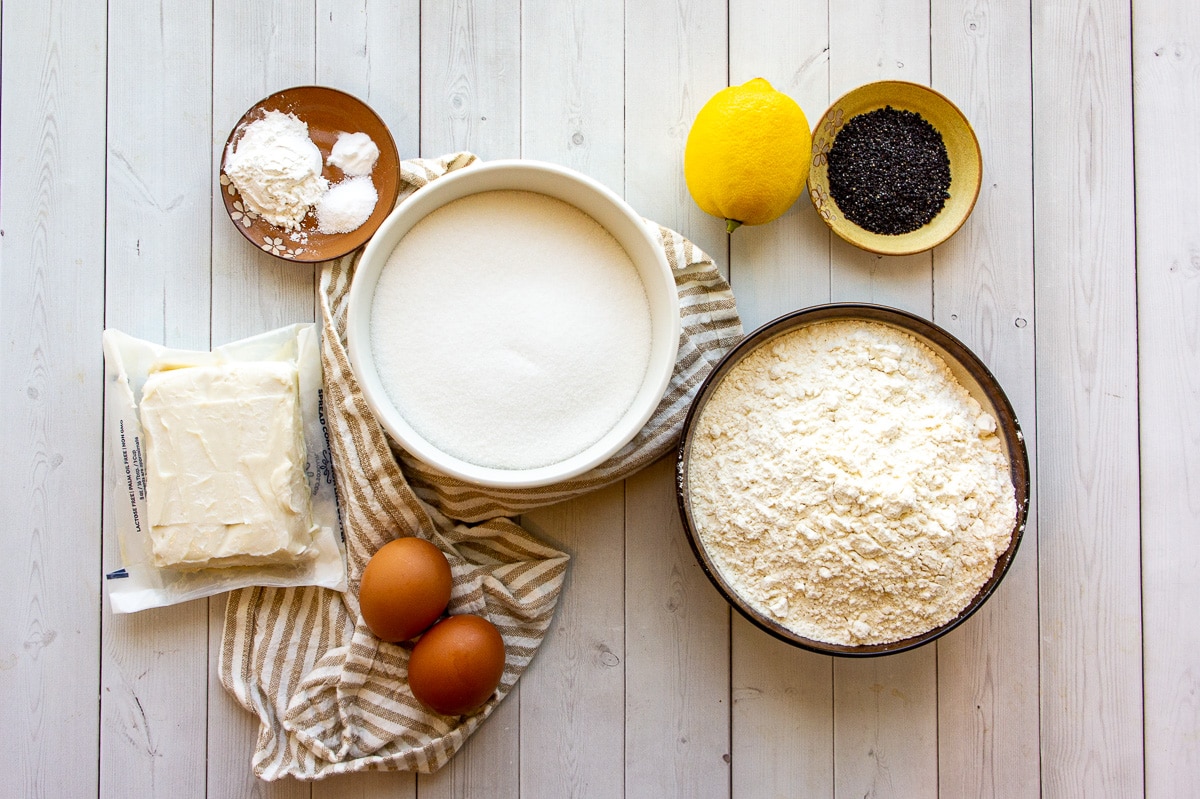
- Lemon – the bright lemony flavor comes from fresh lemon juice and zest. Extract simply can’t recreate that zippy, zingy deliciousness. I love Meyer lemons when they’re in season, but any good juicy lemons will do.
- White Sugar – I haven’t tested this recipe with alternative sugars but I do know that white, granulated sugar is pretty essential for that chewy/soft texture. I can’t promise the texture will be the same if you use something else, but I suspect cane sugar would be the closest substitute.
- Butter – I prefer unsalted butter so I can control the saltiness of my baked goods. I have used vegan butter and it works very well, so go for it!
How to Make Lemon Poppy Seed Cookies from Scratch
Before you bake, get the butter out onto the counter to soften. It needs to be room temperature before you begin to allow proper creaming with the sugar. Once it’s soft, you can get baking.
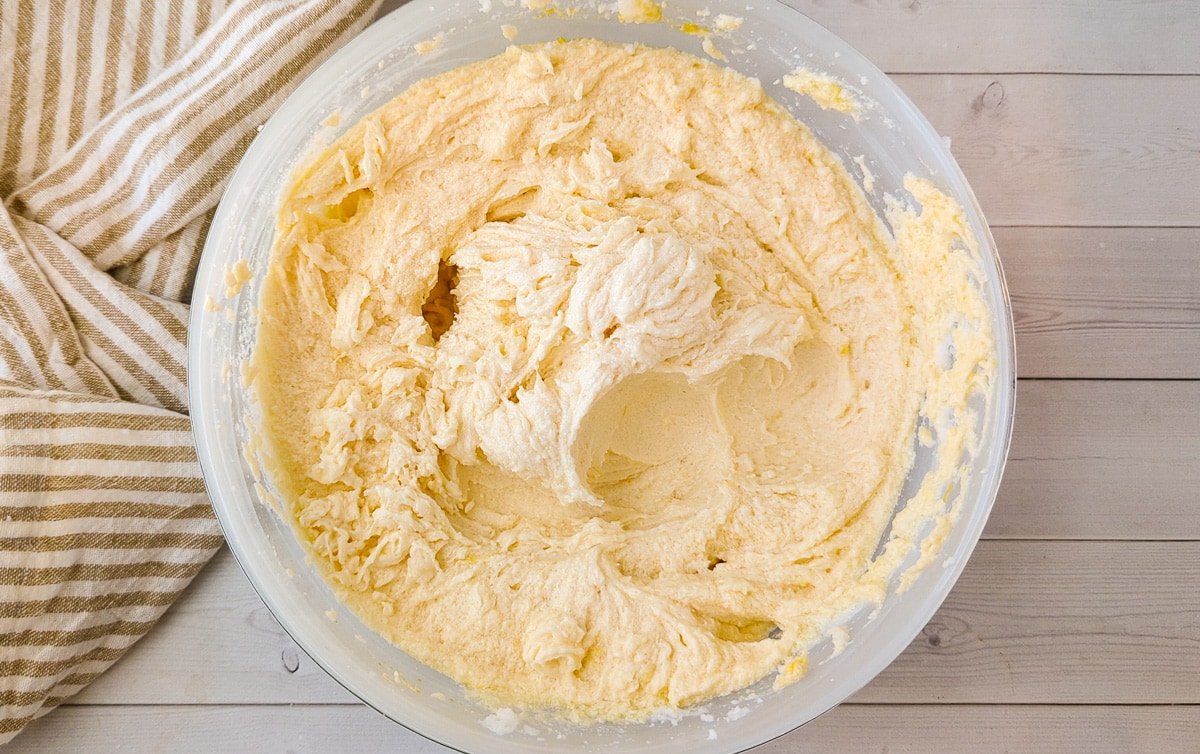
STEPS 1 & 2 : WET INGREDIENTS
In a stand mixer or mixing bowl, add the sugar and butter. Beat them together on medium speed until they are well combined and fluffy.
Zest both lemons and juice one. Add both eggs, 2 tablespoons of lemon juice, and all of the zest to the butter mixture. Beat again until the eggs are fully incorporated.
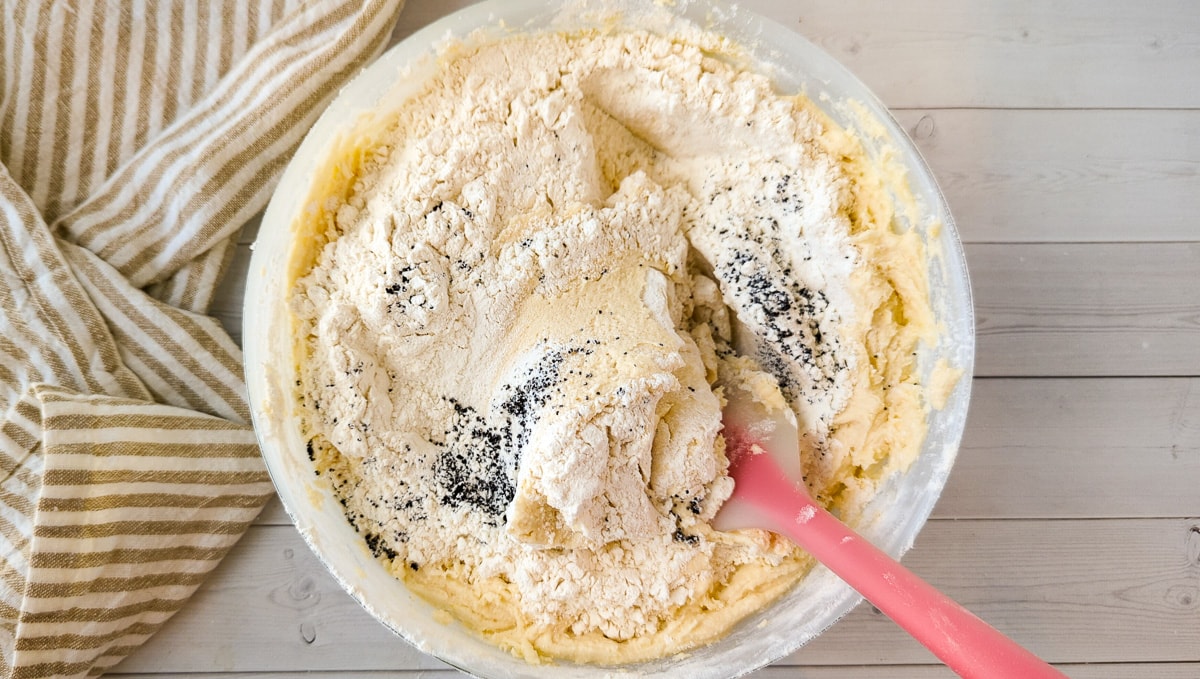
STEPS 3 & 4 : DRY INGREDIENTS
In a separate bowl, combine the flour, salt, baking powder, and baking soda. Mix them together to blend.
Add the dry ingredients to the wet ingredients in thirds, either mixing on low speed or by hand between each addition. When you add the final third of the dry ingredients, add the poppy seeds as well. Gently fold the mixture until the flour is fully mixed in.
STEPS 5-9 : CHILL AND BAKE
After making the dough, place it into the fridge for at least 1 hour, or up to 48 hours, before baking.
When you’re ready to bake, preheat your oven to 350°F and line two baking sheets with either silicone baking mats or parchment paper.
Use a standard, medium cookie scoop to portion out the cookie dough onto one of the baking sheets. Be sure to return the remaining dough to the fridge between batches.
Bake the cookies for 12-13 minutes on the middle rack, or until the tops are no longer wet and the bottom edges have just started to turn golden brown.
Allow the cookies to cool on the baking sheet for 3-5 minutes while you portion out the remaining dough onto the second baking sheet and put them in the oven. Then, transfer the cookies to a wire cooling rack to finish cooling.
Expert Tips for Perfect Cookies
- Use a kitchen scale to measure ingredients accurately and quickly.
- Use a 2 tablespoon (#40), medium cookie scoop OR smaller. Larger cookies will bake unevenly, leaving you with underbaked middles and crunchy edges.
- Keep the dough in the fridge between batches so it doesn’t get too warm. Warm dough will spread too much into the oven.
- Use two baking sheets so there is always a batch in the oven while the others cool and set on the other baking sheet.
- Add a sweet lemon drizzle glaze! Mix 2 tablespoons of lemon juice with 1 cup of powdered sugar until it’s a smooth, loose glaze. When cookies are completely cool, use a fork or spoon to lightly drizzle it over the cookies. Leave them out, uncovered, for 1 hour to allow it to harden.
FAQs
Yes! Easily freeze these by portioning the dough onto a freezer safe surface. Freeze until the cookie dough is solid. Transfer to a freezer safe container or bag and store for up to 3 months (best quality, they’ll be fine for longer). Bake at 350°F from frozen for 15-16 minutes.
They’re still absolutely delicious days 3-5 after baking if kept in an airtight container at room temperature. After that they can start to get a bit crunchy!
You can add up to double the zest if you really like an intense lemon flavor, but the best way to add more zing is to make the lemon glaze to drizzle on top.
Yes. The poppy seeds are great for texture and appearance but the cookie dough will bake just fine without them.
Other Recommended Recipes
Once you’ve tried these perfectly soft and chewy, lightly lemony poppy seed cookies you’ll be 100% hooked. I highly recommend that finishing lemon drizzle if you have the time to let it set, but they’re truly delicious with or without. Enjoy and while you’re here, check out some of my other delicious cookie recipes!
Love this recipe? Please consider leaving a 5 star rating in the recipe card below, or a comment to share your experience with fellow home cooks. I hope you enjoy and as always, Happy Eating!
Lemon Poppy Seed Cookie Recipe
Ingredients
- 454 grams granulated sugar 2 cups
- 220 grams butter softened (2 sticks)
- 2 teaspoons lemon zest*
- 2 Tablespoons fresh lemon juice
- 2 large eggs
- 424 grams All-purpose flour 3 1/4 cups, spooned and leveled
- 1 Tablespoon baking powder
- 1/4 teaspoon baking soda
- 1/2 teaspoon salt only if using unsalted butter
- 1 Tablespoon poppyseeds
Optional Lemon Glaze
- 2 tablespoons lemon juice
- 1 cup powdered sugar
Instructions
- Cream softened butter and sugar on medium speed with a hand or stand mixer for 3 minutes.
- Add two tablespoons of lemon juice, 2 teaspoons of lemon zest, and 2 eggs to the creamed mixture and beat until thoroughly combined, about 1 minute.
- In a separate bowl combine the flour with the baking powder, baking soda, and salt and give it a quick stir to combine.
- Add the flour mixture to the wet ingredients in thirds, mixing gently (folding) between each addition until just combined. Add the poppy seeds in with the final addition of flour.
- Chill the dough for 1-48 hour(s).
- Preheat your oven to 350°F and line two baking sheets with parchment paper or silicone baking mats.
- Use a medium (2 tablespoon or smaller) cookie scoop to portion cookies onto one baking sheet every 2 inches. Return the remaining dough to the fridge.
- Place the sheet on the middle rack in your oven and bake for 12-13 minutes, or until the very bottom edge is just starting to brown.
- Let the cookies cool on the baking sheet for 5 minutes while you portion cookies onto the second sheet. Then transfer baked cookies onto a cooling rack. Repeat the rotation until all the cookies are baked.
Lemon Glaze Instructions
- Make the glaze by whisking the lemon juice into the powdered sugar. Add more lemon juice if it's too thick to drizzle, or more powdered sugar if it appears watery.
- When cookies are completely cool use a fork or piping bag to drizzle the glaze over the top.
- Let set for 1 hour before transferring to a storage container.
- Store glazed or unglazed cookies in an airtight container on the counter for up to 5 days.
Notes
Nutrition
If you made this, please tag me on Instagram or Facebook and share the foodie love with fellow home cooks. Thanks for visiting!
User Review
( votes)Nutrition information and cooking times are provided as a best estimate. Values may vary based upon ingredients and equipment.


These are the best lemon poppy seed cookies I’ve come across. They are so delicious, and now my hubby wants me to make another batch – and I’m okay with that.
Elain, I love that you all love these cookies as much as we do!
Lemon poppy seed is my son’s favorite flavor combination so he and I set about making these cookies this weekend. He loved how thorough your instructions were and I loved how tasty the cookies are!
Marta, thanks so much for sharing, I love that my instructions are kid friendly too. Having kids helping in the kitchen is so much fun!