Homemade Coffee Creamer
This page contains affiliate links. For more information please read my Disclosure Policy.
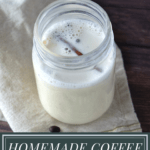
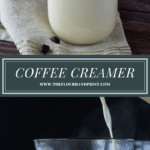
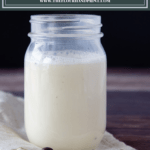
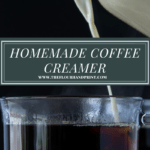
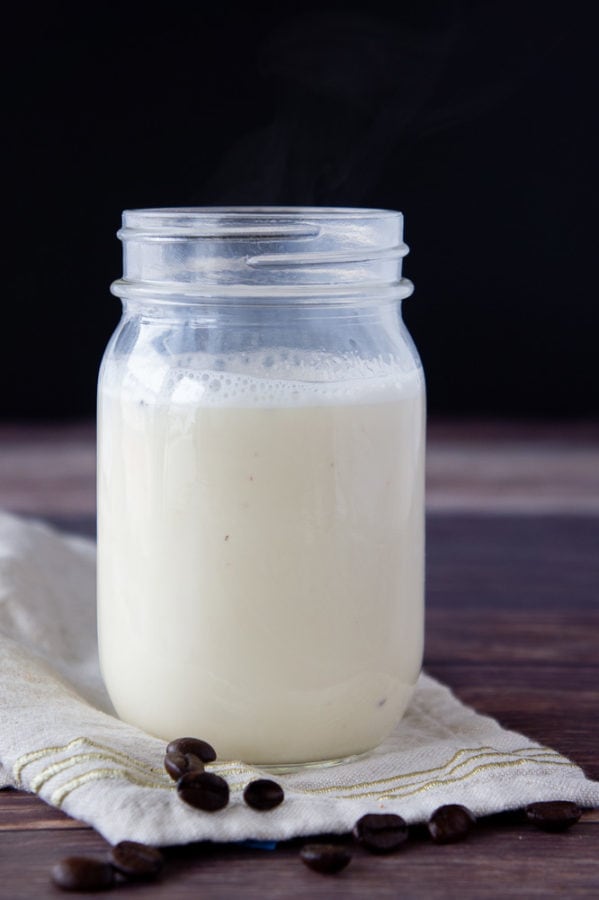
Homemade coffee creamer is easy to make and insanely delicious! With just two key ingredients and flavorings of choice, you can make your own homemade coffee creamer with sweetened condensed milk. Once you’ve tried out a homemade coffee creamer recipe, the store stuff won’t compare!
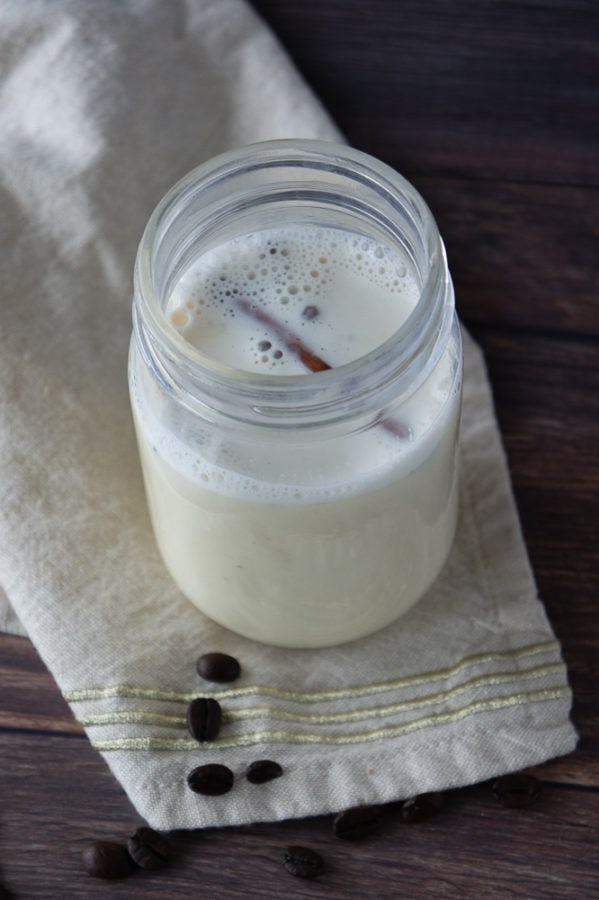
I’m a big fan of a creamy, sweet hot cup of coffee in the morning, and often a glass of cold brew coffee in the afternoon. But to make those perfect, energizing, mom essential cups of coffee requires a good creamer, and the BEST one I’ve ever had is my homemade coffee creamer.
It’s smooth, sweet, and flavored just the way I like it. Heck I can even change the flavor week to week! The best part is that I know exactly what’s in it. I even make my own condensed milk, so from start to finish, it’s completely made from scratch. Trust me on this one, if you give homemade coffee creamer a try, you’ll be a convert too.
Homemade Coffee Creamer with Sweetened condensed Milk
There are lots of ways to make creamer out there. Evaporated milk, coconut cream, simple syrups are all potential options. But the best combo in my opinion that requires minimal effort for biggest, most satisfying flavor pay off is milk and sweetened condensed milk.
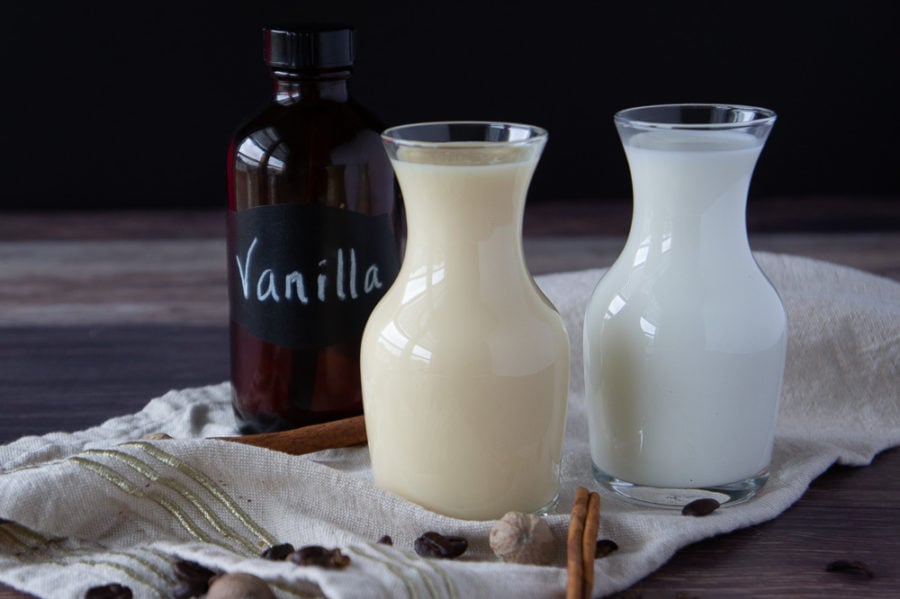
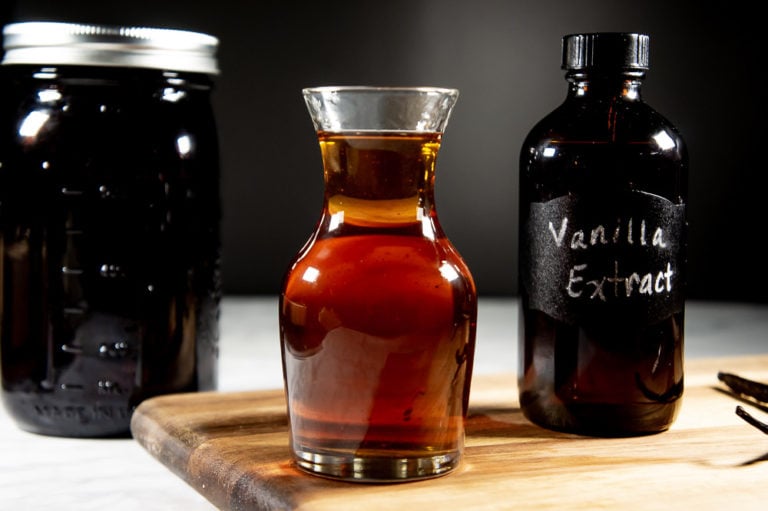
- Sweetened Condensed Milk: This is the sweetening agent in your homemade creamer. You’re more than welcome to use the canned stuff, either traditional or non-dairy. Or, you can whip up your own with my easy recipe for Homemade Sweetened Condensed Milk (also can be made vegan/non-dairy!)
- Milk: The second major ingredient, necessary to thin out the sweetened condensed milk and tame the sweetness. You can choose whatever milk you please, cow, coconut, nut, or soy.
- Flavoring: Now this is where you can get really wild. Add cocoa powder, cinnamon, vanilla, maple, whatever makes you happy!
Two Methods to Homemade Coffee Creamer
Depending on the flavors you choose to add to your coffee creamer, and how you choose to add them, the way you mix up your creamer will differ.
The Cold, Shake it Up Method
This easy, no fuss method works best for flavoring agents that blend easily. Extracts, powdered spices, or syrups.
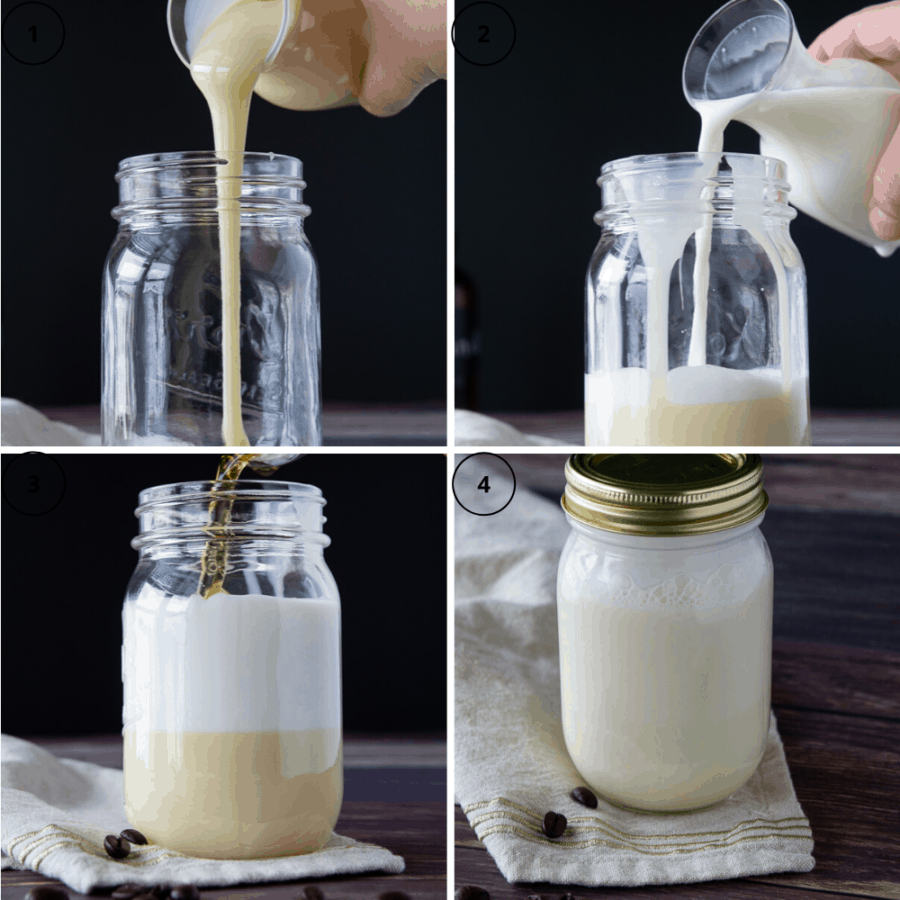
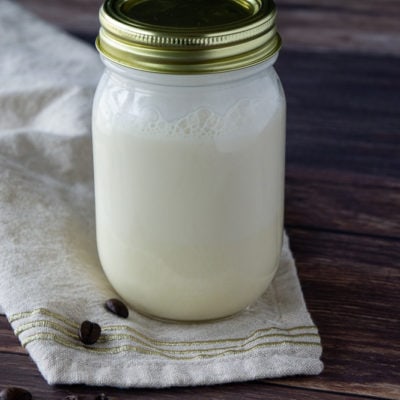
- Place condensed milk, milk, and desired flavorings in a mason jar or storage jar of choice.
- Shake vigorously until combined. Enjoy!
- Refrigerate and shake again before using.
Heat Infusion Method
This method is ideal for enriching your homemade creamer with deep flavor. It also opens up your flavoring options to things like whole spices, cocoa powder, tea packets, or espresso powder. These ingredients incorporate best with some heat applied, and result in a decadent creamer!
- If using whole spices, place them in a pot over medium high heat first. Toast lightly, gently shaking the pan every minute or so.
- If you’re not using whole spices, skip step one!
- When they’re fragrant and toasty (2 to 3 minutes), pour in your milk and condensed milk into the pan.
- Heat milks until just steaming.
- If adding cocoa powder, espresso powder, or any other ingredients stir in now, continuing to stir over heat until there are no clumps and everything is smooth and delicious. Remove from heat and pour into storage jar and let cool before refrigerating.
- If using whole spices or tea, turn off heat and cover the pan. Let it steep until the mixture has cooled enough to touch then pour into a storage jar and refrigerate.
Bonus Tip: If you want to strain out any spices before storing, do so. Otherwise, let them stay in with the creamer. The flavors will strengthen slowly in the fridge, your best cup may even be the last one in the jar!

Coffee Creamer REcipe Ratios
How sweet and thick you like your creamer is going to affect the ratio you prefer of sweetened condensed milk to regular milk. Personally I like a ratio of 1:1.
Depending on your flavor preferences, here are some suggestions on how much to add:
- Ground spices: I’d start with 1 tsp and work your way up. I found cinnamon and ginger I needed a touch more, but for cloves, nutmeg, and allspice less. Feel free to mix them! I also recommend a splash of vanilla extract for these too!
- Cocoa powder: I like 2 tablespoons for that much creamer.
- Whole spices: One cinnamon stick, 4 allspice berries, or 4 cloves were perfect!
- Vanilla Extract: 1.5 to 2 tablespoons was perfect!
- Maple, Peppermint, Hazelnut, or Almond Extract: 2 teaspoons was just enough!
- Chocolate syrup: 2 Tablespoons
- Tea: Steep one to two tea bags of your preferred flavor (lavender, ginger, cinnamon apple, chai), remove when desired flavor is reached!
Feel free to experiment! I’m still learning and tasting what goes well, and would love to hear what flavors you come up with. I’m considering a tumeric ginger flavor next, yum!
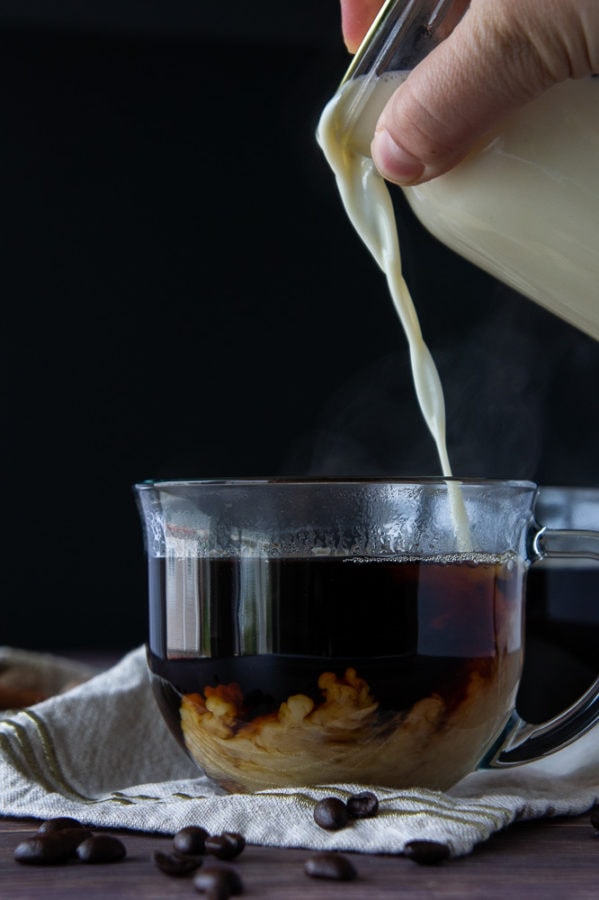
Give your creamer a good shake before using, regardless of the flavors you choose, and you’re good to go!
FAQ’S
This depends on the milk you’ve added. Your coffee creamer is best consumed by the expiration date of your earliest expiring ingredient. For example if you use milk expiring in two days, your creamer won’t last very long.
I make my creamer as I buy milk, and find that 1 cup of condensed milk and 1 cup of milk lasts me a week or two, long enough to last without any waste.
Non-dairy milks usually expire less quickly, and coconut milk is an excellent alternative that has a longer shelf life (the cartons. Using canned coconut milk has a LOT of fat that you will taste)
Certainly. Condensed milk freezes well, so it’s ideal for this. However regular milk may have some separation. Mix up your creamer, freeze, then thaw as needed (up to 3 months in the freezer is fine). Be sure to vigorously shake before each use, and you’re good to go!
I’m not going to claim that drinking anything with sweetened condensed milk is necessarily healthy. BUT, there are no strange ingredients, no preservatives, and you can flavor is as desired. In my book, that’s better every time.
Enjoy!
I hope this homemade coffee creamer recipe makes you as happy as it does me. I sincerely enjoy my morning (and evening, shhh) cups so much more now. It’s easy, even if you’re just using it in a pinch or to test it out. Have fun!
If you liked this, you may also enjoy these beverage recipes:
- Easy Vanilla Cupcake Latte Recipe
- Maple Latte
- Caffé Mocha
- Frappé & Frappé Cold Coffee Variations
- Copycat Cinnamon Dolce Latte
- Homemade Hot Cocoa Mix
- Homemade Chocolate Syrup
- Easy Cardamom Latte
- Simple Coconut Cold Brew
Homemade Coffee Creamer
Ingredients
- 14 Ounces Sweetened Condensed Milk
- 14 Ounces Milk of your choice Or, 7 ounces milk, 7 ounces cream
- 2 Tbs Vanilla Extract
Instructions
- Combine ingredients in a jar or bottle and shake until combined.
- Store in fridge. Will last as long as the earliest expiring ingredient.
Notes
Nutrition
Nutrition information and cooking times are provided as a best estimate. Values may vary based upon ingredients and equipment.


Perfect
Store bought creamers upset my stomach so I switched to milk and sugar in my coffee. I came across a no-cook homemade sweetened condensed milk recipe which comes out just like the canned versions. Then I found your recipe for homemade creamer using sweetened condensed milk. Love, love, love your recipe!
I’m glad you could figure out a homemade version that works for you! Thanks for the review Kathleen!
I was out of my normal International Delight coffee creamer. 5:30 am, did not want to make a trip to town. Found this recipe so gave it a try. No more store bought creamer for me, this is absolutely AMAZING!!!!!
Thanks for the review! Glad it worked for you and it’s a keeper :)!
Not sweet at all not impressed with this one tried it with half and half as well and I would rather buy the already made store creamer
Hi Melissa, sorry to hear you didn’t like it, but I appreciate the feedback. Often I hear that sweetened condensed milk is too sweet, so I am a little surprised, but I hope you find a creamer recipe that works for you and that perfect morning cup of coffee.
I have been making a creme brulee creamer for my son’s girlfriend. 1 can evaporated milk, 3/4 c packed brown sugar, 2 tbsp vanilla, and 1 1/2 cup Half & Half. She likes the flavor better than the store brand I had been getting for her, says it is not sweet enough. I am not wanting to add white sugar, but wondered about the sweetened evaporated milk. Have you made this? Any thoughts as to how to switch out the evaporated milk/ possible half and half with the sweetened evaporated milk.
Hi Terry, sweetened evaporated milk is not a product I’ve ever come across, so I’m going to recommend sweetened condensed milk. It’s made the same way as evaporated milk, but with sugar, so they’re basically the same, just one is sweet and one is not. I’d swap out the can of evaporated milk for a can of sweetened condensed milk and see how that goes. I wouldn’t take out the half and half because the sweetened condensed milk is VERY sweet, and needs a milk product to thin it out so it’s pourable. Depending on your son’s girlfriend’s taste, you may even want to reduce the brown sugar, the condensed milk is usually sweet enough. I hope that helps and good luck!
Is there any way to keep the sweetened condensed milk in the recipe from settling and sticking like glue to the bottom of the jar while in the fridge ?
Hi Raymond, the milk and condensed milk will naturally separate and the only way I can think to fight that is to pop it in the blender and let it go on high speed to really emulsify it together. I can’t say for certain if it will eventually separate again, but other than really shaking the jar before you use it, that’s your best bet I think. Let me know how it works if you give it a go.
Hi, Raymond I used whipping cream to mix with my sweetened condensed milk. I shook, and stirred it for a few minutes and it did not settle to the bottom. Worked perfectly:)!
I tried out this recipe today with store bought sweetened condensed milk and unsweetened coconut milk (both canned). It is on the thinner side, but that’s okay I can get used to it; however, I’m torn that I literally found out today that the sweetened condensed milk contained a bioengineered ingredient! I hope to make your version of it one day.
Hi Cymone, thanks for letting me know how it went! If you want to have a thicker creamer, you can always increase the ratio of sweetened condensed milk to coconut milk, but of course…that makes it sweeter too! I’m curious which sweetened condensed coconut milk you used? I prefer to make my own…well everything 🙂 but I’ve checked those cans out and I’ve only seen cane sugar and coconut milk on the ingredient lists. I’d love to learn more! I hope you can enjoy your new creamer in the meantime!
I hate storebought creamers, so happy to find this recipe. This homemade version is so simple to make and tastes way better than the bottled stuff!
Heather, it does taste so much better, I’m thrilled you like it so much!