Peach Hand Pies
This page contains affiliate links. For more information please read my Disclosure Policy.


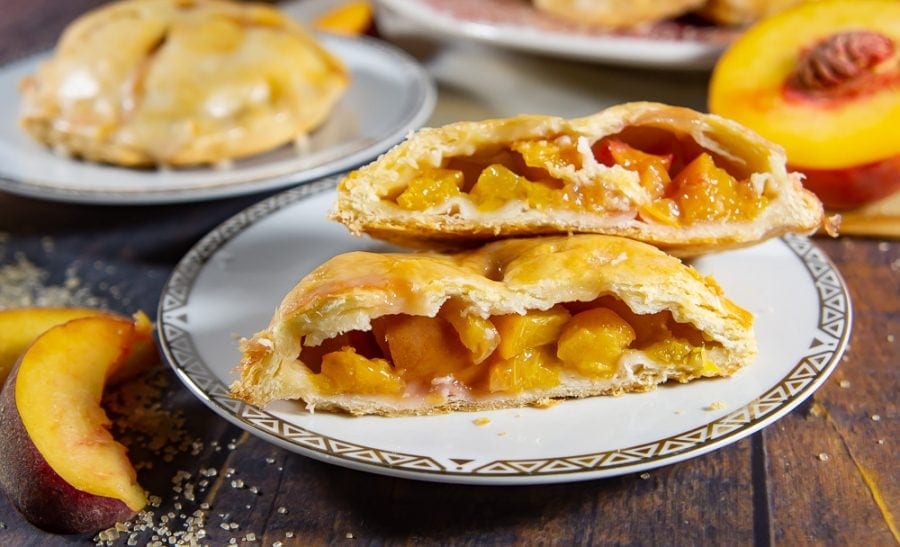
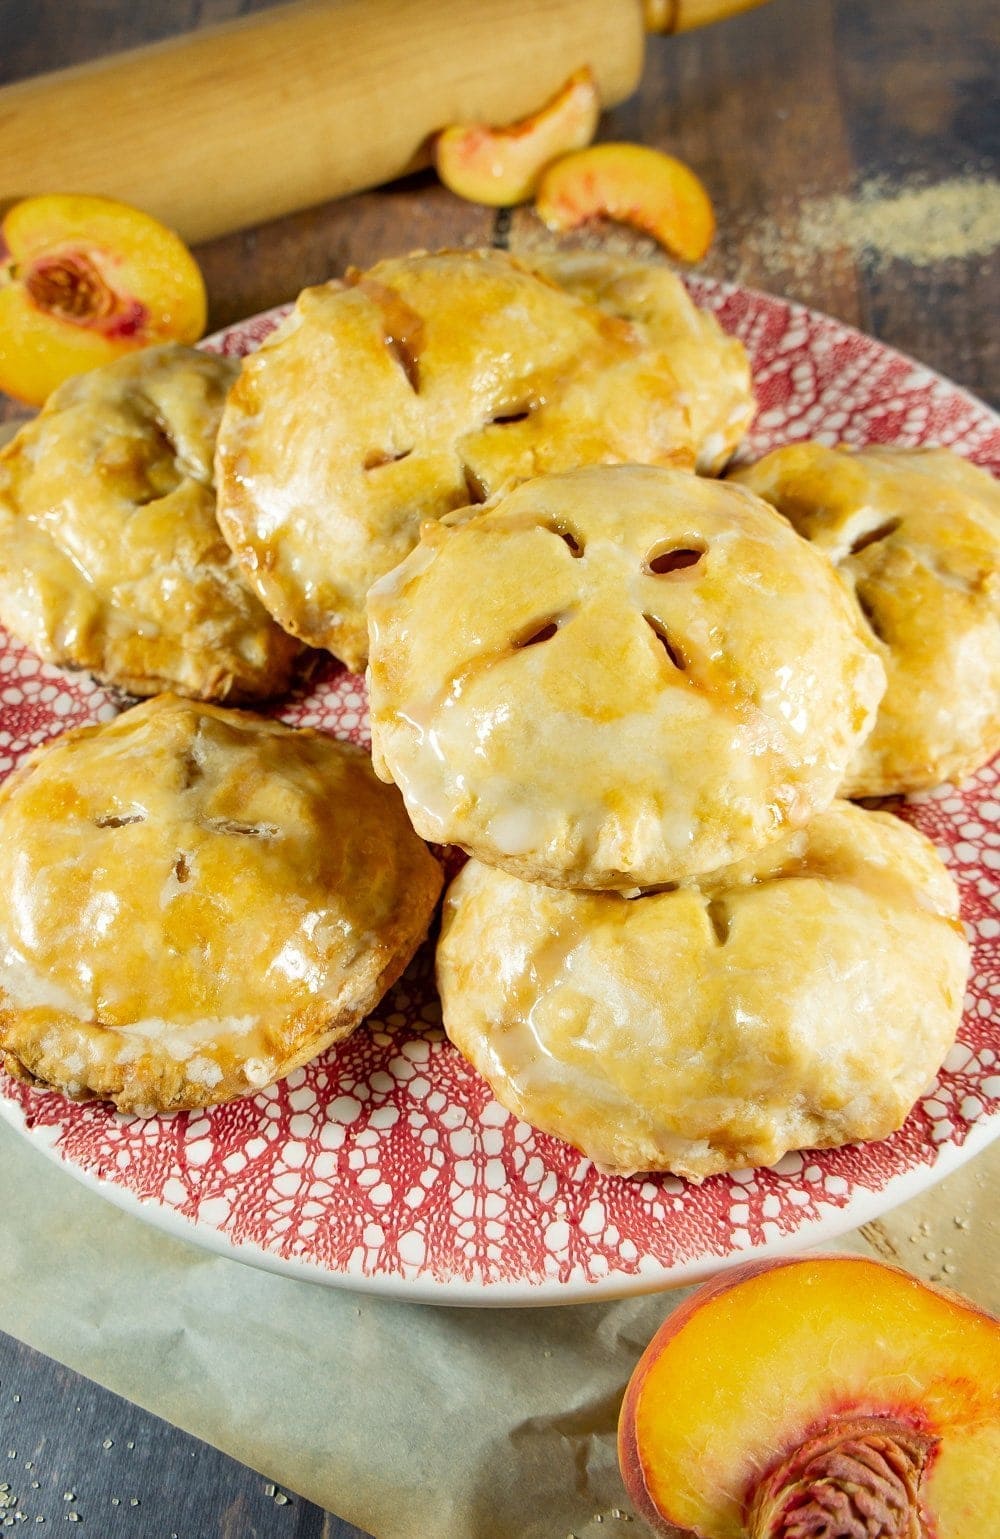
These mini peach hand pies are made with a simple 3 ingredient fresh peach filling, a simple homemade brown sugar short crust, and finished with a quick powdered sugar glaze. They’re a great way to enjoy seasonal stone fruit and make a shareable, fresh dessert for cookouts, parties, or to stock your freezer.
For some reason I’ve isolated pie making for the colder winter months, but truthfully, it’s completely silly not to be baking pies all year! They’re an excellent way to highlight the fresh fruits of spring and summer, whether you’re into juicy blueberry hand pies or these adorable, sweet and tender peach hand pies.
It’s just a quick mix of peaches and sugar in a flaky dough that’s easy to make from scratch. They’re truly a celebration of peach flavor, and an easy dessert to make ahead for your next summer cookout.
Ingredients
The ingredients that come together to make peach hand pies are a simple combination of pantry items most of us have on hand. Add in a few peaches and you can whip these up!
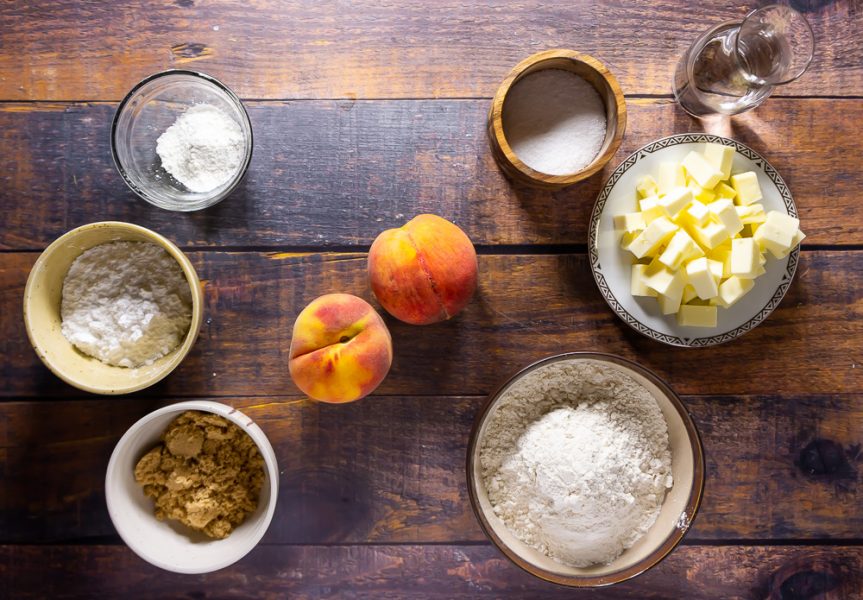
- Pie Dough – I prefer to make my own short crust (aka pie dough), but store bought dough is fine as long as it’s not already pressed into a pie tin. Puff pastry is also a good option.
- To make the dough I used for this recipe you’ll need – All purpose flour, unsalted butter, brown sugar, salt, and water.
- Peaches – I like yellow peaches best, but any soft, fully ripe (please not mushy) peach will work.
- Brown Sugar – white sugar also works, but brown tastes better. Coconut sugar or turbinado sugar also work.
- Cornstarch
- Egg – You’ll need one whole egg for an egg wash that gives the pie the beautiful color.
Pro Tip – Whether you decide to use my pie dough recipe, or to run with your own, keep this simple ratio in mind: 3 parts flour, 2 parts fat, 1 part liquid.
This will yield a short crust that will work for most recipes, just keep in mind it works best with weight not volume measurements, so be sure to use your kitchen scale!
How to Make Mini Peach Pies
While filling and sealing pies can be fiddly work, it’s not complicated. From start to finish it’s just a series of simple steps that come together in a delicious dessert. You’ll need to make or prep your dough, have baking sheets ready with parchment paper, and a shaping method.
I prefer to use a mason jar lid to shape and keep each pie the same size. But, you can do this free hand, fold them into half moons like empanadas, or make them into rectangles like this recipe for vibrant ube pie.
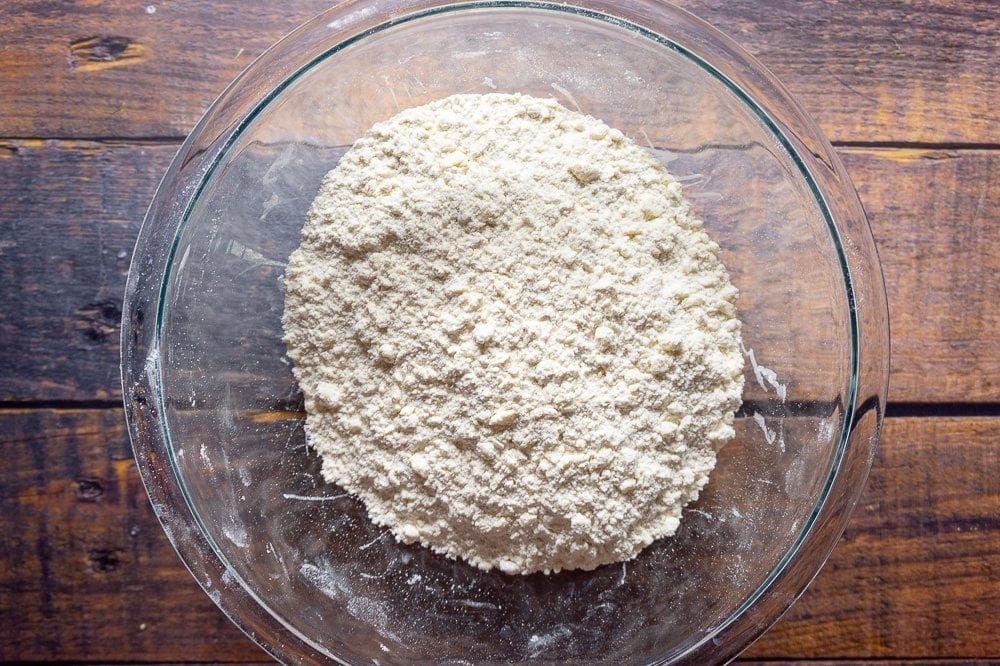
Step 1 – Make your short crust dough
Whisk all the flour, sugar, and salt together until well combined. Chop up your really cold butter and add it into the flour. Use your hands or a pastry cutter to work it into the dough until it resembles fine crumbs.
Add in ice water a little bit at a time, gently working it until a soft dough forms. Form a ball, wrap it up and put it in the fridge while you make the filling.
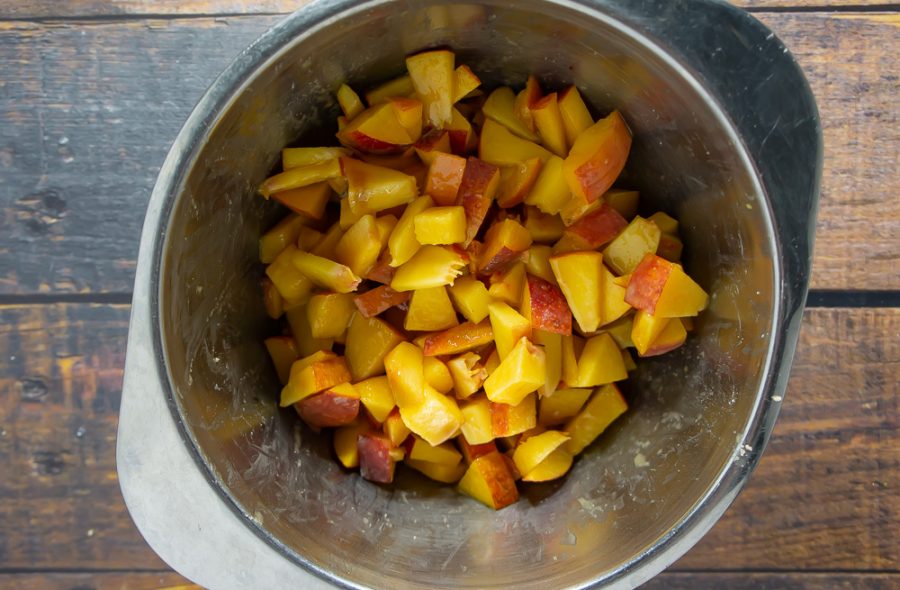
Step 2 – Make the Peach Filling
Slice the peaches, discard the pits, and dice into similar sized 1″ chunks. Don’t worry about peeling them, they bake perfectly fine with them on.
Add in the remaining brown sugar and cornstarch and toss until combined.
Step 3 – Make an Egg Wash
Simply beat one egg with two tablespoons of water and set it aside with a pastry brush so it’s ready to go when you are.
Step 4 – Roll Out and Cut the Dough
After your dough has chilled it’s time to roll it out. I usually work in two sections by cutting the dough in half and sticking one back in the fridge. If the dough gets too warm, it will not be flaky or easy to work with.
Roll the dough out until about 1/4″ thick on a well floured surface. Then using either a large round biscuit cutter, or free hand with a knife, cut circles through the dough. I like to use a wide mouth mason jar lid (you can use a standard one too, if that’s what you have). Cut a circle about 1 1/2″ wider than the mason jar lid.
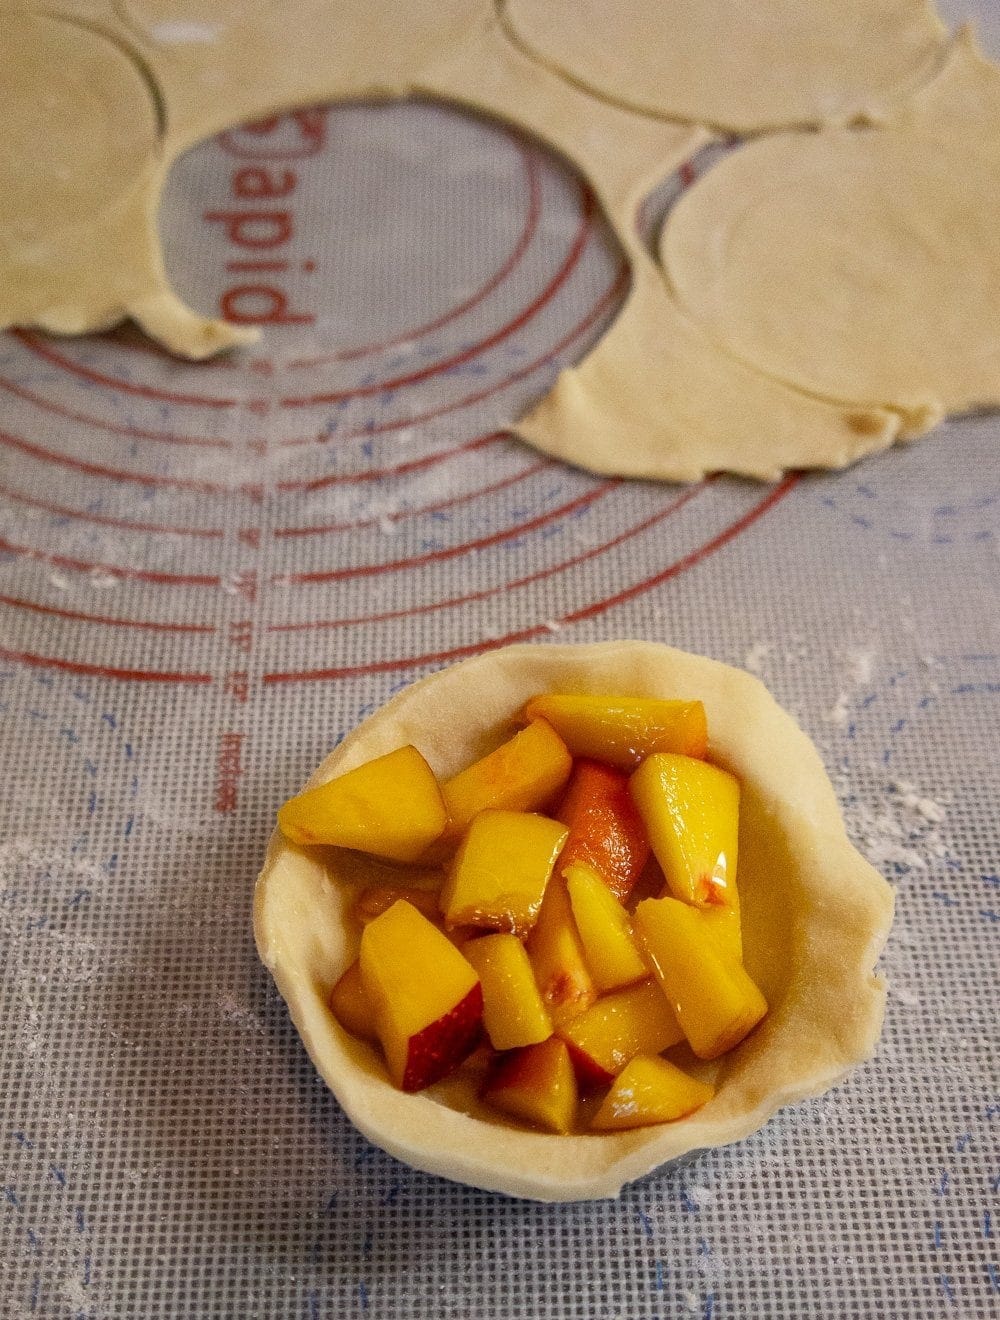
Step 5 – Fill and Seal the Pies
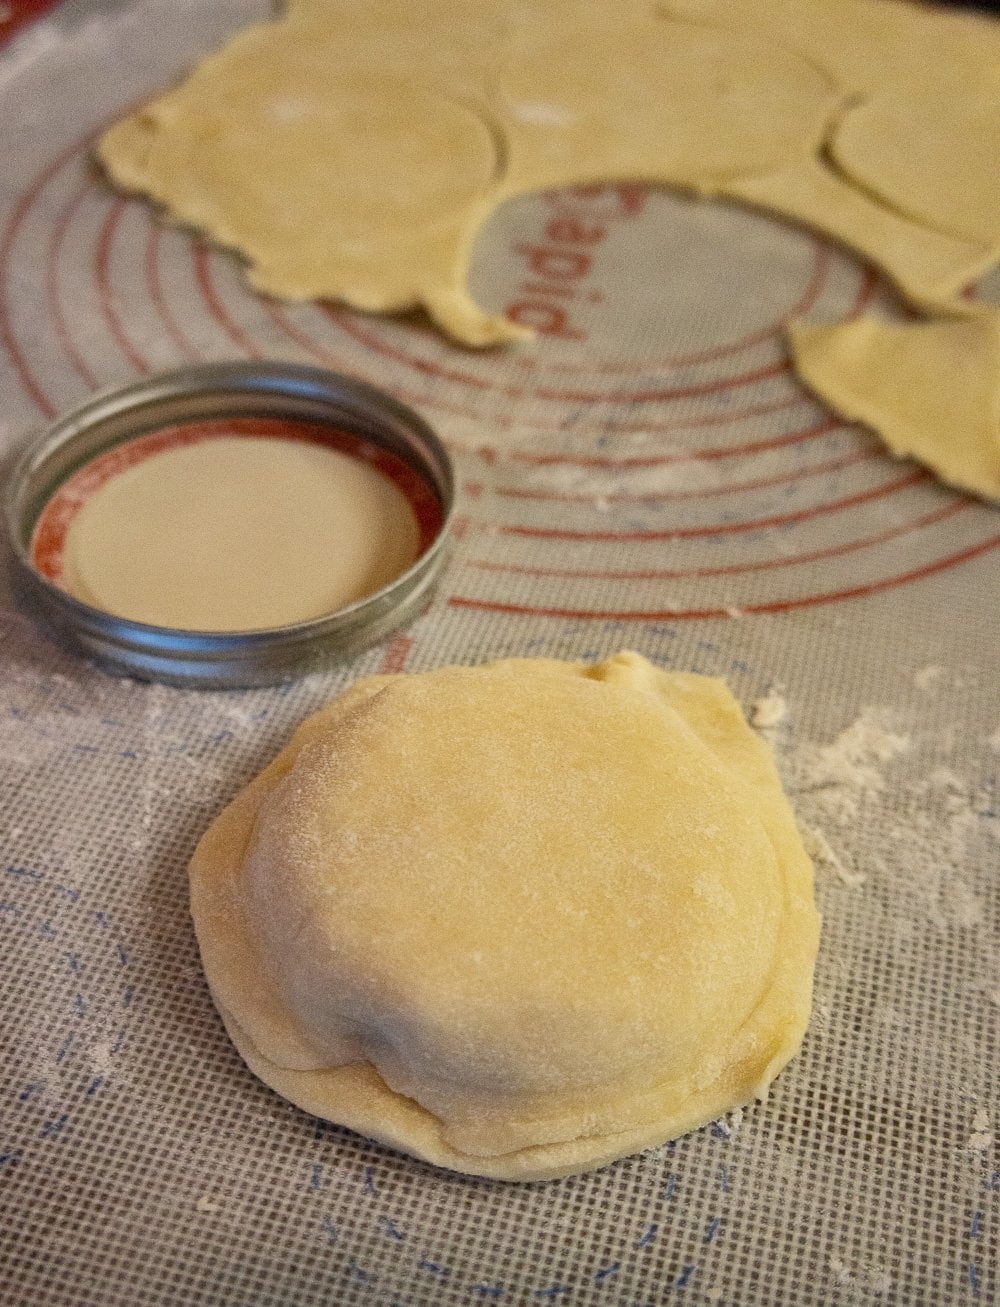
Lift one circle into the lid, and gently press down into the lid to make a pocket. Spoon enough peach filling in to be level with the rim.
Brushed the exposed edges with egg wash, then take a second circle of dough and press the edges of the two together. Flip it over onto your work surface.
Trim any excess dough if needed, and press the edges firmly together and crimp the edges. I use my finger and create little flutes around the edge. You can also use the tip of a fork to do the same.
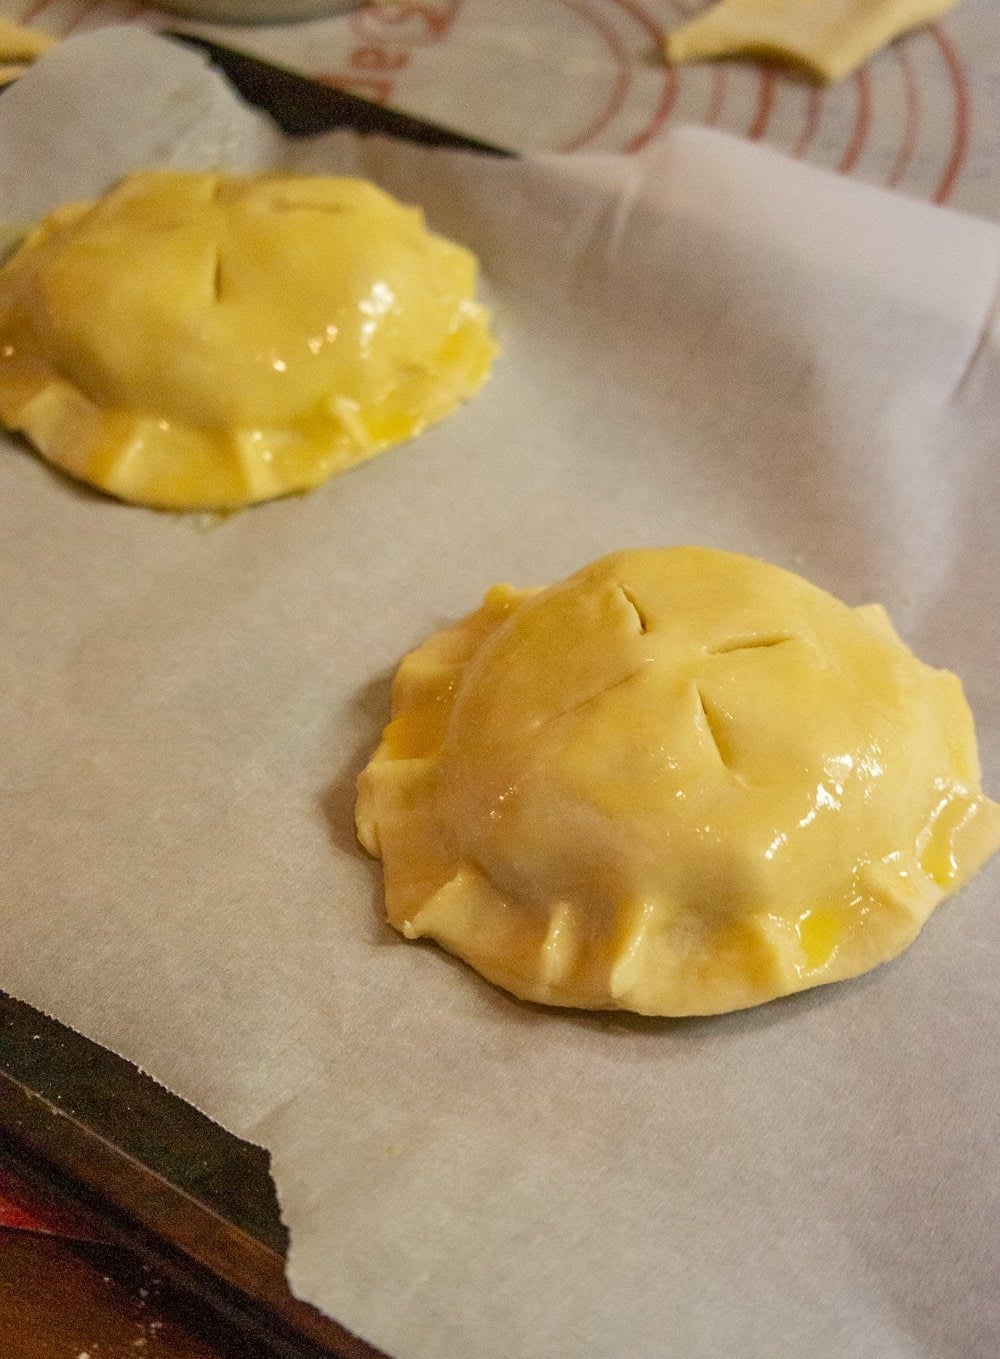
Step 6 – Brush and Vent the Pies
Finally place the pies on a parchment lined baking sheet. Brush the tops with more egg wash to aid browning in the oven. Slice a few decorative cuts in the top to release steam while cooking.
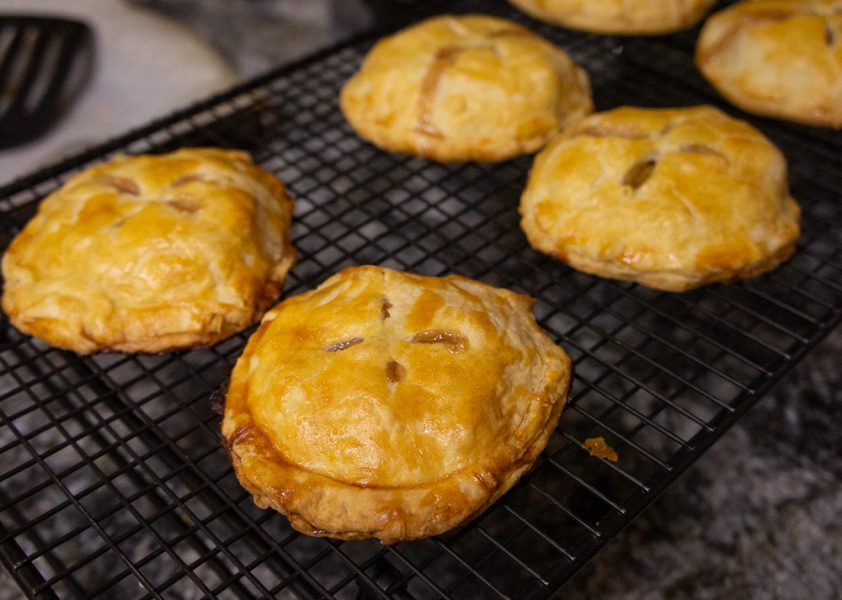
Step 7 – Bake and Glaze
Pop them into a 350°F oven for 35 minutes. They should be golden and crisp when you remove them from the oven. If you’re nervous you can carefully lift with a spatula and check that the bottom is crisp and golden.
Remove from the baking sheet and set on a cooling rack to cool. If you’re a fan of glaze like I am simply mix 1/2 cup of sifted powdered sugar and 1/4 cup of water. It should be thin but sweet.
When your mini peach pies are completely cool apply the glaze. Slide a piece of parchment paper underneath the cooling rack to catch dripping glaze. Using a spoon or pastry brush apply the glaze to the entire top of the pies.
Frequently Asked Questions
With a wide mouth mason jar as a size guide, I yielded 8 mini peach pies. For a standard sized mason jar lid, about 12. The number you get may vary based upon how you decide to shape them.
No, you can also use milk or even just water to aid the sealing of dough. I prefer an egg wash because it reduces the risk of burst pies and gives a really nice shiny gold crust to the finished pies.
You bet! I would up the cornstarch to 2 tbs, but otherwise use as a 1 for 1 replacement.
You can chop your butter into small chunks and place in the freezer to get cold. Avoid truly frozen butter though, it will just make the process longer. I’d stick to 20 minutes or less in there.
Storage Tips
I found that keeping these pies at room temperature for 3 days is best. Do not seal into a plastic bag or container, as they get soft and soggy. Simply lightly cover on a plate with plastic wrap, leaving enough room for airflow.
To freeze them do so before baking and glazing. Form and place the unbaked pies on a baking sheet, then stick the entire sheet into the freezer. Once your hand pies have frozen solid, transfer them to an airtight container or bag. Bake from frozen and add an additional 5-10 minutes of bake time.
That’s it! Mini peach hand pies, deliciously stuffed with summer stone fruit, and perfect for sharing. Don’t forget to check out my other fresh fruit desserts while you’re here.
Love this recipe? Please consider leaving a 5 star rating in the recipe card below, or a comment to share your experience with fellow home cooks. I hope you enjoy and as always, Happy Eating!

Peach Hand Pies
Ingredients
Pie Dough
- 9 ounces flour, all purpose 2 cups, minus 2 Tbs
- 6 ounces butter, unsalted 12 TBS
- 3 ounces cold water 5.5 TBS
- 1 tbs brown sugar
- 1/2 tsp salt
Peach Filling
- 2 large yellow peaches
- 1/4 cup brown sugar
- 1 1/2 tbs cornstarch
- 1/8 tsp salt
Glaze
- 1/2 cup sifted powdered sugar
- 1/4 cup water
Egg Wash
- 1 Large Egg
- 2 Tbs water
Instructions
Pie Dough
- Combine flour, sugar, and salt in a bowl. Cut cold butter into cubes and rub into the flour with your fingers or a pastry cutter until the mixture resembles coarse crumbs, no bigger than the size of peas.*
- Add in half the water and mix together, add in remaining water a little at a time until dough just comes together.
- Turn out onto a clean surface and press gently together to form dough. Wrap in a plastic and place in fridge for 30 minutes, up to 2 days.
Peach Filling
- Wash, dry, and slice your peaches, removing the pit. Cut into slices then dice.
- Combine brown sugar, cornstarch and salt and whisk together.
- Toss diced peaches with sugar mixture until well coated. Set aside.
Filling Pies & Baking
- Make egg wash by combining 1 egg with 2 Tbs of water and beating together and preheat oven to 350°F.
- Split dough into 2, place one half back into the fridge and roll out other half to 1/4" thick on a lightly floured surface. Cut 4 inch circles into the dough.
- Place 2 Tablespoons of filling into the center of one dough circle, leaving 1/2" of dough around the outside. Brush edges with egg wash and place a second dough circle on top. Press edges on together and crimp using fingers or a fork.
- Continue until all the dough, including the second half from the fridge, and the filling is used. Should yield 8 pies if using the 4 inch circles.
- Place finished pies on a lined baking sheet and brush tops with egg wash. Cut small slits in top of pies to vent. Bake in oven for 35 minutes or until golden brown and crispy.
Make Glaze
- Once your pies are done, remove from baking sheet to a cooling rack.
- Make your glaze by mixing water and powdered sugar together until smooth.
- When pies are completely cool brush tops liberally with glaze and allow to set up before moving.
- Enjoy immediately or store at room temperature for up to 3 days.
Notes
Nutrition
If you made this, please tag me on Instagram or Facebook and share the foodie love with fellow home cooks. Thanks for visiting!
Nutrition information and cooking times are provided as a best estimate. Values may vary based upon ingredients and equipment.


How much water?
Hi Mary, I’m afraid I don’t know which water you’re referring to. I double checked the recipe card and each use of water is listed with a specified measurement. If you can clarify your question I’m happy to answer it.
I love this recipe from the pastry to the glaze, it is perfect.
Loved making these delicious hand pies with my fresh peaches! These were such a hit and totally easy to make. I’ll be making this again during summer for sure 🙂
A good warm fresh hand pie is such a treat isn’t it. I’m glad you enjoyed making them and eating them!
These remind me of those hand pies we would get as a kid…except a 1000x times better! The fresh peach filling was so good!
I’m smiling as I read your review, 1000x better is wonderful to hear, that you loved them as mush as we do makes my day!
These peach hand pies have the best homemade crust on them. Add the sweet peach filling center and you have a wonderful dessert recipe.
Thanks so much for sharing with me that you loved the homemade crust and the sweet filling. I agree they are a wonderful dessert. I enjoy making them for a party or just for us to enjoy at home!
I love hand pies! Looks so delicious and perfect for the summer! Can’t wait to try this recipe!
I hope you enjoy Natalie!
I love hand pies. We usually make apple, but peach sounds delicious.
Apple hand pies are great too, I hope you guys give peaches a try next time!
I’ve been the same way! Summer seems to hot to eat pie, but then you can’t get fresh peaches in the winter! These hand pies are the perfect solution!
Glad I’m not alone in the winter pie tradition, but I think this recipe really broke through, I’m going to be an all year pie gal from here on in. I hope you can give these a try too!
Omgoodness these are adorable and look so yummy! Love the simple ingredients for the filling and that you used homemade dough! I went to the supermarket today and bought a batch of peaches, (unfortunately not from the local farm as you were able to get from! 🙂 ) think you just gave me the idea in which to use them!! Thanks for the inspiration!
So glad I could help inspire Cathy! I’m very lucky to be near so many farms here, but aren’t we lucky that supermarkets can make them available to us all?! I hope you have fun using them up 🙂
These look absolutely delicious! Perfect for this time of year when the peaches taste so good!
My thoughts and inspiration exactly!