Homemade Granola Nut Bars
This page contains affiliate links. For more information please read my Disclosure Policy.

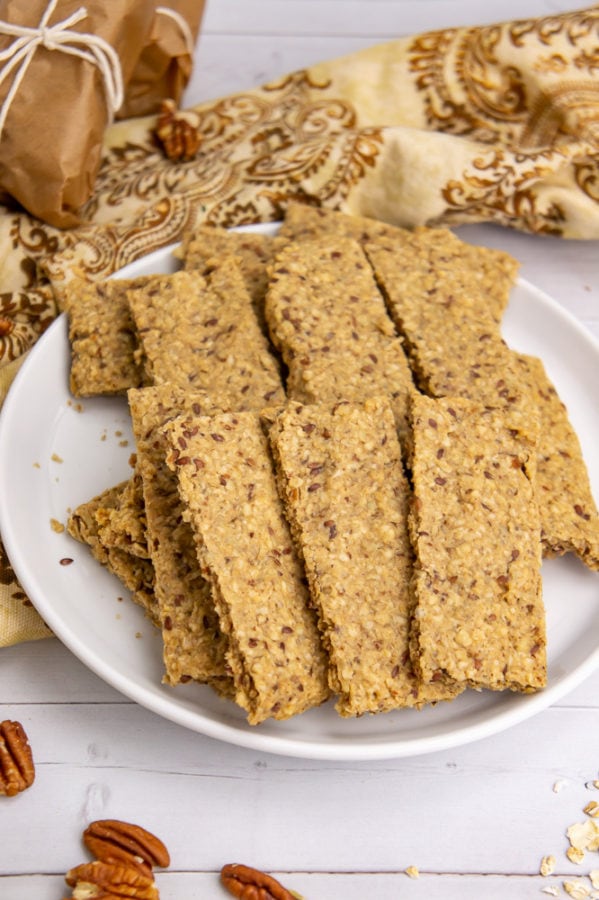
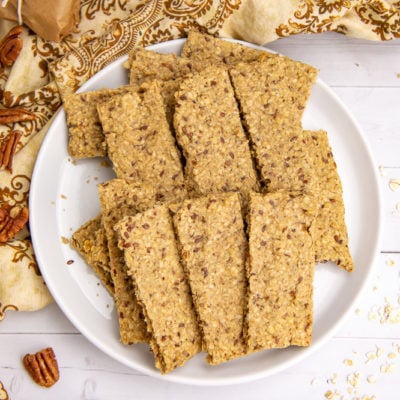
These homemade granola nut bars are full of protein and grains but lower in sugar than any store bought granola bar. Pecans, oats, and peanut butter give flavor to the bar and make these pecan granola bars filling, satisfying, and tasty.
Two years ago granola bars weren’t even on my radar. It wasn’t something I ever bought or ever craved. Then I had a kid. Granola bars were one of the first toddler foods that he could nibble with new teeth and I was APPALLED at the amount of sugar I found in them.
So, rather than pay an obscene amount for the tiny box of low sugar bars I could find, I got to work figuring a nutritious, still tasty, low sugar granola bar for kids that I could make from scratch. I never would have guessed that these homemade granola nut bars would also become a frequent snack for my husband and I as well.
How are Pecan Granola Bars Healthier?
My goals were simple: they had to taste good and they had to provide some nutrition without packing it full of sugar. I accomplished this by including ingredients that taste good together, but also provide different benefits.
I should take a moment to say these are NOT sugar free. I’ll be frank, those sugar free date bars aren’t my thing. I firmly believe healthier foods still need to taste good, otherwise we won’t eat them anyway.
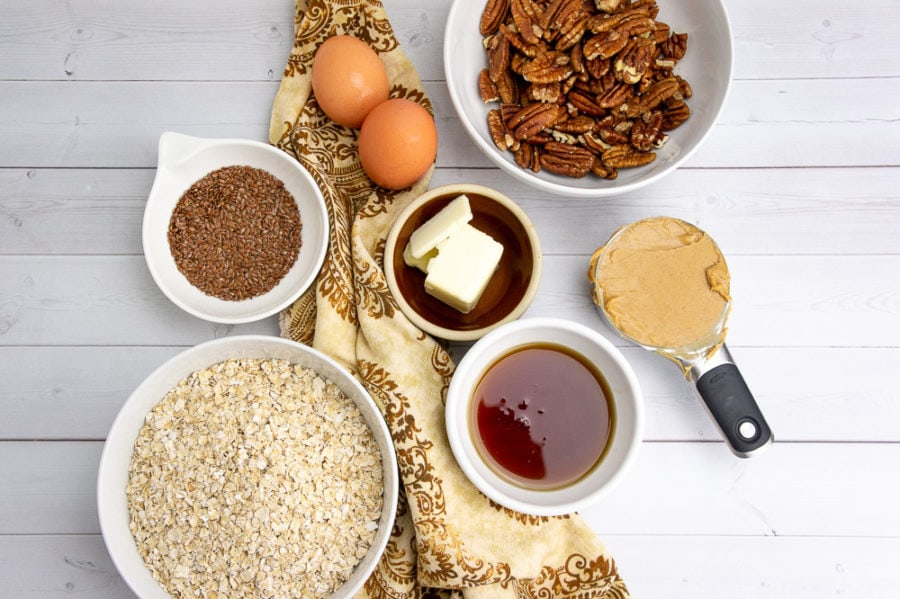
- Pecans – My favorite nut! They’re buttery, and softer than most nuts, and their flavor isn’t overwhelming. Nuts also provide protein and healthy fats here. I use unsalted, unroasted nuts.
- Oats – Quick cook oats are the grain and bulk of the bar.
- Flax seeds – These are technically an optional ingredient, but if you can, absolutely add them. Flax seed provide healthy fats and great fiber.
- Egg whites – We needed a binder here. I chose to just use egg whites for their lean protein content and binding power. Be sure to save the egg yolks for ice cream, curds, custards, or an egg wash on your next bread baking project.
- Butter – This is really there for flavor!
- Maple syrup – I use just enough natural sugar to make these taste good, and not a smidge more.
- Peanut Butter – more protein and healthy fats, and flavor! I used my homemade peanut butter, which is so easy to make! If purchasing, use natural peanut butter to keep this recipe low sugar.
- Salt – If you’re using unsalted nuts and nut butter, be sure to add a pinch, it really does matter!
Can I make any Substitutions
Yup! Homemade granola nut bars can be made with a very wide variety of ingredients. Here are some of my favorite suggestions!
- Nuts – Feel free to swap in your favorite nut for the pecans. Cashews, almonds, peanuts, walnuts will all work.
- Sugars – I like maple syrup for it’s subtle flavor and sweetness but honey, date syrup, or brown rice syrup will work as well.
- Oats – Rolled oats can be substituted with just a few extra seconds in your food processor.
- Nut Butter – any nut or seed butter will do the trick!
- Butter – Equal parts oil should work with no issue.
If you’re kids (or you, no judgement!) prefer a bit more sweetness, I recommend drizzling a dark chocolate over the top as they cool. Dark chocolate is actually quite good for us in small bits, and it tastes great here!
Tips for Perfect Homemade Granola Nut Bars
These are very simple to make, just a quick bit of blitzing in your food processor or blender before mixing and baking! A quick two step baking process creates crisp edges, soft middles, and gets warm, fresh pecan granola bars out of the oven in less than 30 mins.
- Blitz the pecans, flax seed, and all but 1 cup of oats in the food processor or blender until the pecans and oats are the same size, like cous cous.
- Whisk the liquids into the egg whites. Do this as you would temper curd or an ice cream base, by drizzling the warm liquid slowly into the egg whites while beating rapidly. This prevents curdling, but also creates a uniform thick liquid to bind the granola bars.
- Shape the granola bars before baking, and keep thickness in mind. Press them as thin as 1/4″ thick for crisp granola bars, up to 3/4″ inch thick for chewier soft bars.
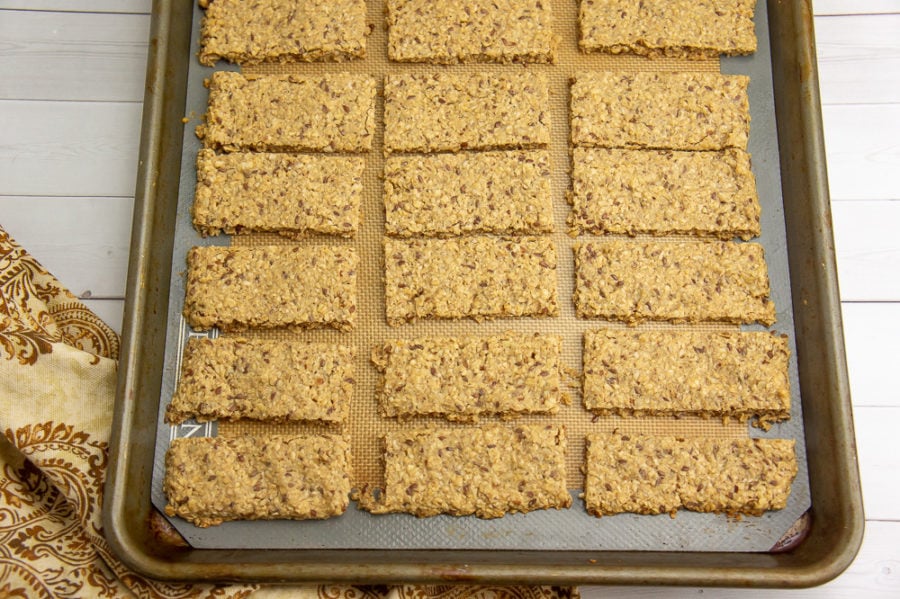
- Use a butter knife to cut the granola bars after the first bake and carefully spread them out to allow the edges to dry and crisp like a traditional granola bar.
Pro Tip: Allow them to cool for 5 – 10 mins between bake time. This allows them to set and will reduce crumbling, as well as make them easier to handle and spread out.
Storage, Freezing, and Prepping Ahead
If there’s one thing that store bought snacks can always claim over the homemade ones, it’s shelf life. That’s why there’s all that sugar! (it’s a fabulous preservative, which is why homemade jam lasts so long!)
These homemade bars will never last months in the cupboard, nor should they. Allow them to cool completely, then store in an airtight container for up to 1 week. Please note that if you bake them very thick, they will likely soften quickly and are more prone to mold due to residual moisture.
While I can’t make them last a month, I can tell you they freeze exceptionally well! This recipe makes enough bars for me to divide into 2. To freeze, shape an unbaked portion of the mixture on a freezer safe flat surface, like a baking sheet. Freeze until solid, then wrap and return to the freezer. I like silicone baking mats for both the baking and freezing of this recipe for easy clean up and no sticking.
They’ll keep there for up to 4 months without losing quality. Go ahead and double or even triple this recipe and freeze several batches for low stress, homemade snacks when you need them. To bake from frozen increase the baking temp to 350°F for the first bake, then drop it back to the original 325°F for the second bake.
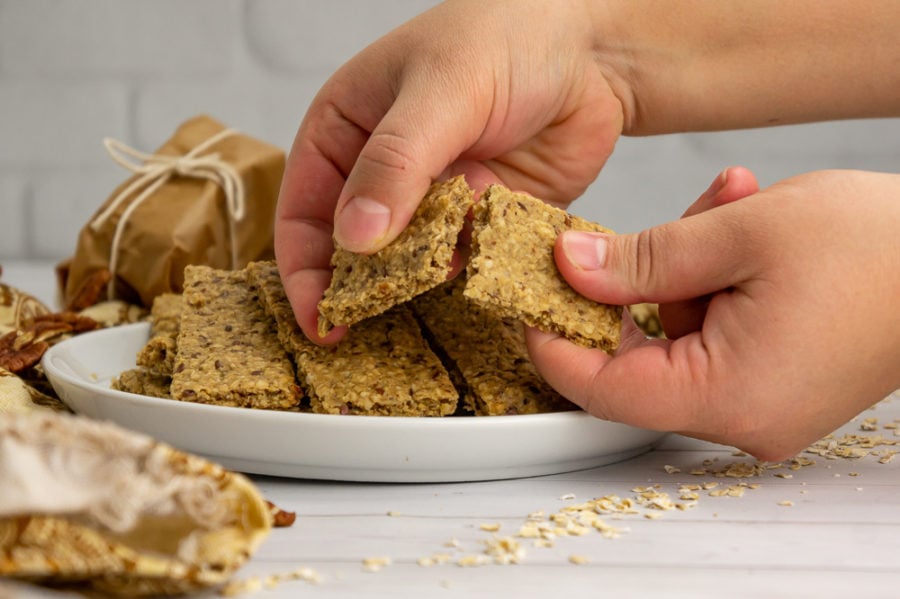
Eat & Enjoy
Whether you were looking for a healthy granola bar for your kids, or just a healthier snack that will fill you up and keep you going through that afternoon lull, I hope these do it for you.
Truthfully we eat them for breakfast pretty often too! They’re low sugar and full of healthy fats, fiber, protein and grains. What else does a granola bar need? I’d love to hear how these simple, made from scratch snack bars go for you! Don’t forget to check out these other homemade snacks while you’re here!
- Healthy Cake Pops
- Apple Chips
- Blueberry Dark Chocolate Superfood Trail Mix
- Flourless Banana Oat Breakfast Bars
Homemade Granola Nut Bars
Equipment
- Food processor or blender
Ingredients
- 114 grams unsalted pecans 1 cup/4oz*
- 170 grams quick cook oats 2 cups/6oz
- 17 grams flax seeds 2 tablespoons
- 2 large egg whites
- 43 grams unsalted butter 3 tablespoons/1.5oz
- 128 grams peanut butter* 1/4 cup/4.5oz
- 103 milliliters maple syrup 1/4 cup/3.5oz
- 1/4 teaspoon kosher salt*
Instructions
- Preheat your oven to 325°F and move an oven rack to the top third of your oven.
- Pulse pecans, flax seeds, and half the oats in the bowl of your food processor or blender until coarse and equal in texture.
- Combine remaining oats with pecan mixture in a large bowl.
- Combine butter, maple syrup, and peanut butter in a microwave safe dish and heat in 30 second increments until melted. Stir to combine.
- While rapidly whisking the egg whites, slowly drizzle in the warm melted peanut butter mixture. Continue to add it slowly until more than half is added. Continue to whisk and add the remaining liquid until completely combined.
- Pour egg white and peanut butter mixture into the oat and pecan mixture. Fold until the oats and pecans are well moistened and peanut butter is well distributed.
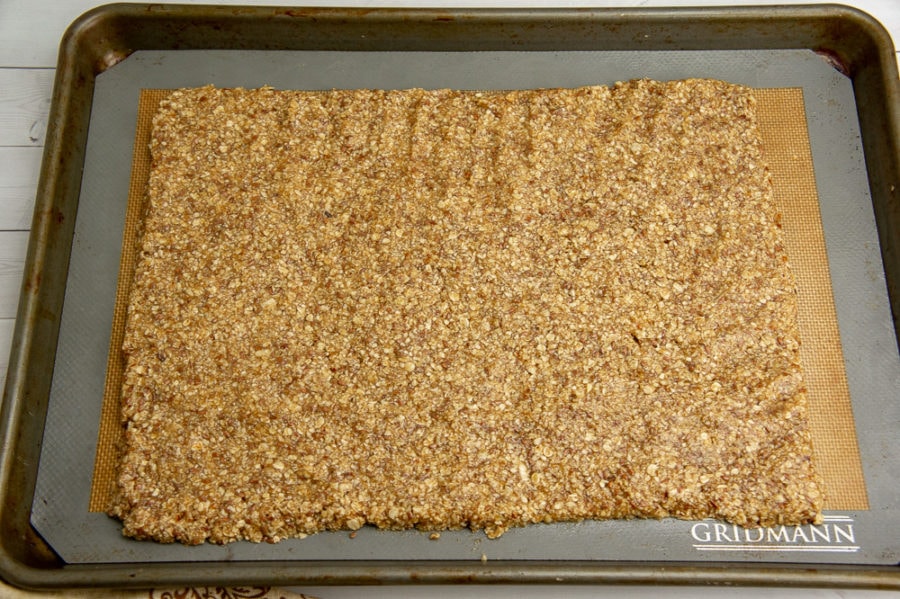
- Dump the granola bar mixture onto a baking sheet and shape into a large rectangle. Press to 1/4" thickness for crisp bars, up to 3/4" thick for soft chewy bars.
- Bake the shaped bars in the top third of your oven for 16 minutes.
- Allow to cool for at least 5 minutes, up to 10.
- Use a butter knife to cut the granola bars into your desired shape and length. Spread them gently so there is at least 1/2" between each bar.
- Return to the oven for 3 to 5 minutes, or until edges feel drier. Remove from oven and transfer to a cooling rack until completely cool, then store.
Notes
Nutrition
I’d love to hear what you think, feel free to tag me on Instagram @theflourhandprint so I can see how it went! Until next time, Happy Eating!
Nutrition information and cooking times are provided as a best estimate. Values may vary based upon ingredients and equipment.


These were delicious and it’s so nice knowing they are actually healthy, without tons of added sugars.
Madelyn, exactly how I feel, less sugar, healthier and my kiddos and I love them too!
These are great for lunch boxes. My kids think they’re amazing and ask for them weekly.
Kristina, thanks so much, it makes my heart happy that your kids think they’re amazing and want them over and over again!
These are a perfect snack to have to keep a good balance. I always get midday cravings so perfect to have on hand.
Tammy, so very true, they are good for kids and grown-ups alike. I’m so glad you enjoy them.
Made your granola bars for my husband, he loved pecans, and they are all gone, all in one sitting.
Delcicious! Thank you for sharing your recipe.
Giangi, that is fabulous to hear. I love that adults enjoy them as much as the kiddos do!
These bars are amazing! Since school is about to start soon, I need some quick and easy grab and go breakfasts. This one is the best for that! Thank you so much for sharing 🙂
Thanks Cathleen, I love that they are versatile for a quick breakfast, and addition to the lunch bag or an after school snack!